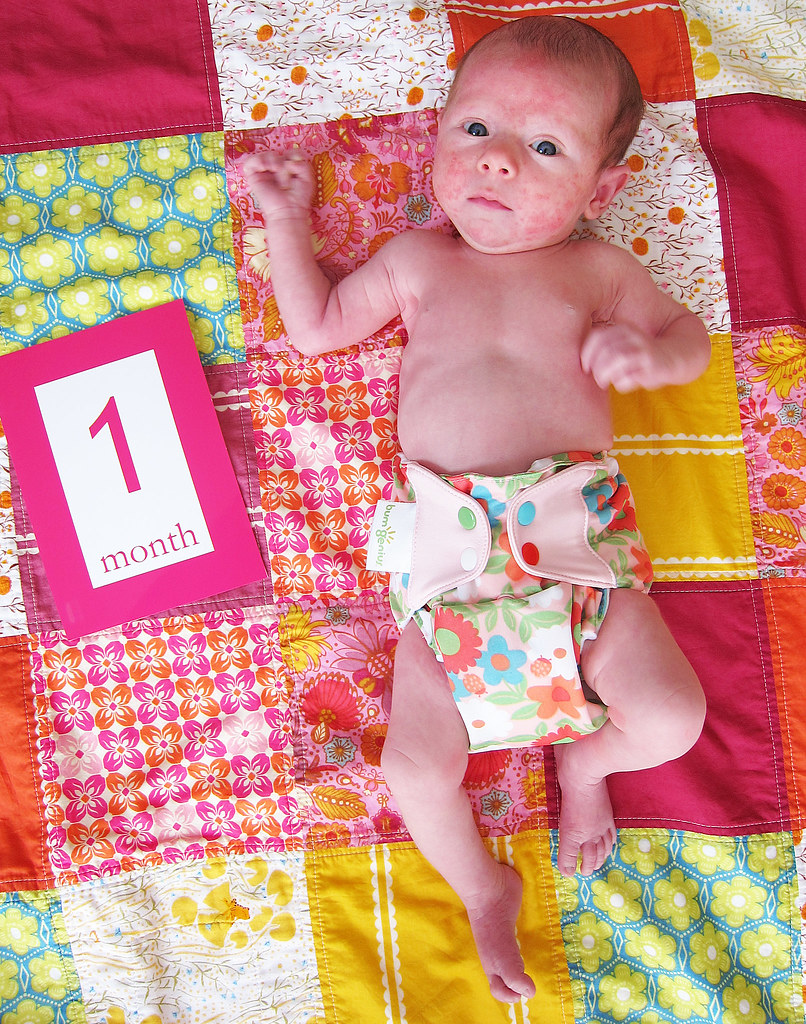
Wow, that was fast.
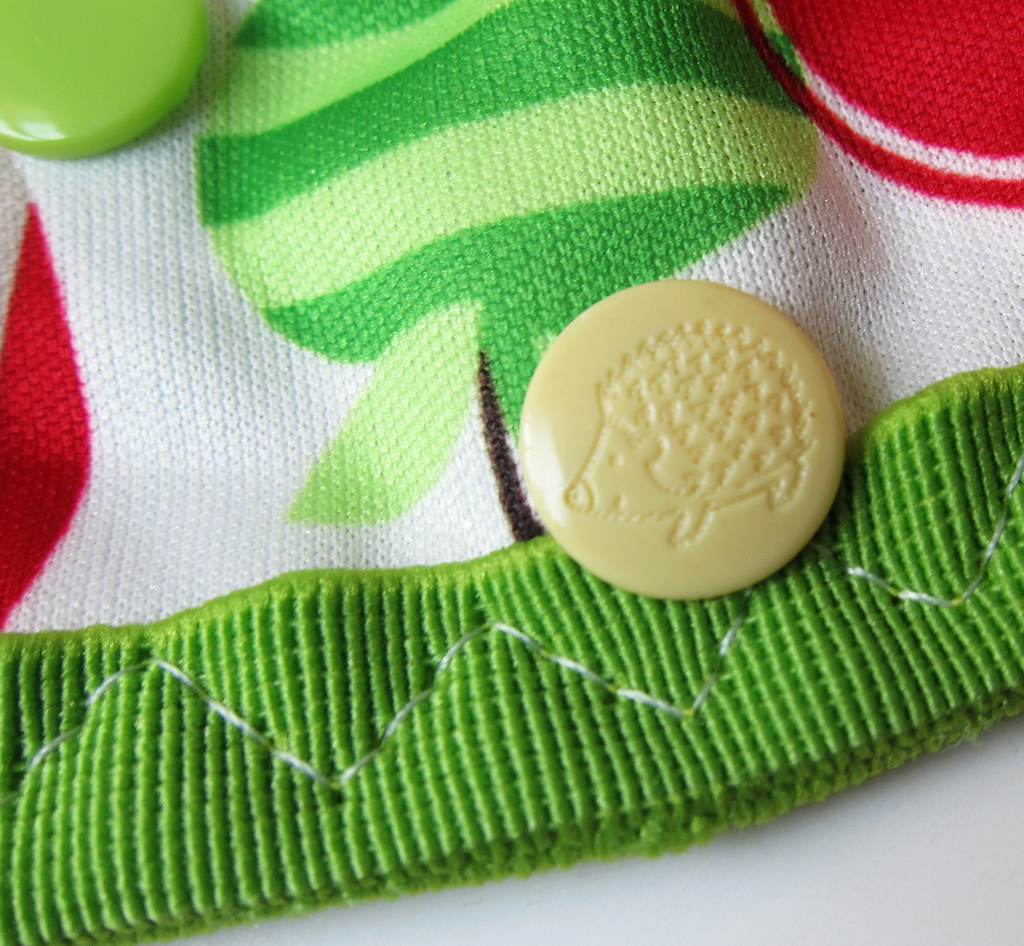
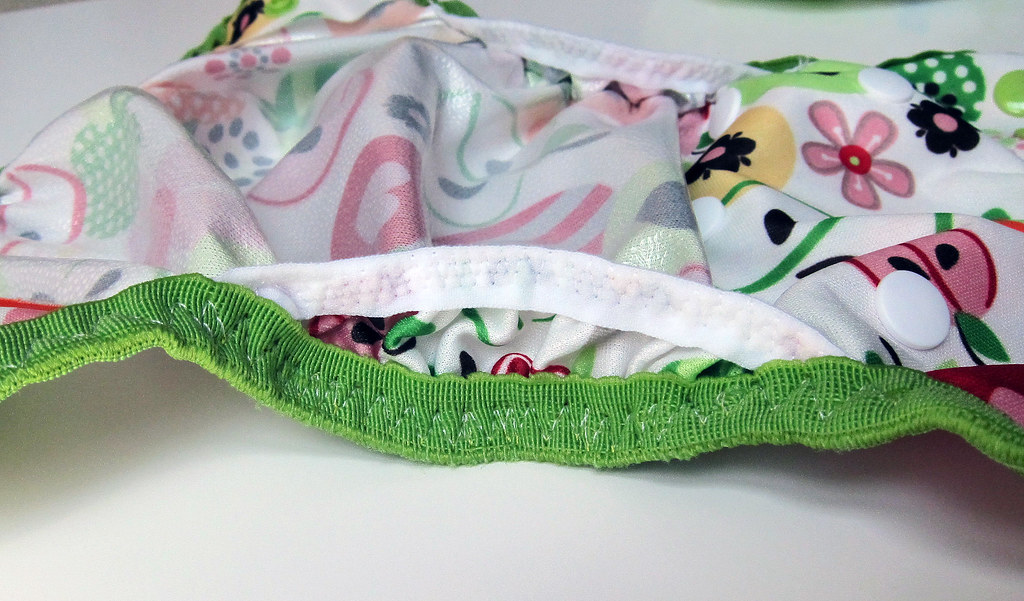
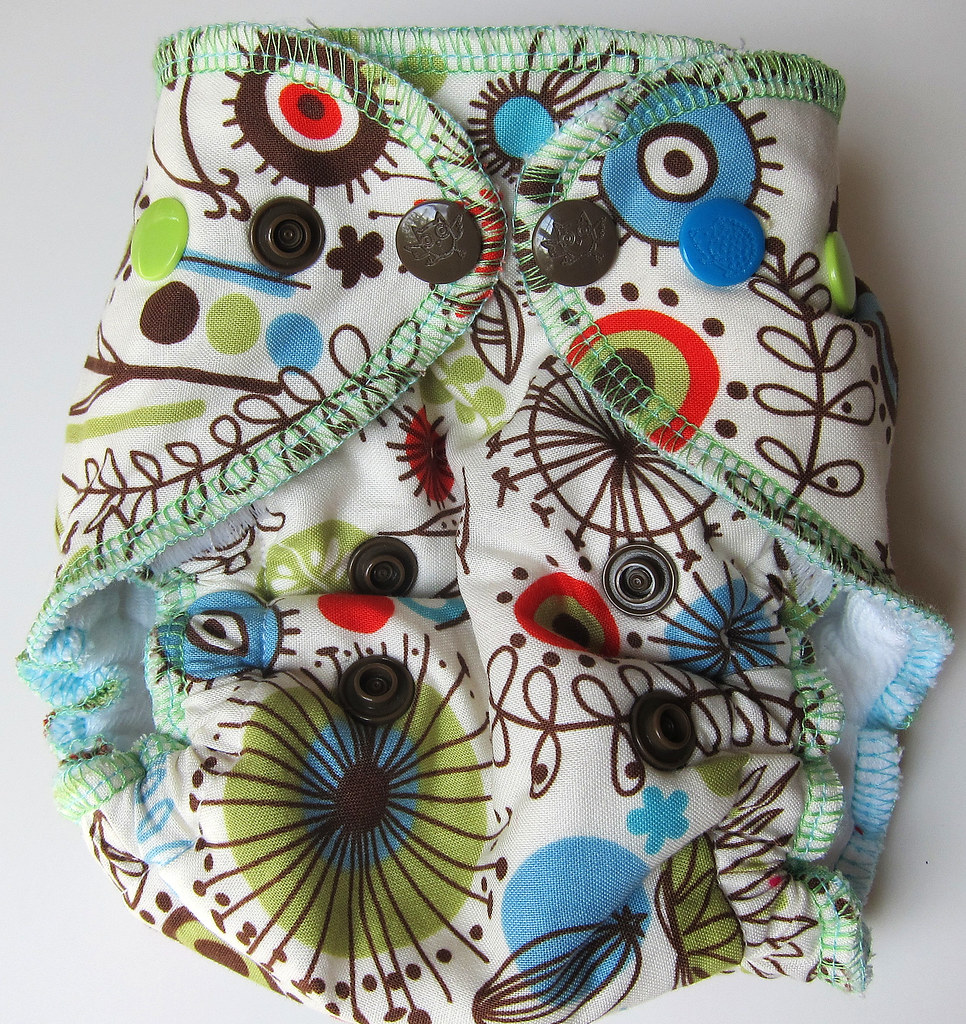
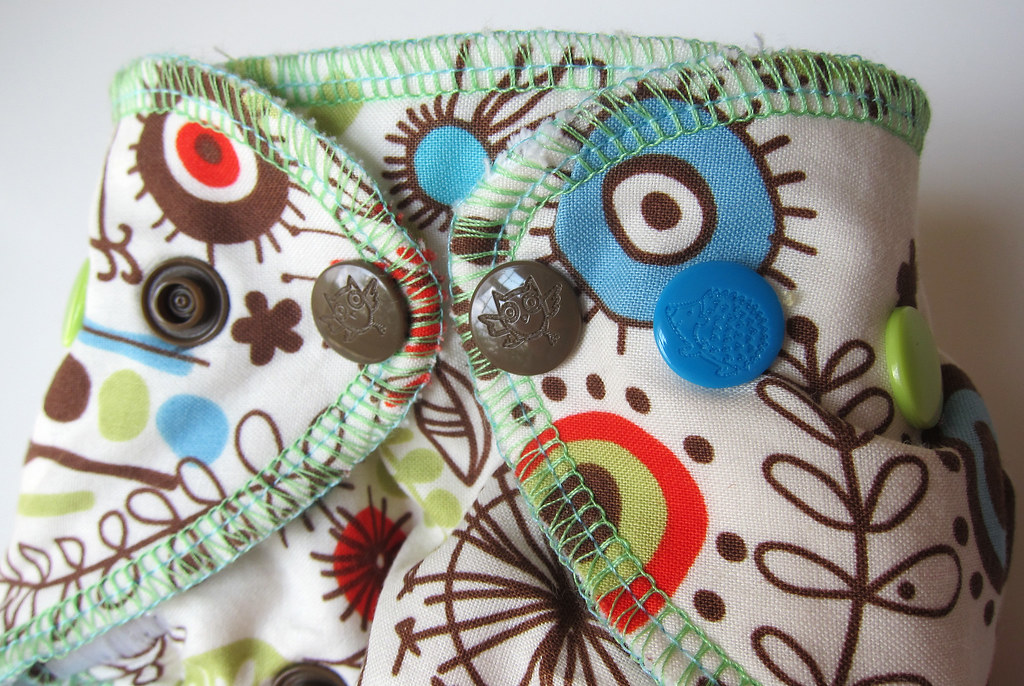
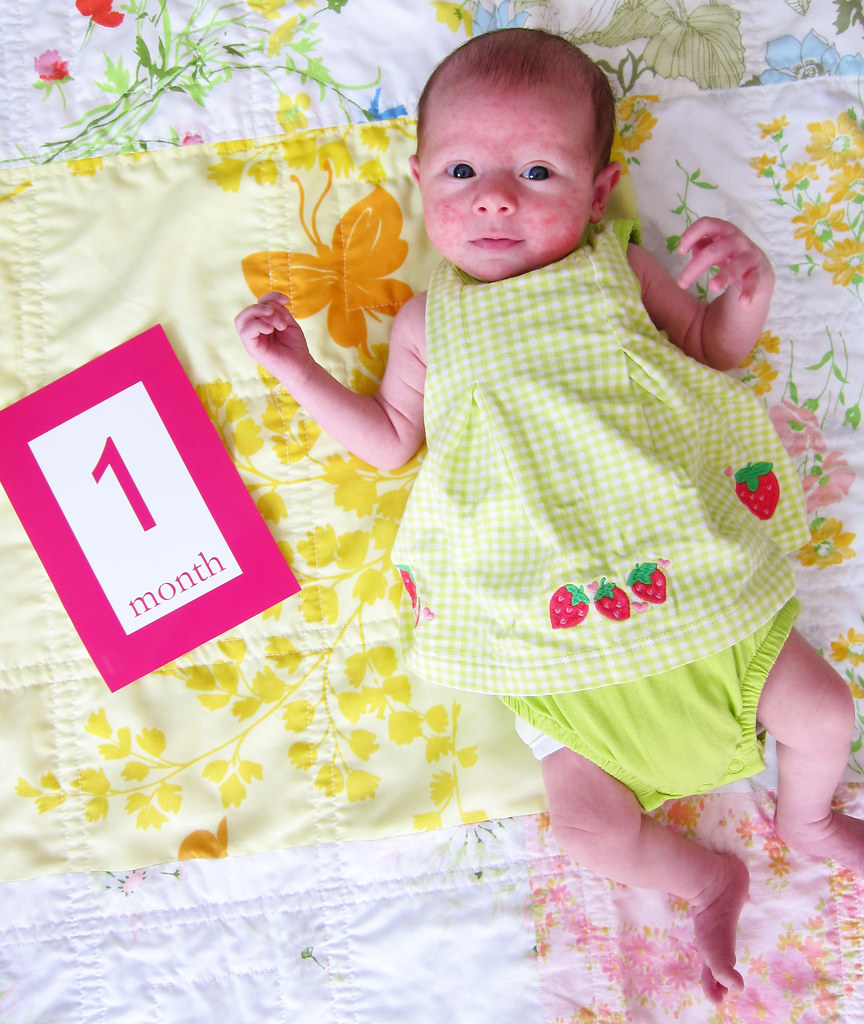
In her cute BumGenius diaper.
Thought it would be fun to do one every month in this diaper to see how big she gets!
...and the crafting I get done in between all the activity of three very busy boys.
Pages
▼
Monday, July 22, 2013
Tuesday, June 25, 2013
Mara Vivian
Mara Vivian
Born June 20, 2013 at 6:13am (labor started the previous evening during the Hawk's game)
7lbs 2oz - 18.5" long
Her coming home outfit. I knit the hat, made Rae's wonderful little dress, and a voile quilt. It was super strange to bring a baby home in a dress.
All the wonderful baby parts.....
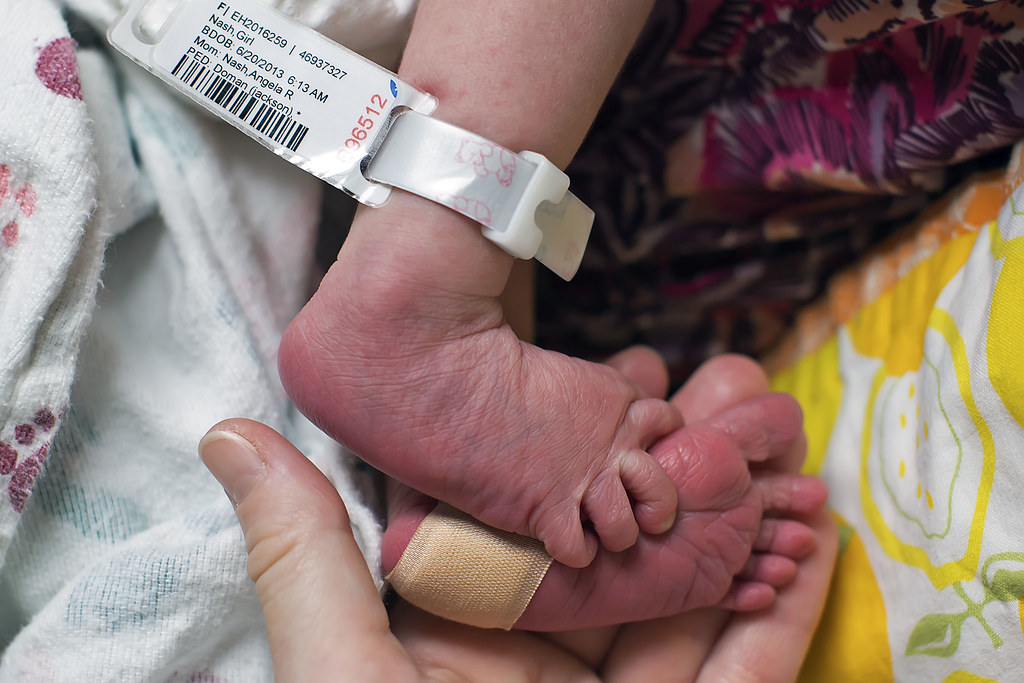
softest feet ever
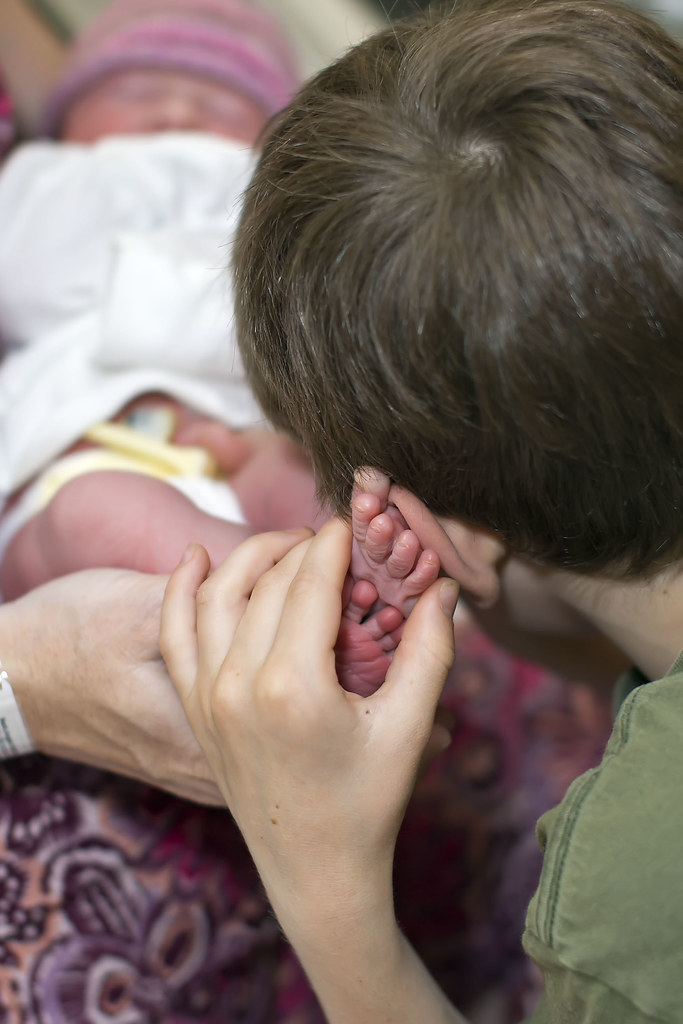
fingers
hair
tiny head
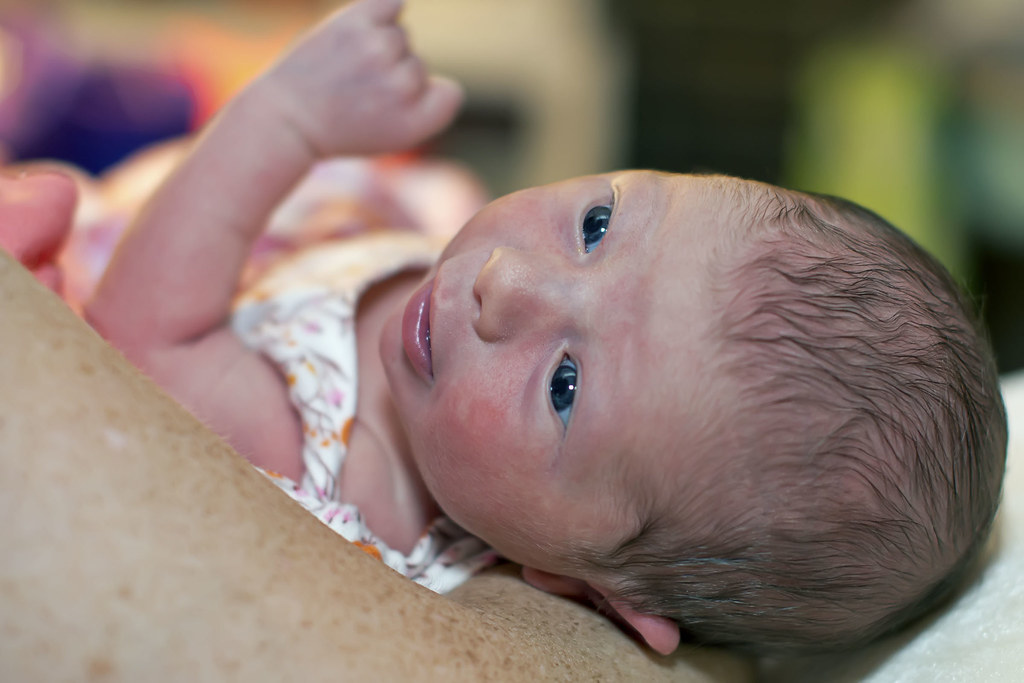
eyes
Monday, June 10, 2013
Baby sewing projects : #1
I have made so many things in this last crazy month, as I wait for my little one (only 12 more days to go!)
There is no way I'm going to find time to sit and blog them all - but I want to get them up before I lose track of details. If you want any extra info on anything, I have some info in the flickr links. And feel free to ask questions.
All my bloggy friends out there - I haven't been reading for at least the past month. So forgive me for not commenting on all the cool things I'm sure you're doing.
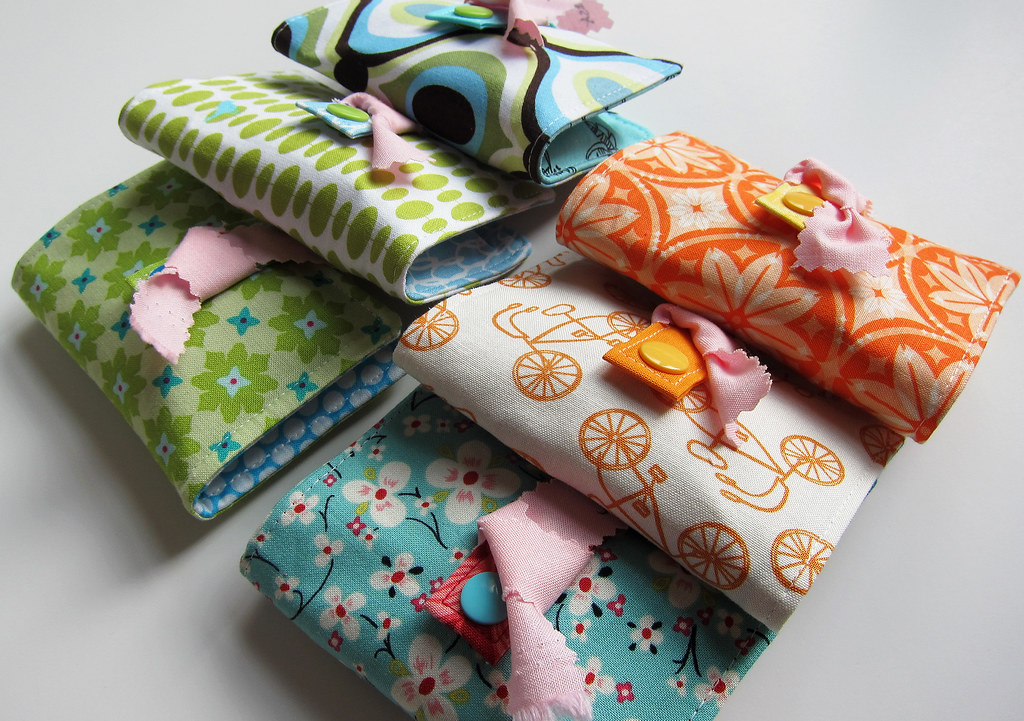
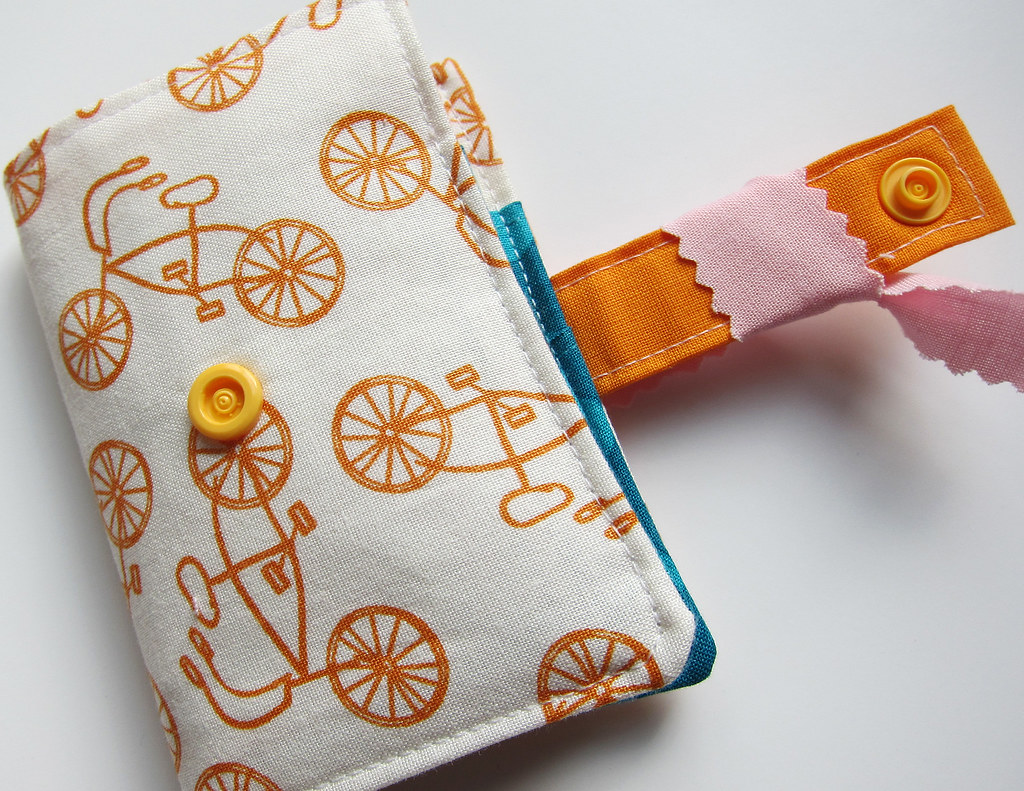
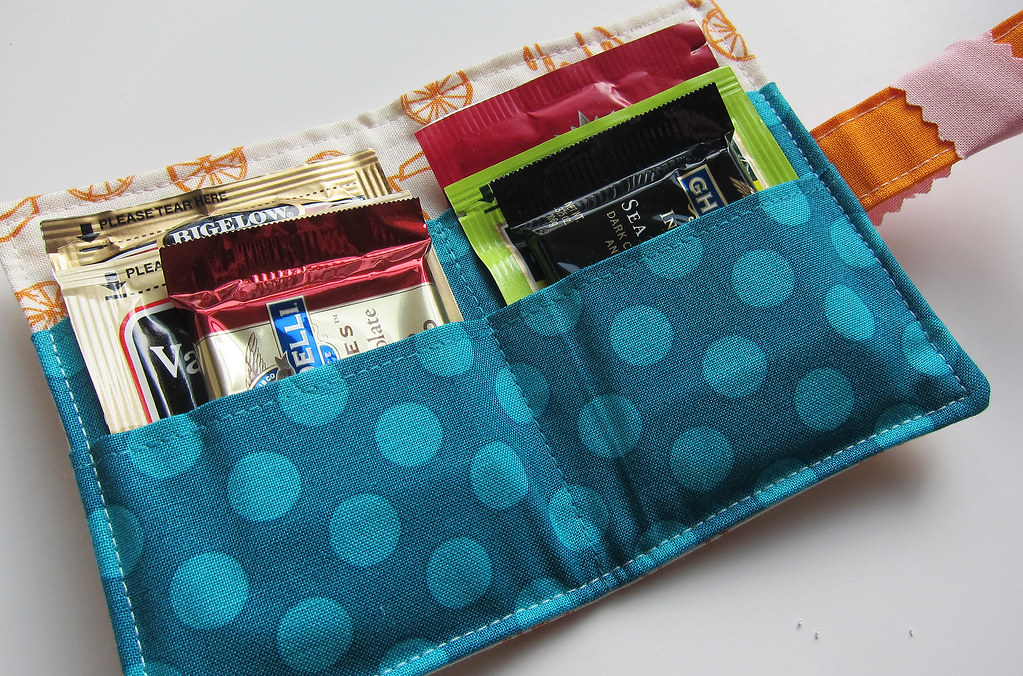
Some super fun tea and chocolate holders I made for the hostesses of my showers - and a couple more were made for teacher gifts:
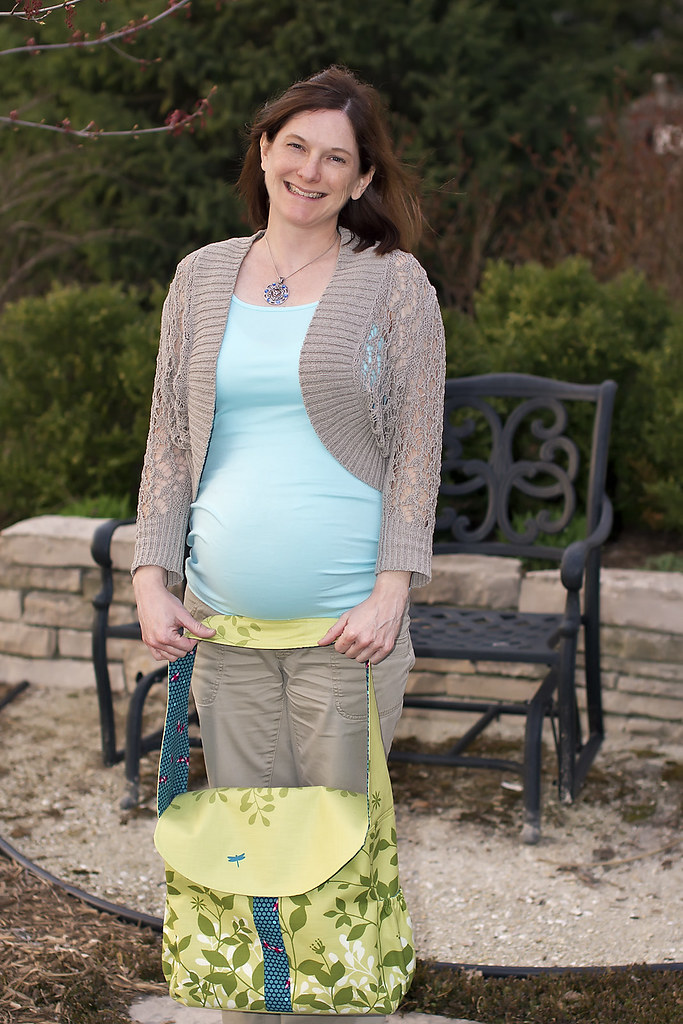
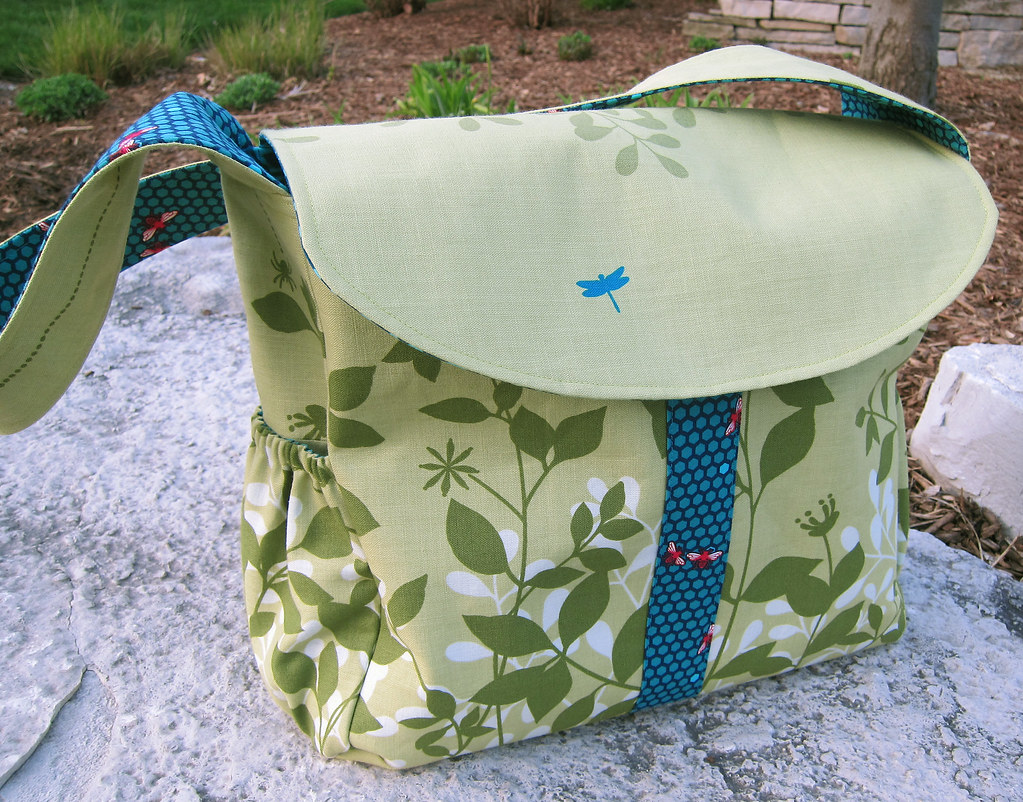
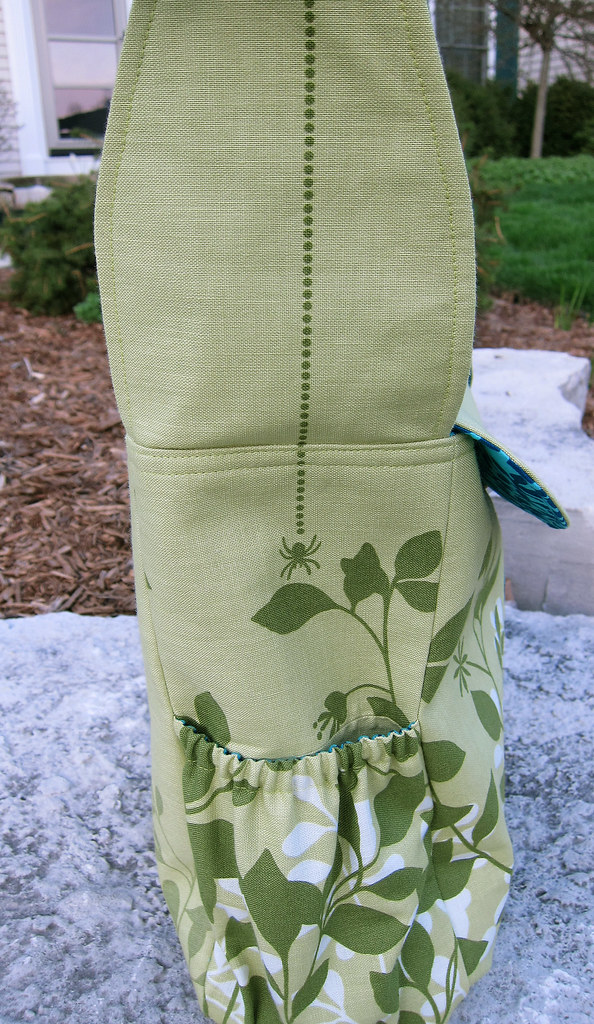
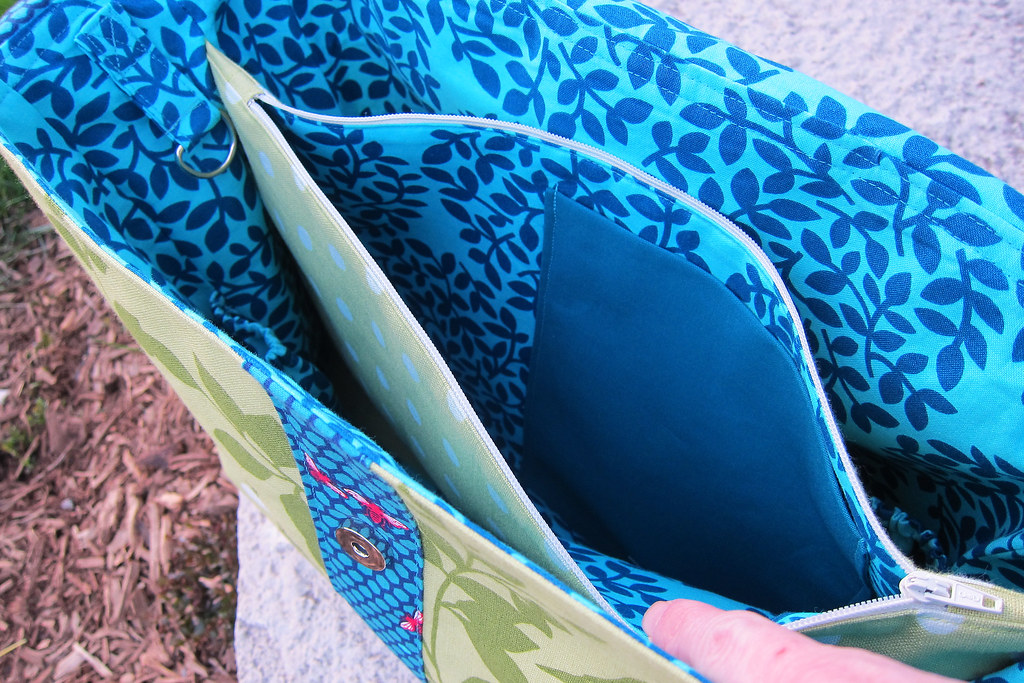
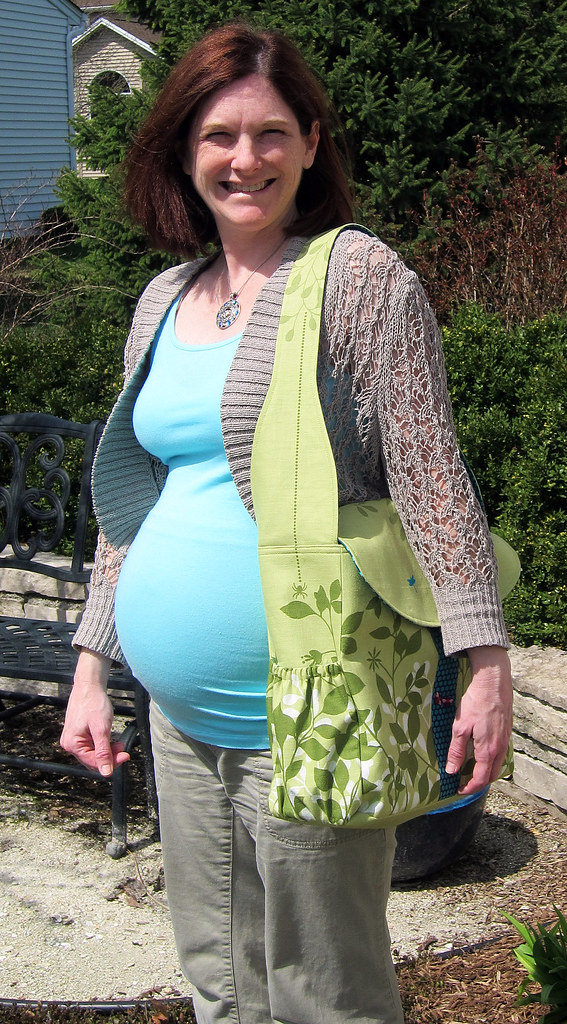
The Lola Bag Diaper Bag - I LOVE LOVE LOVE it! Made with some Echino and quilting cottons that I have been hoarding for the last four years:
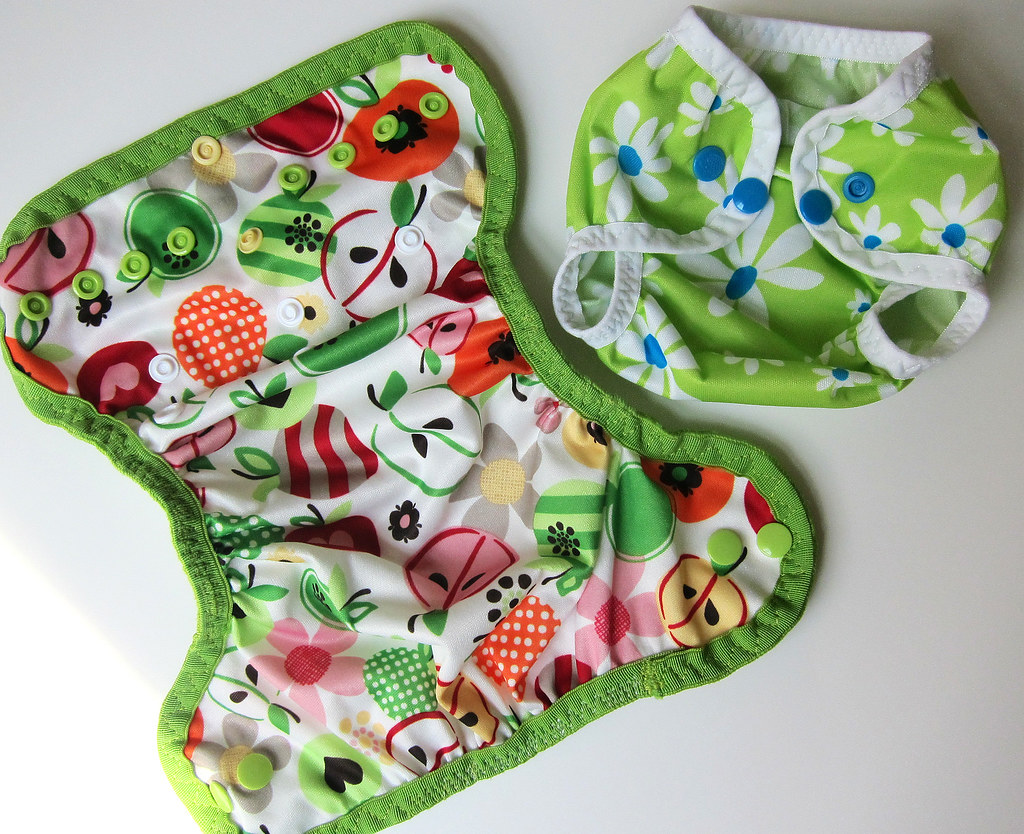
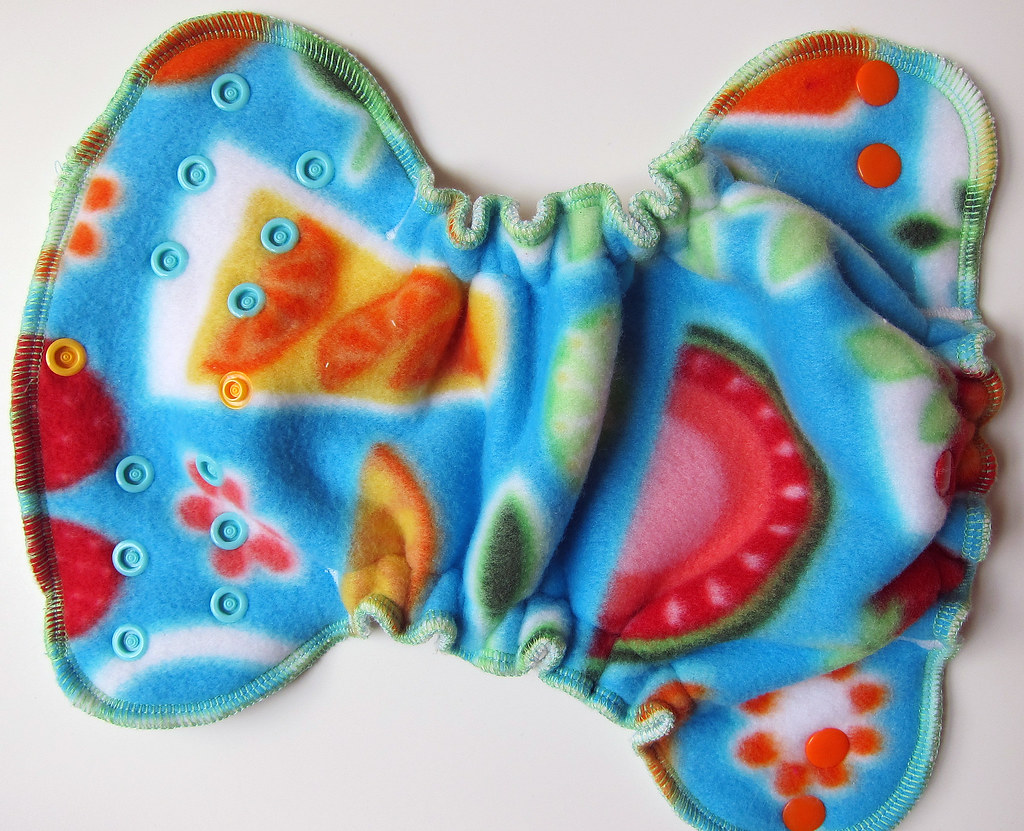
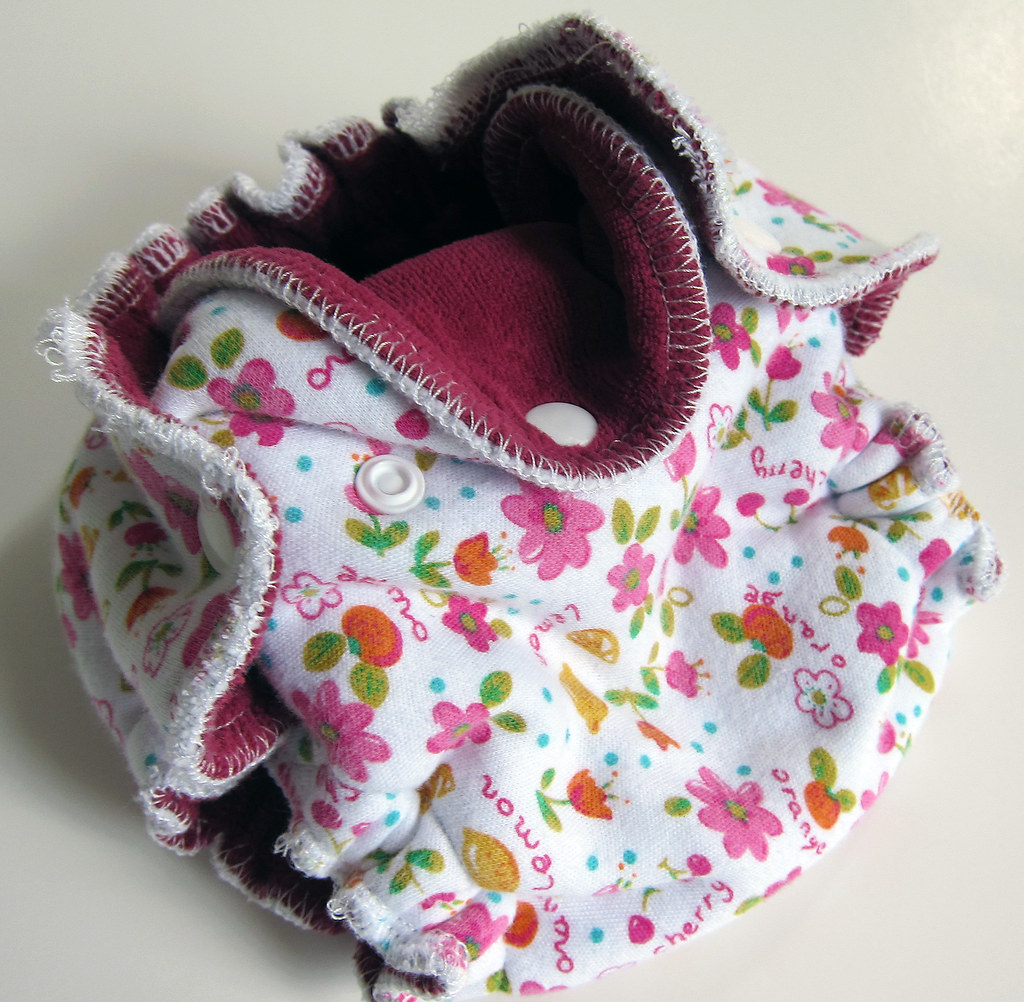
The start of my cloth diaper sewing craze:
....most of the patterns can be found at this awesome web site: prefold2fitted.blogspot.com
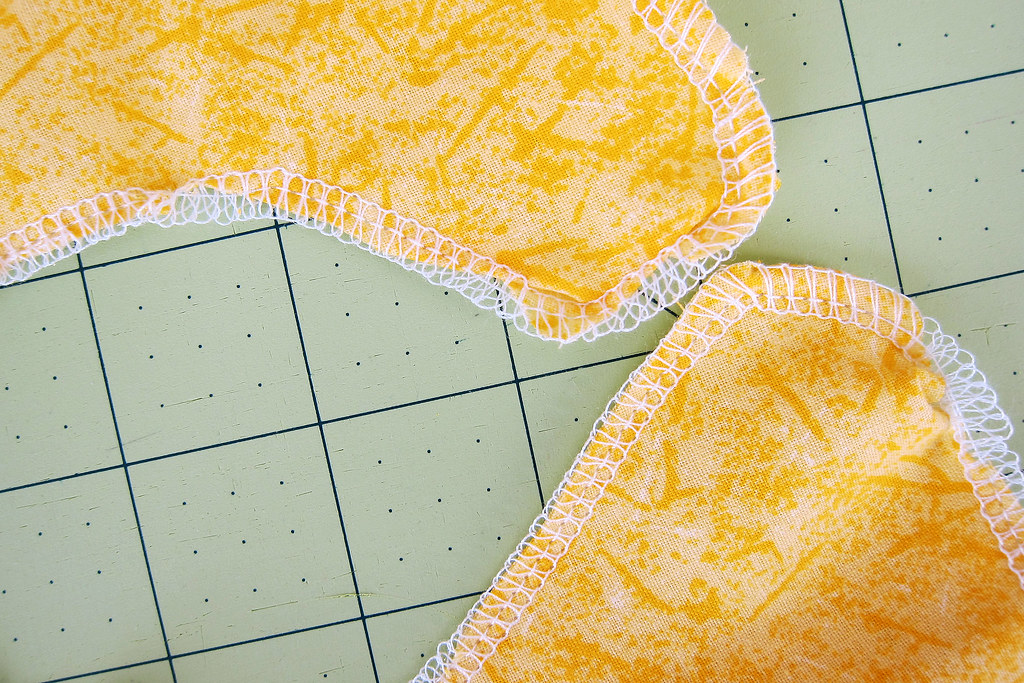
(My serging is getting much better!)
(This was my very first cloth diaper - horrbile serging but still so cute!)
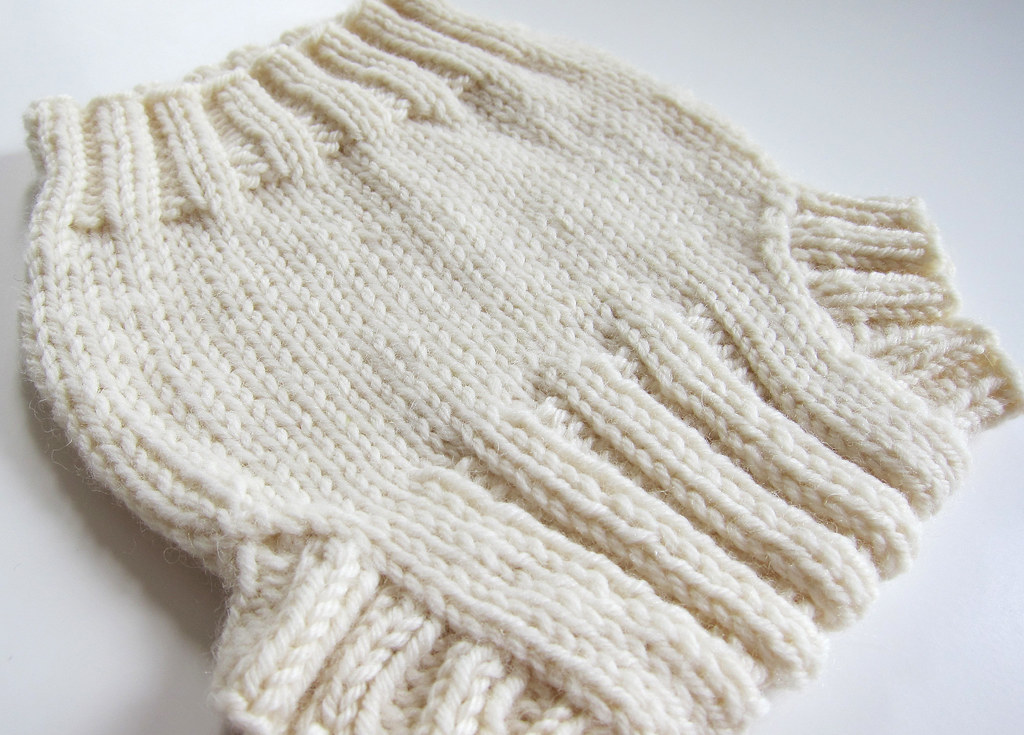
And one last photo today - Pulled my sticks back out and made a knit wool soaker.
Tuesday, May 14, 2013
KAM Snaps!
Tuesday, May 07, 2013
OH - Oh - Oh! Vintage!
Monday, May 06, 2013
A Voile Start
Monday, April 29, 2013
Huge Quilt Block Squaring Up - one way how
Boy has it been a busy month!
There has been a lot of this going on.....all three boys moved bedrooms.....much cleaning and painting, getting things ready for the baby.
(Becket was super excited to help paint his new room. Being unable to hand over control of stuff, I didn't want him to REALLY paint the wall. So I gave him a small trim roller for his paint. He worked happily away for a long time, then we re-coated the area for a solid look later.)
I've actually done a decent amount of quilt and baby sewing as well. Just haven't had the time to photo and post them yet.
But, I got an email asking about how I squared up my large, purple quilt blocks - they were larger than my biggest square ruler. I already had several pictures on my computer, and have ditched the photoshop editing part of my process in the interest of actually getting this posted!
The challenge here is a block that needs to be 24.5" square, my largest square ruler being 16.5".
Also, for the finished quilt to look just right, the white sashing needed to be perfectly centered in both directions.
To get all this done, I used a largish square ruler, my cutting mat, and a couple other 26"+ long, narrow rulers.
Start by marking what you want to be the center, on one of the block's edges.
You can see here that I used my Frixion pen. Ironically, the email I got asking about how I accomplished this squaring up was asked by a quilter that had originally found my blog as she searched for information about the Frixion pen! This is one of the two ways I actually DO use it on my fabrics. All the marks are in the seam allowance, or trimmed away.
My block needed to be 24.5" square, so I needed to measure OUT FROM this center point, half the size of my block - which is 12.25".
Please ignore the next two photos that need to rotate. Part of the annoying blogger thing and how it randomly deals with unedited pictures.
I have my ruler lined up so that the 12.25 mark is at the center point of the block. ALSO the vertical and horizontal are both aligned squarely.
Better view in that picture above - What is important is that those parts of the block are as near perfect in both directions. That way the finished design looks like a square, and not a wacky, slanting rhombus or something.
Now, the tricky part.
Especially for those of us who are cursed with slipping ruler syndrome.
Hold your big square, and carefully slide a long ruler up against it, without shifting anything. I would re-check the 12.25" mark and the squareness of that yellow ruler after getting the long ruler in place.
Oh, must be noted, I am right handed. And I am totlaly unable to cut with my left.
If you can cut with your left, remove the first ruler (the square yellow one, in my case), hold the long ruler in place, and trim your block.
For myself, I carefully moved away the square, replaced it with yet another 26"+ long ruler - moved that second one out of the way - and then trimmed my block.
Did you get that? It's a bit of swapping back and forth, and I'm lucky to have a big stack of rulers.
Those steps take the longest. The point of them being getting yourself a starting point that puts the center exactly in the middle and the first edge perfectly square with your piecing.
Let's get the last three sides done.....
Using your cutting mat, line the nice edge you just made up with one of the ruled markings.
Check that it's nice and straight, top to bottom.
Count over to the other side, the full width of your finished block.
I had to go over 24.5"
Use a long ruler and the markings on your mat to perfectly cut the block, ending up with one set of perfectly parallel sides.
...Ugh, another sideways photo.....
Anyway, we are going to do the process again, for the last two sides. WITH ONE DIFFERENCE.
After you mark the center of the sashing, you need to measure over that same half distance as before. 12.25" in my case.
INSTEAD of lining up your square ruler with the block piecing, you now line it up with one of the two sides we already cut. I used two large squares to double check I was in exact center, because I'm Type A like that. Do not freak out if your outside edge alignment and the block piecing alignment are just a bit off. For me, an 1/8" drift was not visually obvious in the end. I did have one mess of a block, I have no idea what I was doing as I pieced. The sashing angled nearly 3/8" off center from side to side. I re-made that block.
After you trim this third side, line it up on your cutting mat again and measure over the full block width for your last cut.
Ta-Da! Perfectly square and centered, huge quilt block.
I'm thinking this all will make more sense if you are reading and cutting at the same time. It's a bunch of shifting and rulers. But I hope it helps!
Ask away with questions on any horribly confusing stuff, and I'll try to make things clear.
Sunday, March 17, 2013
Bloglovin Link....
Bit the bullet and organized my blogs back into groups, and got their read status up to date, on Bloglovin.
Although that was why I liked Feedly better to begin with, I'm liking the usability of Bloglovin better. Feedly has that graphic, magazine/Pinterest thing going for it, but that seems to make it just too fiddly for use.
One thing I noticed was that if a blog hasn't posted in the past week, there doesn't seem to be a way to link over to their blog, even though it does stay in the reader.
Here's my official link.
Follow my blog with Bloglovin
Thursday, March 14, 2013
No Google Reader?!
Update: What I really liked about Reader was how it made it easy to see which blogs had new posts, and also gave folders to group people - like I have my bee people in one spot, 'online friends' in another...
From your speedy tips (Thanks!), I just signed up for both bloglovin and feedly - and at first glance, I think I like feedly much better. Bloglovin crashed in the first attempt at migration, while feedly took just a couple of seconds. Feedly has all my Reader folders and current unread count in place and correct. Bloglovin doesn't seem to have any folders at all, all the unread post counts are wrong, and it's linked to Facebook - which puts me off a bit. Feedly seems to be a Google product? It was happy that I had Chrome.....haven't looked into it that much, yet.
Let me know if you have any thoughts on those two or another...
The fabric has nothing to do with the post, but it's pretty! And the huge stack of photos I've taken for blog posts-to-be are still unedited.
Reader popped up a little message today that it will be gone on July 1st. And I had to use some kind of takeout service to get all my Reader links into some random kind of file.
Is this a hint that we shouldn't bother following all the blogs anymore?! What is everybody going to use, it almost seems strange to go back to a long list of browser bookmarks.
Tell me what you will do......I have no idea what the choices are out there.
.
Wednesday, March 06, 2013
WIPs - For Baby and Serger
I have a whole list of WIPs, and ones to start, before school is out and the due date arrives in June.
Knowing that I'll have to start hauling around a bunch of baby stuff, a diaper bag made it high up the list. I've been saving this yard of Echino for several years, planning on making a bag. Even though it is theoretically a half yard short for the diaper bag pattern I found, I gave it a try to make it work.
I'm squishing and rotating the pieces. A big puzzle! For sure, loving the Lola Bea Diaper Bag pattern so far.
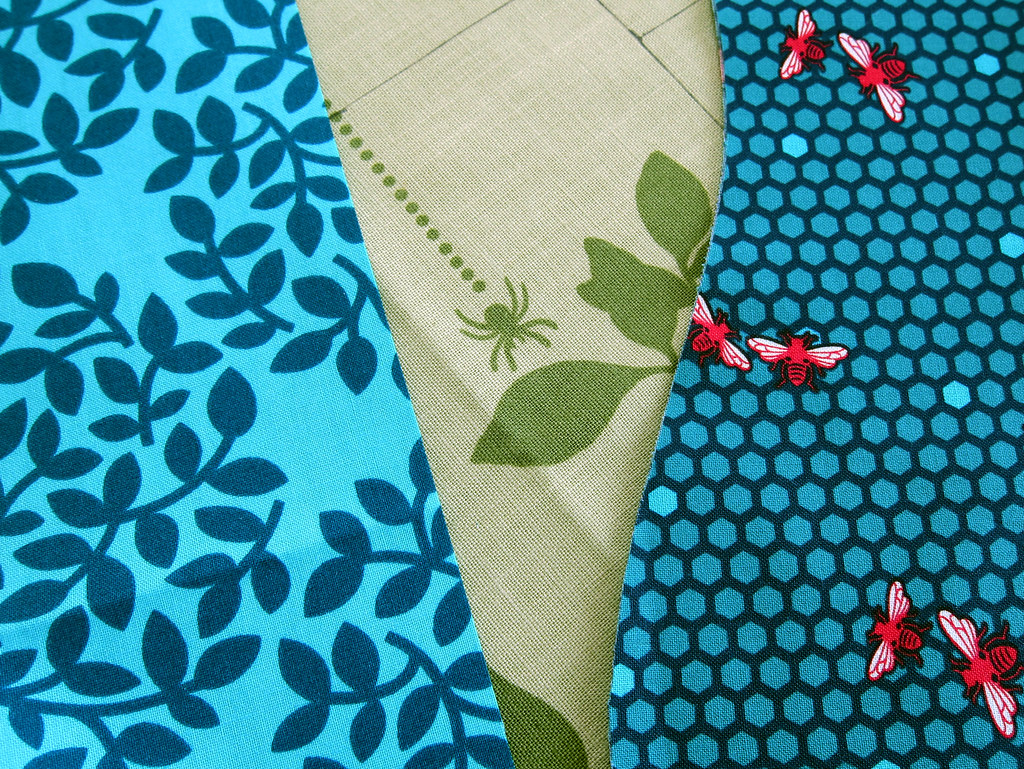
And THIS is my most challenging WIP in a while.
Serging around tight inside and outside curves.
Epic Fail!
Hopefully I have something good to share soon, because I'm interested in doing way more than covering simple, straight seams.
Linking up to Lee...
Monday, March 04, 2013
My New {Serger}!
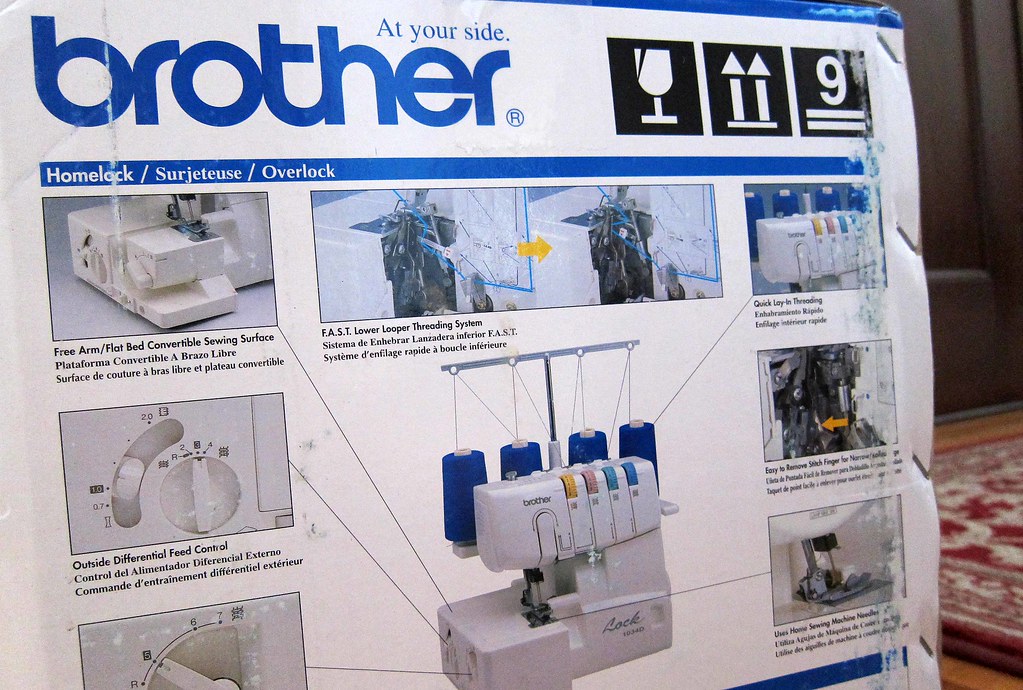
Look what the UPS guy left for me!
I was thinking about it for ages, then my birthday came, and I finally went for it. I think my Bernina training class did the most to make me feel like I could use this strange, chopping thing. I figured that if I could understand how to fix the guts, certainly I could make it stitch things together without slicing off my fingers.
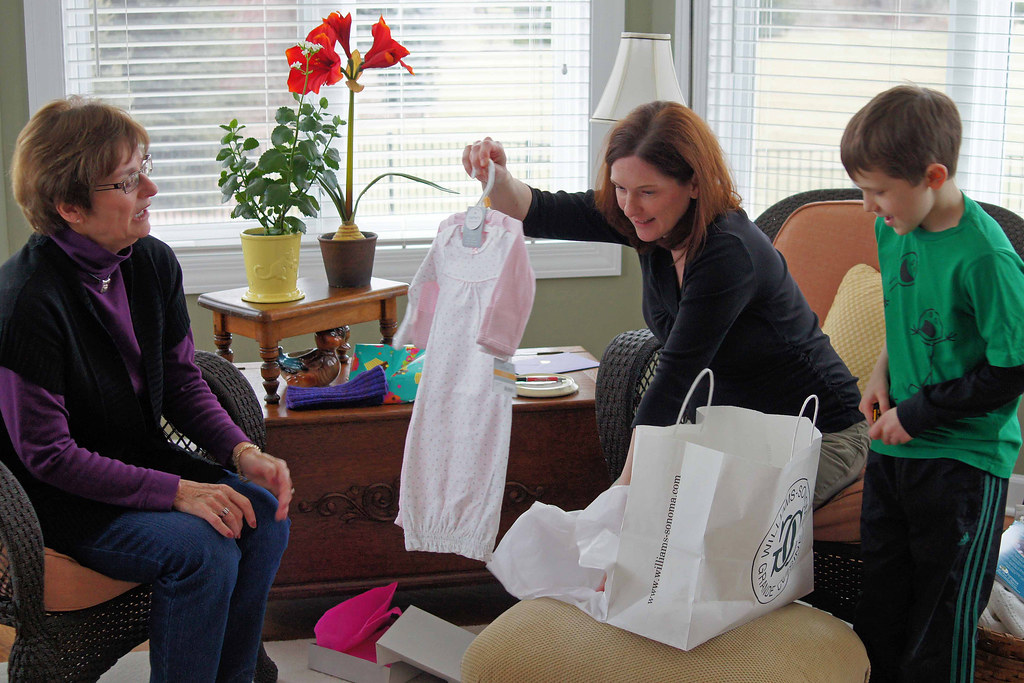
Of course, with a baby girl on the way, my birthday also included lots of wonderful pink stuff.
And there was much fun with the tissue paper....
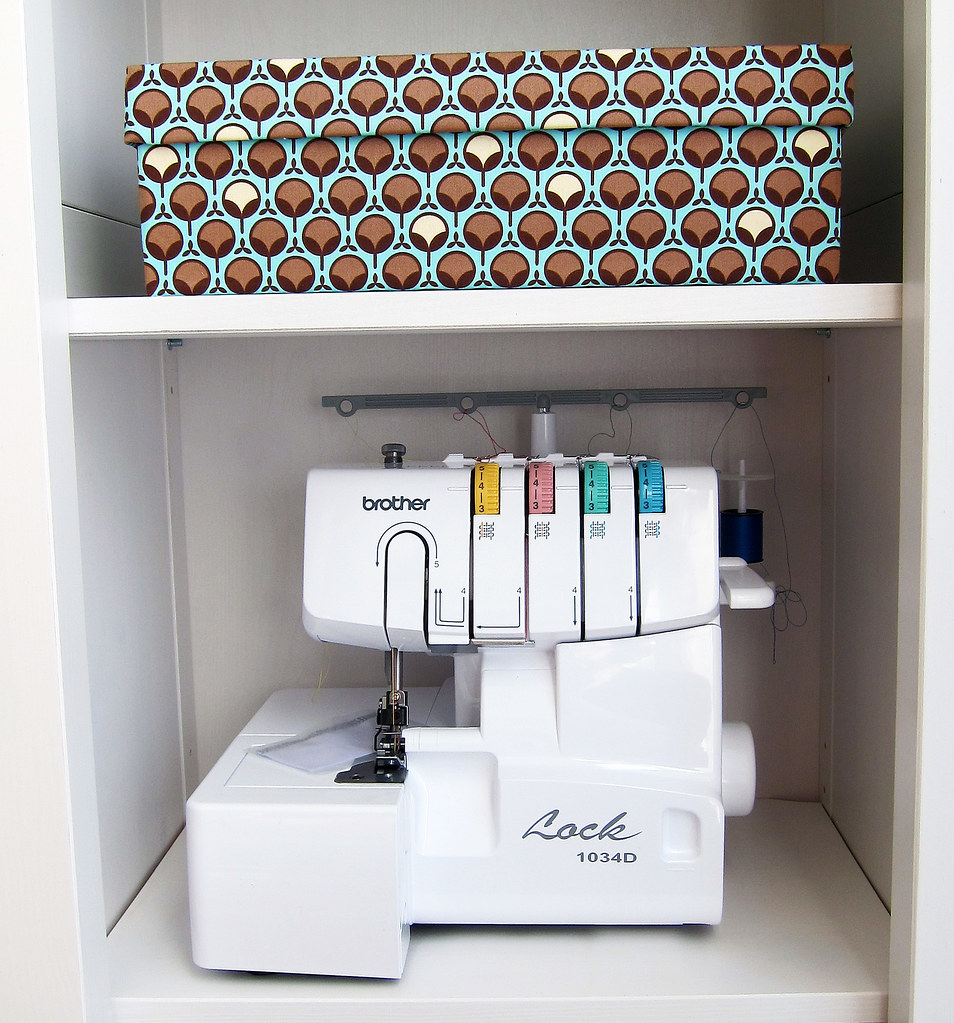
.....almost as much fun as fitting my new toy perfectly onto a shelf in my sewing room.
Now I just have to learn how to use it! I've pinned a whole ton of stuff, scoured blogs, checked out a book - and I'll be sure to share all the new things I learn.
First up, I was planning on making some fuzzy PJ pants for Becket. I could use several new skills on them, and being just PJs, wouldn't have to worry about them looking perfect.
My trip to Target this morning turned up exactly what I needed for them! I found this 62x90" micro fleece blanket on the clearance shelf, only $7.48 for 2.5yards of super soft fabric. Way better than JoAnn's with a coupon, and perfect for my first try at serging a piece of clothing.
Two of the boys were miserably sick with flu aches last week. In between drink refills and movie changes, I actually pulled out some of my longest hoarded, most favorite fabrics. And Cut. Them. Up.
I need a cool diaper bag for this summer!