Useful end-of-the year teacher gift? Horrible souvenir?
At the least, there's a super cute little pouch that could be used for holding dog-walk bags or other random things.
I came up with four mixed sets of corona virus protection fun, with four FQs. I'll show you more info on that later.
 |
| a-dor-able fabric - Summer Side by Dana Willard |
We'll start with the little pouch that can hold one mask. Snap it onto a belt loop, toss it into your glove box or purse, and a nice clean mask is ready to go!
Cut a piece of fabric 4.5" x 12" - then take 2" off the end for making the tab.
The tab is totally optional. But handy and fun!
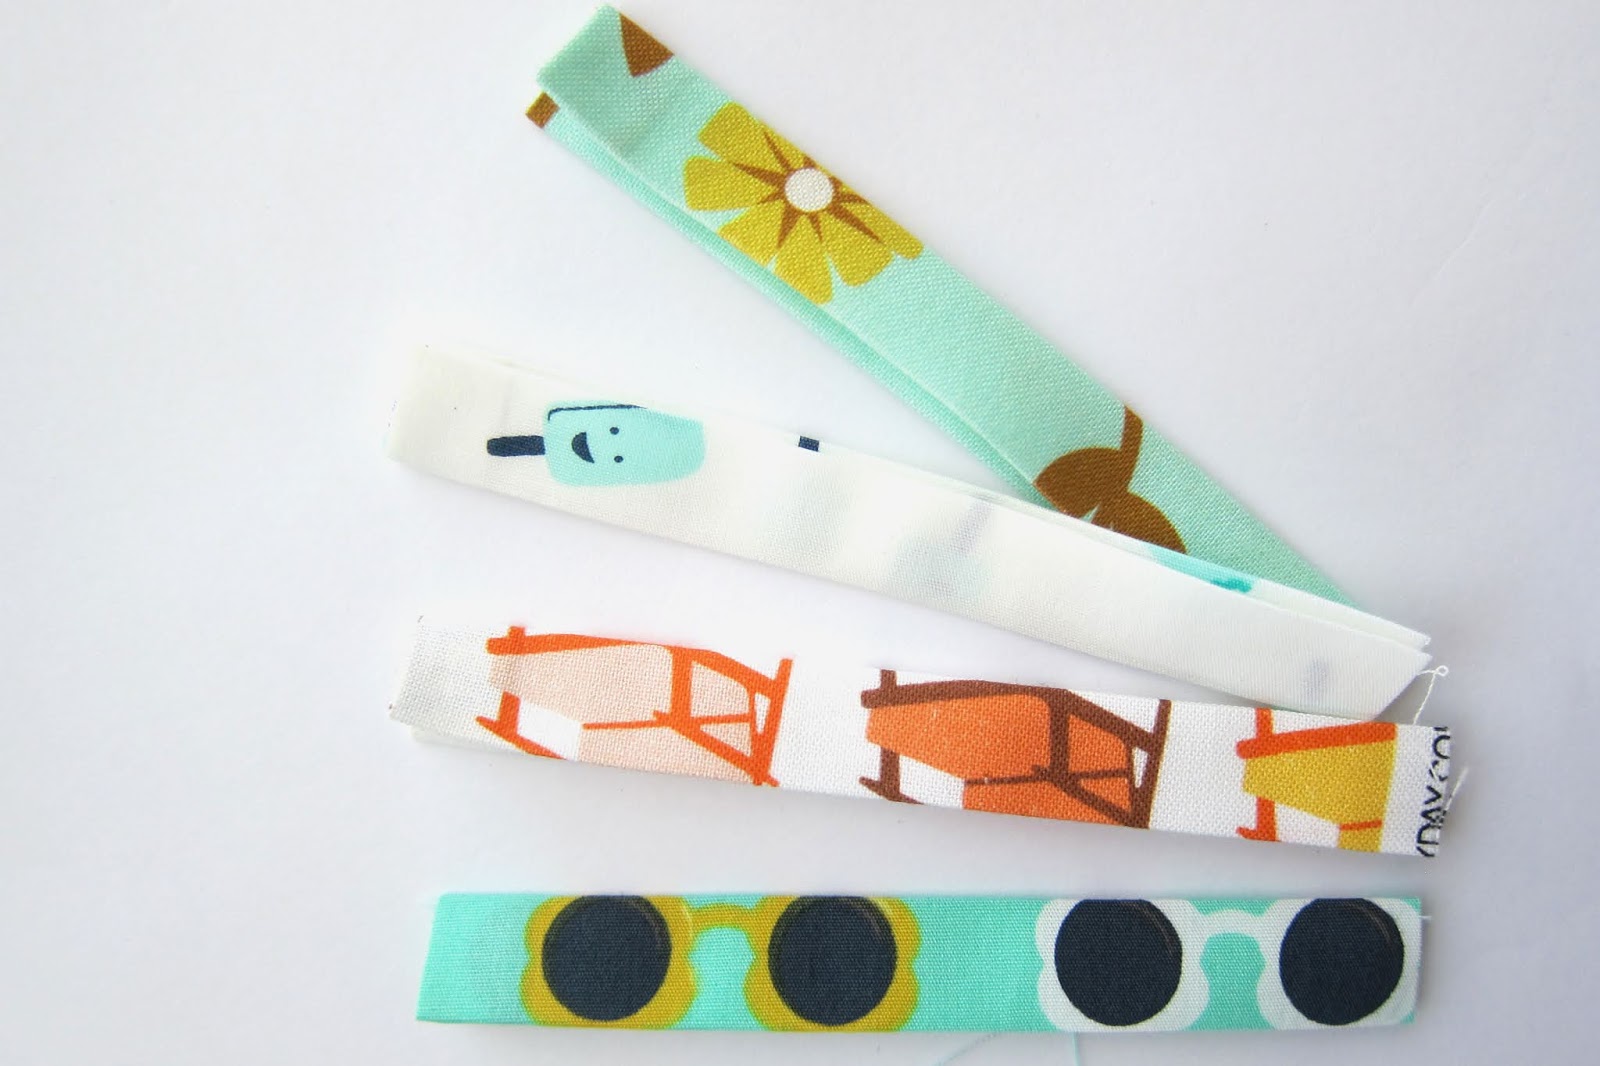
Make the tab by folding in half to find the middle, turn one end down about 1/4", fold each end to meet in the center, then fold in half again.
Topstitch around the three sides, starting and ending at the raw edged end.
This is my favorite foot for topstitching. On my machine it's actually called a blind hem foot.
That flange in the center keeps the needle perfectly placed on the fabric, so the top stitching is super even and pretty on the sides. Without much stress. Like bowling with the gutter guards up!
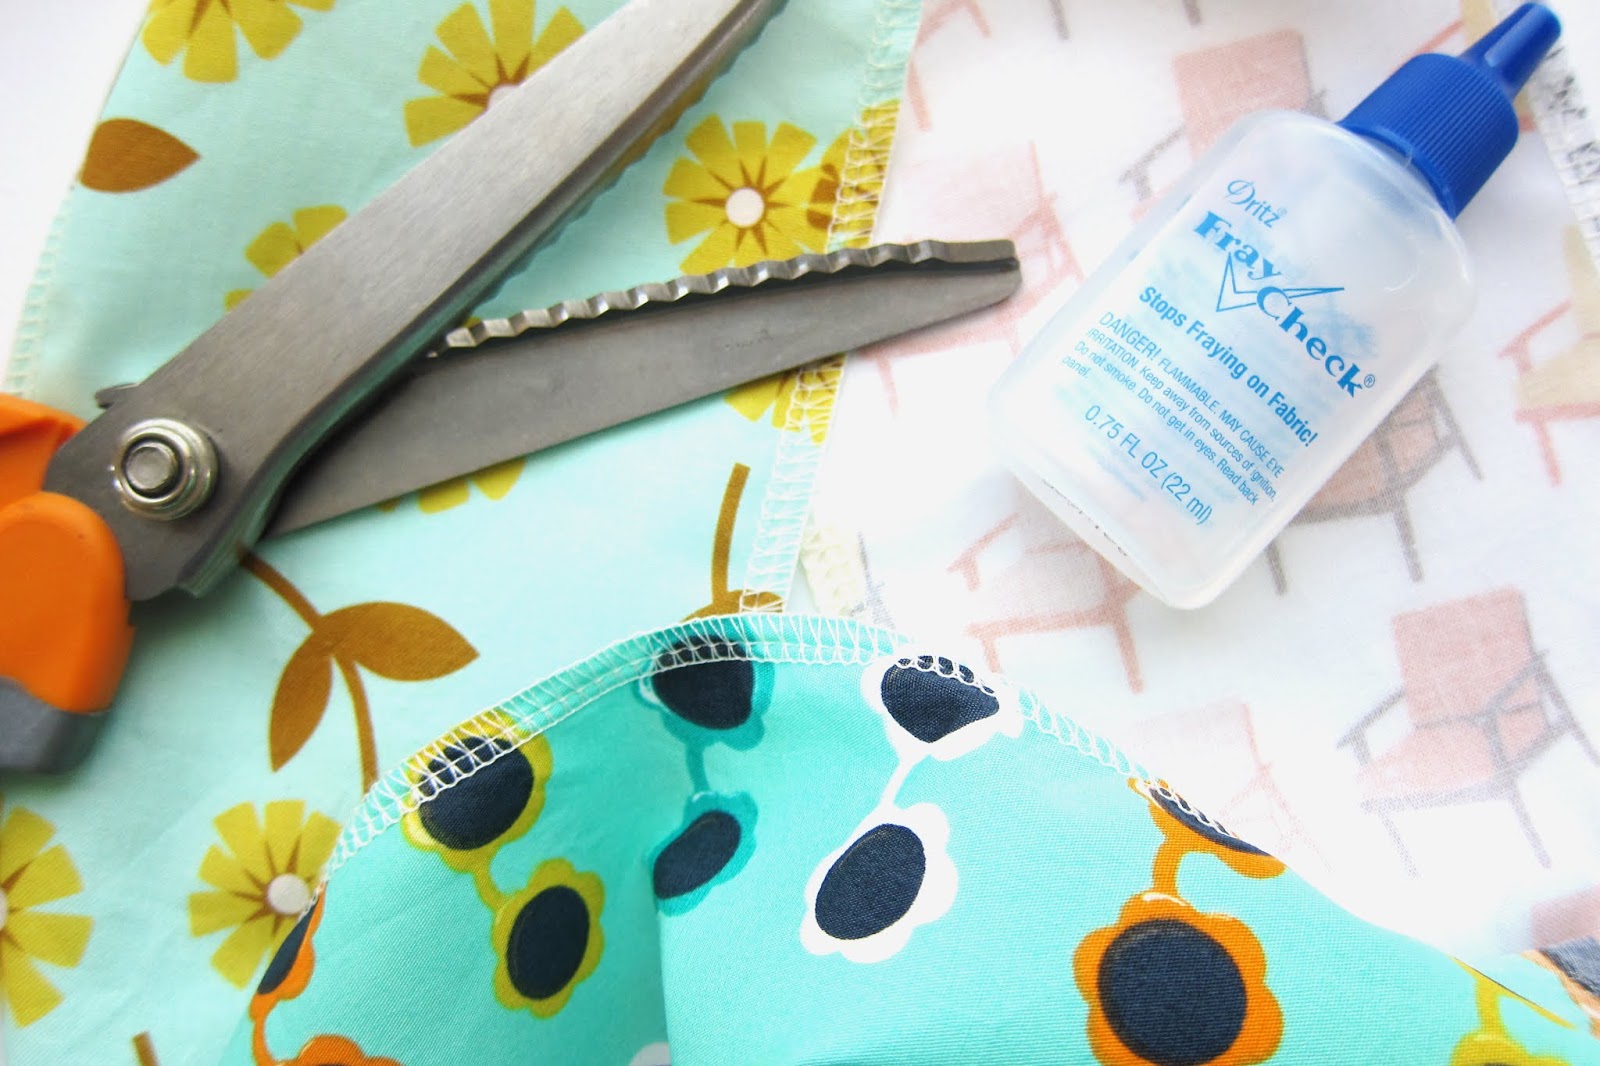
To prevent frayed edges inside the pouch, I use a serger for the long fabric sides. You could also trim with pinking shears or run a bead of FrayCheck down the raw edge.
Next, fold both short ends in twice then topstitch, for a nice clean flap.
Fold your fabric into thirds, overlapping in the center just a tad.
My pouches are about 3.75" wide. Lightly press to mark the creases.
Lay the raw edge of the tab along one side, in the center section, near a crease. Then fold the pretty sides together.
Make sure you turn the tab up a little, or you will catch it in the other side seam.
Then you would have to pull out the seam ripper. And that's no fun.
Sew down both open edges using a 3/8" seam.
Then I go back and sew once more about 1/4" in, where the tab and the overlaps are.
Just for a little extra strength at the stress points.
That was fast! Flip right side out.
Poke the corners with a chopstick. Or something pointy, but not too pokey.
Now just to finish up the tab. I placed my snaps 3/4" in from the end - any closer to the end, and it was hard to pull open the snap.
Then the other goes 2" down from there. You could also use velcro, or even stitch both ends into the seam for a plain loop.
I use KAM snaps. I have a boatload of snaps and an awesome press from when I was making Mara's cloth diapers.
If you need any kind of fasteners, I highly recommend ordering from this family business. Amazing customer service, super helpful owner, high quality well tested products. https://kamsnaps.com
DONE! Now to put a mask inside.
A pleated mask fits perfectly. Fold it into thirds.
Slide one end under the flap.
Pull the other side from behind and over the mask...
....while you stuff it in.
Ready to go.
As a note, I made a few and ran them through the washing machine. As if I had been out and needed to wash my mask and maybe also the pouch when I got home.
The pouch washed up beautifully.
I tested topstitching the pouch a bit, but it wasn't needed to help hold its shape and it made the pouch lines look a little less clean.
Next up, cutting info if you want to make some mask and pouch sets with your cool fat quarters!