...and the crafting I get done in between all the activity of three very busy boys.
Pages
▼
Thursday, April 12, 2012
Mod Mosaic Rainbow
Brooke had the most awesome idea for her month in our bee.
As many of us have, she participated in some of Kati's awesome color wheel charm swaps. Here's the flickr group for the swaps - if you haven't seen it yet, there's lots of great rainbow inspiration.
The trick is figuring out what you want to do with all that 5" rainbow goodness!
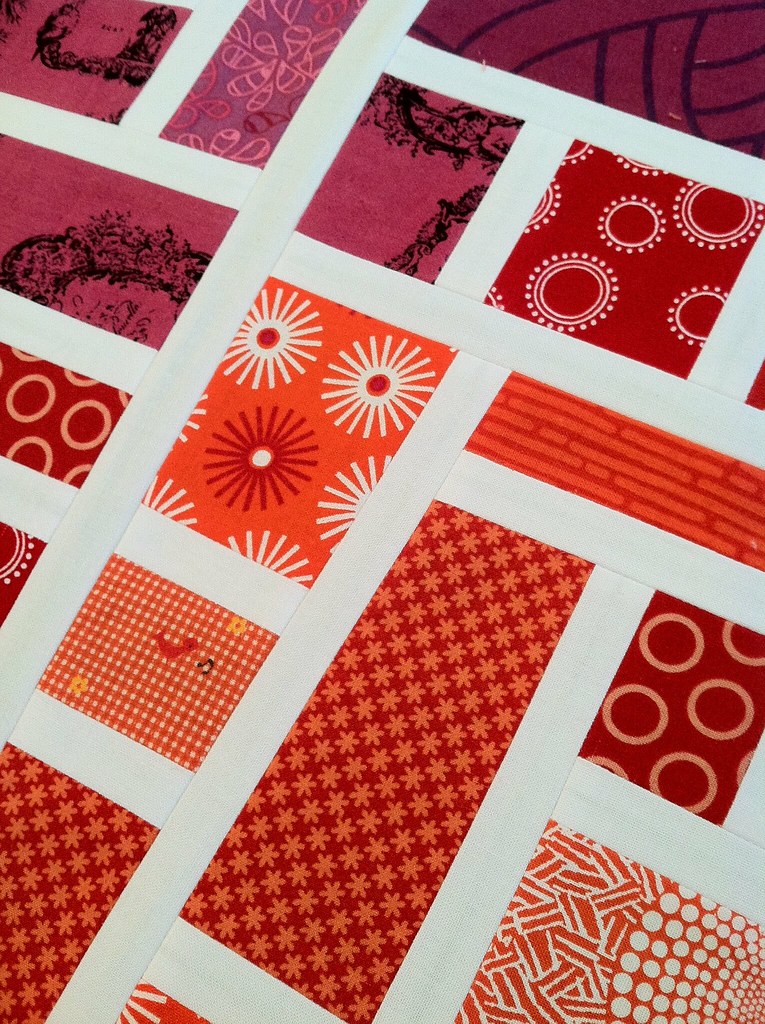
Brooke sent a bunch of her charms for making Mod Mosaic blocks, based on the tutorial by Elizabeth Hartman.
The colors in each of the blocks should flow through a range of three - from upper left to lower right. Then she is going to set the blocks into a quilt that will flow through the whole rainbow. Check out her post, she has a mock-up of the plan.
Brooke wants 12.5" blocks, so we're sending 12.75" blocks so that she doesn't lose anything in the fraying that can happen when our creations make their way through the mail system.
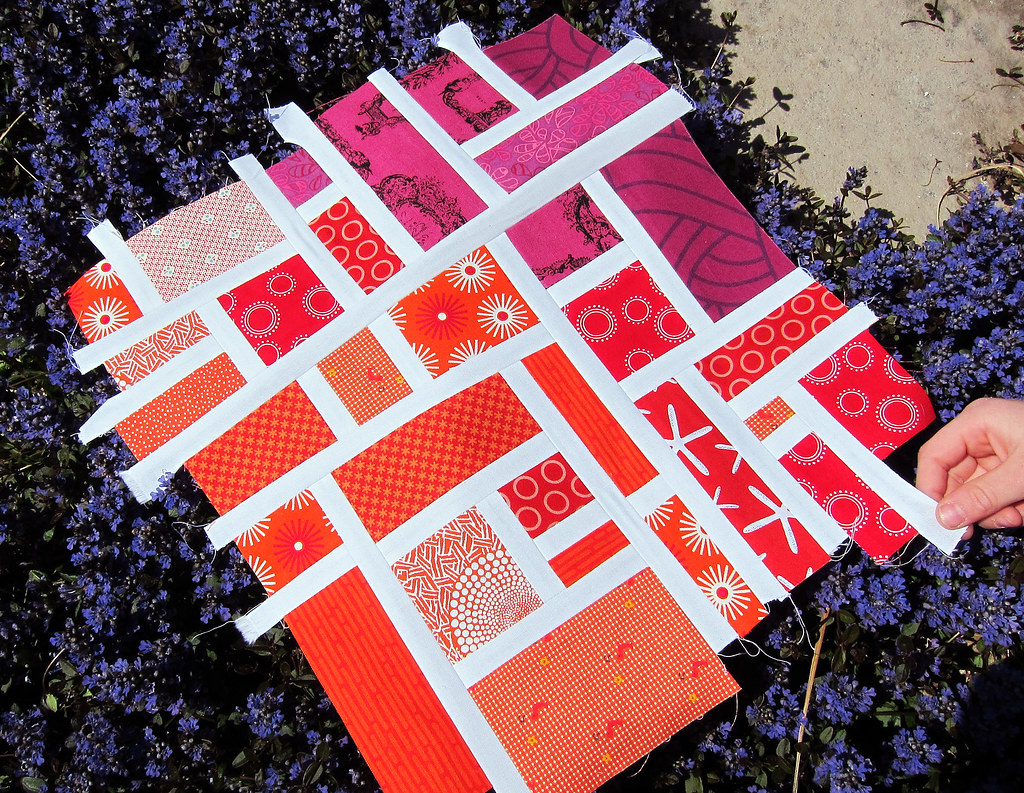
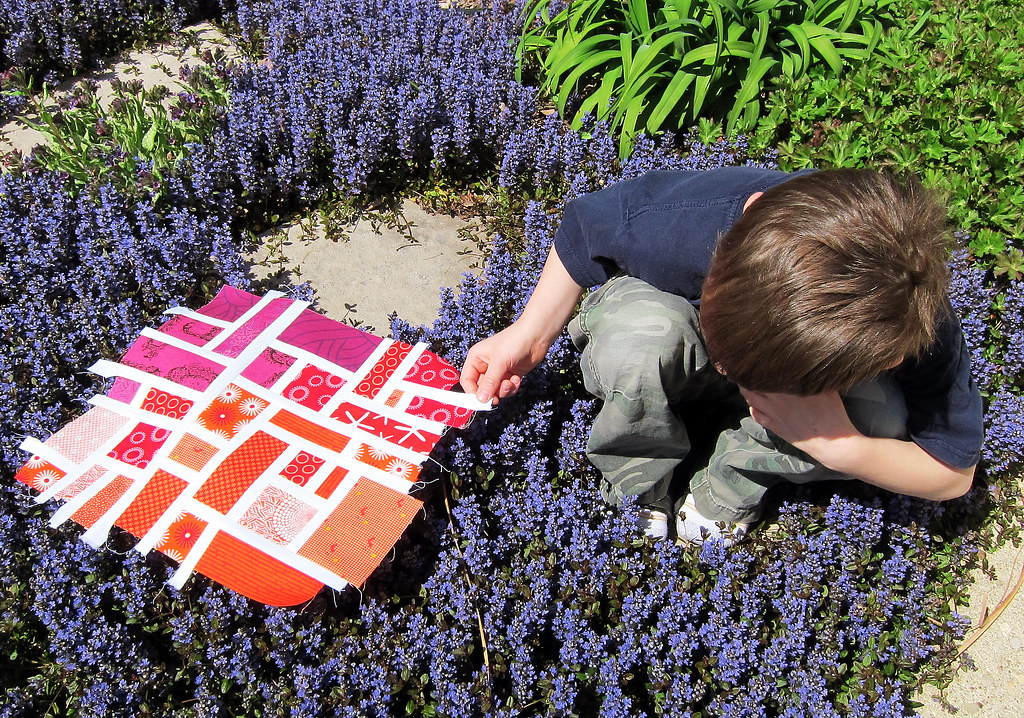
Here was my first pass - I think I counted up a total of 12 charms that she sent. I chopped and laid out a plan within a 13" square, just to make sure the block would be big enough. I left a 1/2" gap, mimicking the white strips.
I should have done that step without any gap, because you're also loosing a 1/2" between each bit when you make those seams with the white. So I had to improvise a little and change my plans to make sure the square would be large enough.
Compare my finished block - photoshop cropped to what would be about a 12.75" square - with the layout above.
You can see how I had to add sections to get the dimensions right. I think it was looking like the finished block would be about 11.75-12" square if I had not added onto the plan.
And it used more white strips than I would have ever though possible! When I opened Brooke's package, I thought she had sent so much extra, but I ended up with EXACTLY the right amount.
I tend to forget how much fabric is eaten up by all those seams. As Brooke did, it's also good to do your own block sample before sending out fabric to bee-mates. If it had been me, I would have underestimated the number of charms and lengths of white strips by a bunch.


It looks fabulous. I am definitely going to check out the site.
ReplyDeleteI think it looks great! I love the white sashing between the patches!
ReplyDeletei love this picture!
ReplyDeleteAck! This looks awesome. I'm happy to see your notes before I start mine!
ReplyDeleteIt's really pretty, Angela. Good advice, too. It's easy to forget the impact of seam allowance when the starting pieces are small.
ReplyDeleteAngela! You have no idea how much I love this post!!! You did such a great job documenting your process.I forget to do that most of the time, but you've inspired (and reminded) me to do a better job of describing my process. So thank you. And your block is gorgeous, by the way!
ReplyDeleteThis comment has been removed by the author.
ReplyDeleteI should have read this before working on it today! I did the same thing - layed it out without realising how much seam allowances would be lost. Now I've got an extra inch or two on two sides to add to! It came together really nicely though! :) I love your color gradation in your block!
ReplyDelete