Saturday, July 29, 2023

Hello New Friends!

I've met so many of you at the Midwest Native Plant Society Conference - Hello!

If you were hoping to find something in particular, there is a place to contact me in my etsy shop or you can email me directly.  I'm happy to take custom orders:

mymetier.angela@gmail.com

Due for a 2023 update, in August you will be able to find my in-person market schedule:

My Metier Holiday Markets

Once I take photos of all my remaining items I will upload them for shopping, and you can find them in my etsy shop.

Shop My Metier


I love fabric, and sewing, and talking with all of you in person! 

Thanks for stopping by my blog :)

Angela

Thursday, July 14, 2022

The Big Move


I'm moving my shop to my own site!

https://my-metier.square.site

As I get things set up, and work to upload and move things over, all my etsy store things are going  to be on sale.  

Huzzah!

Things are quite rough right now, but have a look around.  I added the coupon code for use on etsy to my home page.  

:)


Thursday, January 20, 2022

Fens and Hiking on the non-sewing days

You have to poke around, and then you find, Life! - Mara


Sunday, December 05, 2021

In Honor of Our Lady

Mark had a fabulous idea - a sale in Honor of Our Lady.

From The Immaculate Conception through The Feast of Our Lady of Guadalupe everything in my shop that's ready to ship will be on sale!  

"Immaculate Conception c. 1628" by Peter Paul Rubens


Christmas Sewing almost Done!

We have had so much fun at the local craft bazaars, but they are a bit exhausting, that's for sure!

I have a few of the new things I made to load into my etsy shop for Christmas buying....

Click through to my shop - MyMetier

A couple chalk mats left.


And I super love this sock/shawl size knitting bag with matching notions pouch.  The print reminds me of PBS Mystery!


A need to take photos of the fabulous waxed canvas tote bags.

Then it will be onto sewing more stuff for fun!  Although my machine will need to go into the shop for a good cleaning and tuneup soon, so I'll have to pick back up my knitting for a little bit.


Saturday, November 06, 2021

Bazaar Season!

My mom and I are having a great time spending Saturdays at local parish bazaars.  

This week I brought several new things - all of which are new favorites to make.  

So much fun to sew with this amazing custom fabric designed by fellow Catholic Moms.  Our Lady of Lourdes!  Irish Saints!  The Memorare and Hail Mary woven into beautiful florals!  These are just a few of them.

I super love this little project bag - perfect for a sock or small project.  Made with a custom piece of artwork that totally reminds me of PBS mystery.


I brought several new minky-backed baby tag blankets and crinkle teethers.  This one was in another beautiful Catholic print - St Therese of Lisieux.


Finally, I should have made more or these travel chalk placemats.  They went fast!  Cute sharks - dragons - cats.... on one side, chalkboard fabric on the other.  I included a little attached pouch that holds chalk and a micro-fleece erasing cloth.


I have some sewing to do to restock for next week!


Monday, September 06, 2021

My Metier { LLC }


Pretty Exciting - I'm Official.

Spending lots of time getting all my things loaded back onto Etsy.  Seriously takes forever.  

I can sew all of this faster than it's taking me to do the photos, write the blurbs, load it on.  LOL

Visit my shop and check out what all I've been making!


Monday, February 01, 2021

Rotary Cutter Protection : Science Fair Time!

{Eeek!  covid got us the day before Christmas.  We are all recovered, it wasn't fun, and sewing is just getting going again.  Lessons from teaching Mara to sew are finally under way and coming here soon.}

But for now...

It's science fair season.  

I have a mini experiment I stumbled into and now I'm looking to crowd source my quilty friends for the best rotary cutting glove.

Knock on wood!  Many years, tons of quilts and things made, I haven't hurt myself with the rotary blade beyond a couple tiny nicks.  I cringe every time I see a friend post about their severed finger tips and ER visits.

Beyond the catastrophic accidents, changing a blade is a little harrowing as well. 

I have a whole process that involves paper towels and methods for sliding the stack of new blades apart without slicing my finger tips.  You totally have to hold your breath the whole time.  It's tense!

So, I did some searching for strong cut resistant gloves that also left me enough dexterity to change a blade.  I was excited to find some that looked great and also have anti-slip grip.  The gloves just arrived, and they sent the wrong size.  Booo.  

Then I decided to use one of them to conduct a little experiment.


Fail.

I thought maybe I had pushed a little too hard.  So I tested on a finger tip, as if I was cutting fabric and accidentally ran over my finger. 
 

Not.  Good.

My thread snips also cut into them.  So disappointed.

Since they were advertised as usable in the kitchen - they are food grade materials and washable - I tested knives on them.  


Interestingly, the glove totally protected against both my sharp chef knife and serrated bread knife.  I gave a good go with each, sawing away. Not a thread frayed.  

Thinking maybe it was the pressure of the scissor action and my downward rotary blade force, I tried cutting the glove with my chef knife - placing the front end and pivoting down with the handle.  Like when you're cutting carrots.  Still not a nick!  

I'm now on the search for what type of glove works against a rotary blade.  I would love to try to dice up a kevlar glove and several others, although it would become pricey very quickly with the kevlar if they keep failing.

What have you found?  Anything you know to work for sure?


Wednesday, December 23, 2020

The Sewing Bears : An Adventure Begins!

Mara and I are getting ready to start a new adventure - and after this crazy year, that sounds like an awesome idea.

It's also the perfect time to get the blog running full steam again.  The instant and constant conversations on social media are fun, but I miss the deeper stories and project details of a full blog post. 

....and our new adventure will certainly need longer details!

After more than a year of wishing and talking about it, a special present is waiting to be opened.  

I wish it was an upgrade for me - but not yet.  Last year the sewing bug bit Mara and she has been asking for her own machine ever since.  

She took my tiny scraps and decided to make rings.  


Then set up a shop.  Ha!  It was named The Sewing Bears. 


I have also been submersed in a full Charlotte Mason school year for Mara.  She would be in 2nd grade, so it's a most excellent time to give this a shot.  Handicrafts are an important part of the Charlotte Mason philosophy, and learning to machine sew will fit in perfectly!  

I can't wait to share our lessons and creations.


Friday, May 15, 2020

FQ friendly Mask and Pouch Tutorial

A fat quarter is perfect for two pleated masks and a pouch - tutorial for that in my last post.

I pulled four FQs, and ended up with super cute mixed sets for teacher gifts.


(Half way through I decided to make one of the pleated masks into my normal style - to give the teachers one of each type.  I needed a different fabric for the lining when I made those.)

I thought Mr. Andrews would prefer a more masculine mask.... a straight quarter yard is also perfect!


One cut 8" wide and the full width of the fabric can yield two mask cuts and a piece for the pouch.  I mixed a couple making his 4th of July set.

But back to the FQs.

To make a mask I use 8"x15" pieces (or 8x14 if that fits better).  One pouch needs 4.5"x12"

Decide which way you want the print to sit on the finished mask.  The short side runs across your face.


Then you can cut your FQ  like this...

Or this....


There are a million tutorials for the pleated masks, but I thought I would share what I've found is easiest for me when inserting the elastic.


Press the piece in half - right sides together.


Mark the top edge about 3/4" from corner.  Sometimes I tack my elastic at this point, on this outside end - other times I don't.


I use 1/8" wide elastic - 6.75" long.  This seems to work for both men and women for a quick trip into a store.

Take the whole thing to your machine.  Lay the elastic at the fold, lined up with the raw edge.  


Close the fold and start stitching here, using a 1/2" seam allowance.  

The most annoying part of the elastic is that it tries to scoot away when you stitch over it.  Starting at the fold - with the elastic against the fold, eliminates the scooting on this end.


Once you get to the other end and around the corner, I stop.  Leave a gap for turning, then start back at the fold for the other side.  

Pleat and finish.....I haven't figured out any other process optimizing bits on the last steps yet.  


But the FQs do make for super cute sets!


Monday, May 11, 2020

Mask Pouch Tutorial - Teacher Gifts for a Covid Year

Useful end-of-the year teacher gift?  Horrible souvenir?

At the least, there's a super cute little pouch that could be used for holding dog-walk bags or other random things.


I came up with four mixed sets of corona virus protection fun, with four FQs.  I'll show you more info on that later.

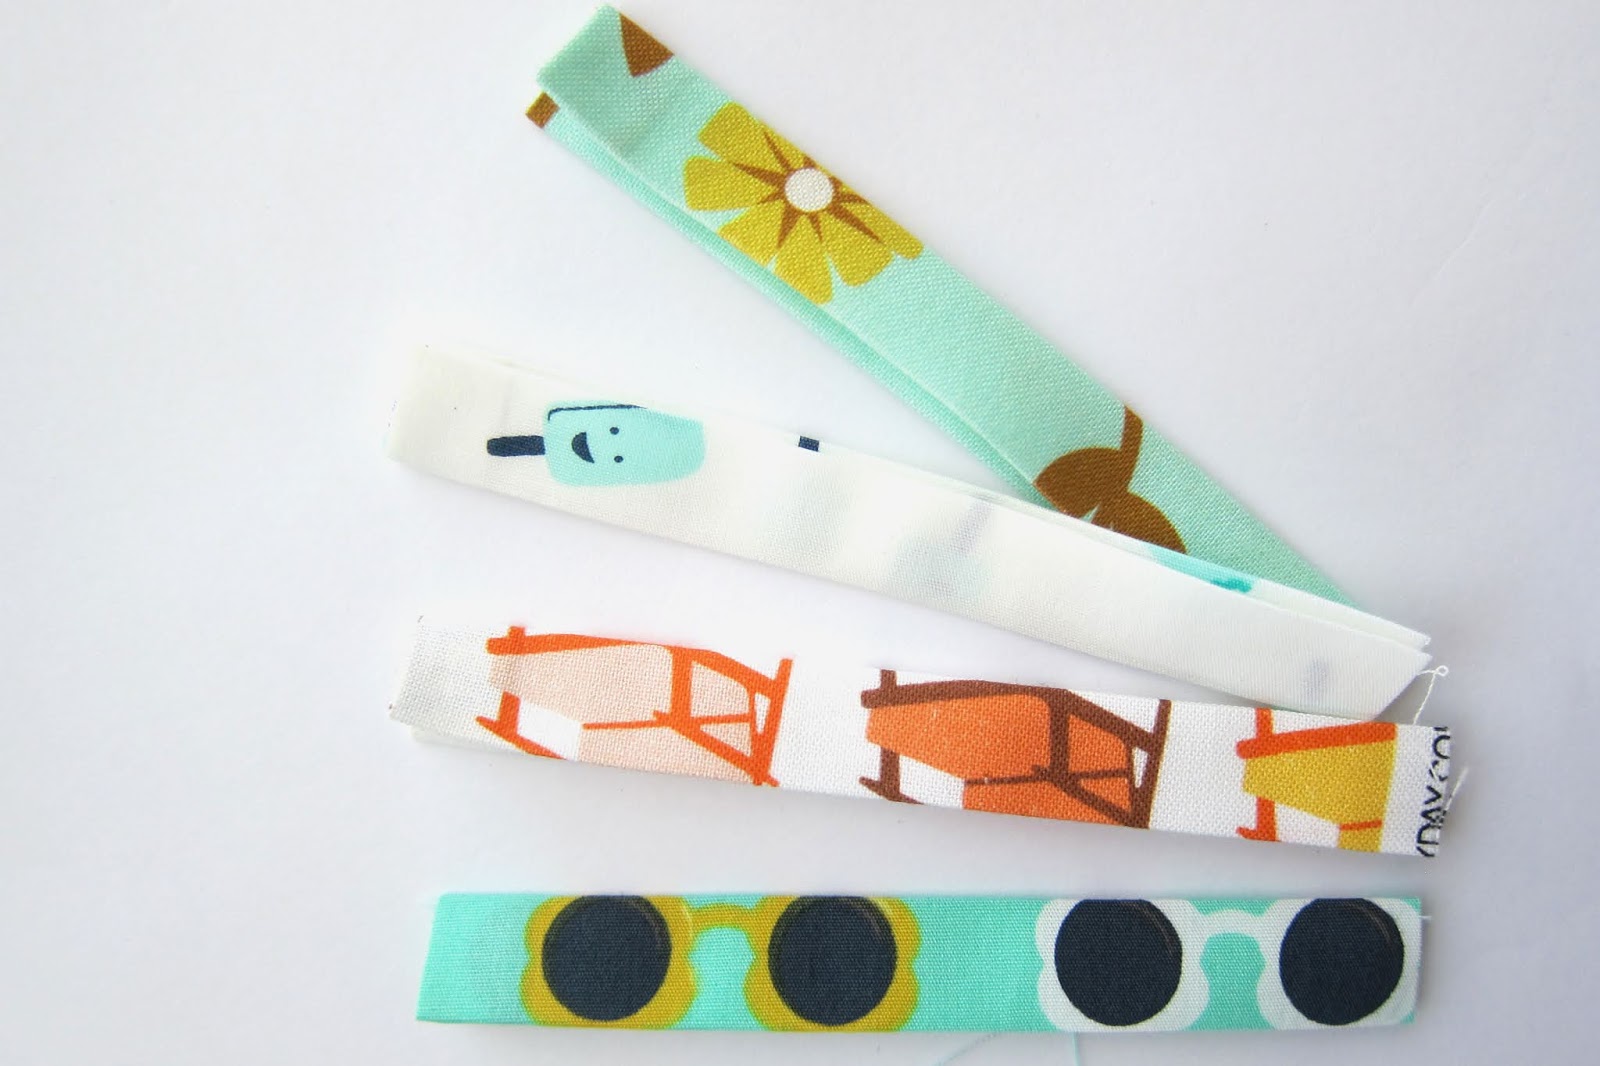
a-dor-able fabric - Summer Side by Dana Willard

We'll start with the little pouch that can hold one mask.  Snap it onto a belt loop, toss it into your glove box or purse, and a nice clean mask is ready to go!

Cut a piece of fabric 4.5" x 12" - then take 2" off the end for making the tab.


The tab is totally optional.  But handy and fun!

Make the tab by folding in half to find the middle, turn one end down about 1/4", fold each end to meet in the center, then fold in half again.


Topstitch around the three sides, starting and ending at the raw edged end.


This is my favorite foot for topstitching.  On my machine it's actually called a blind hem foot. 

That flange in the center keeps the needle perfectly placed on the fabric, so the top stitching is super even and pretty on the sides.  Without much stress.  Like bowling with the gutter guards up!


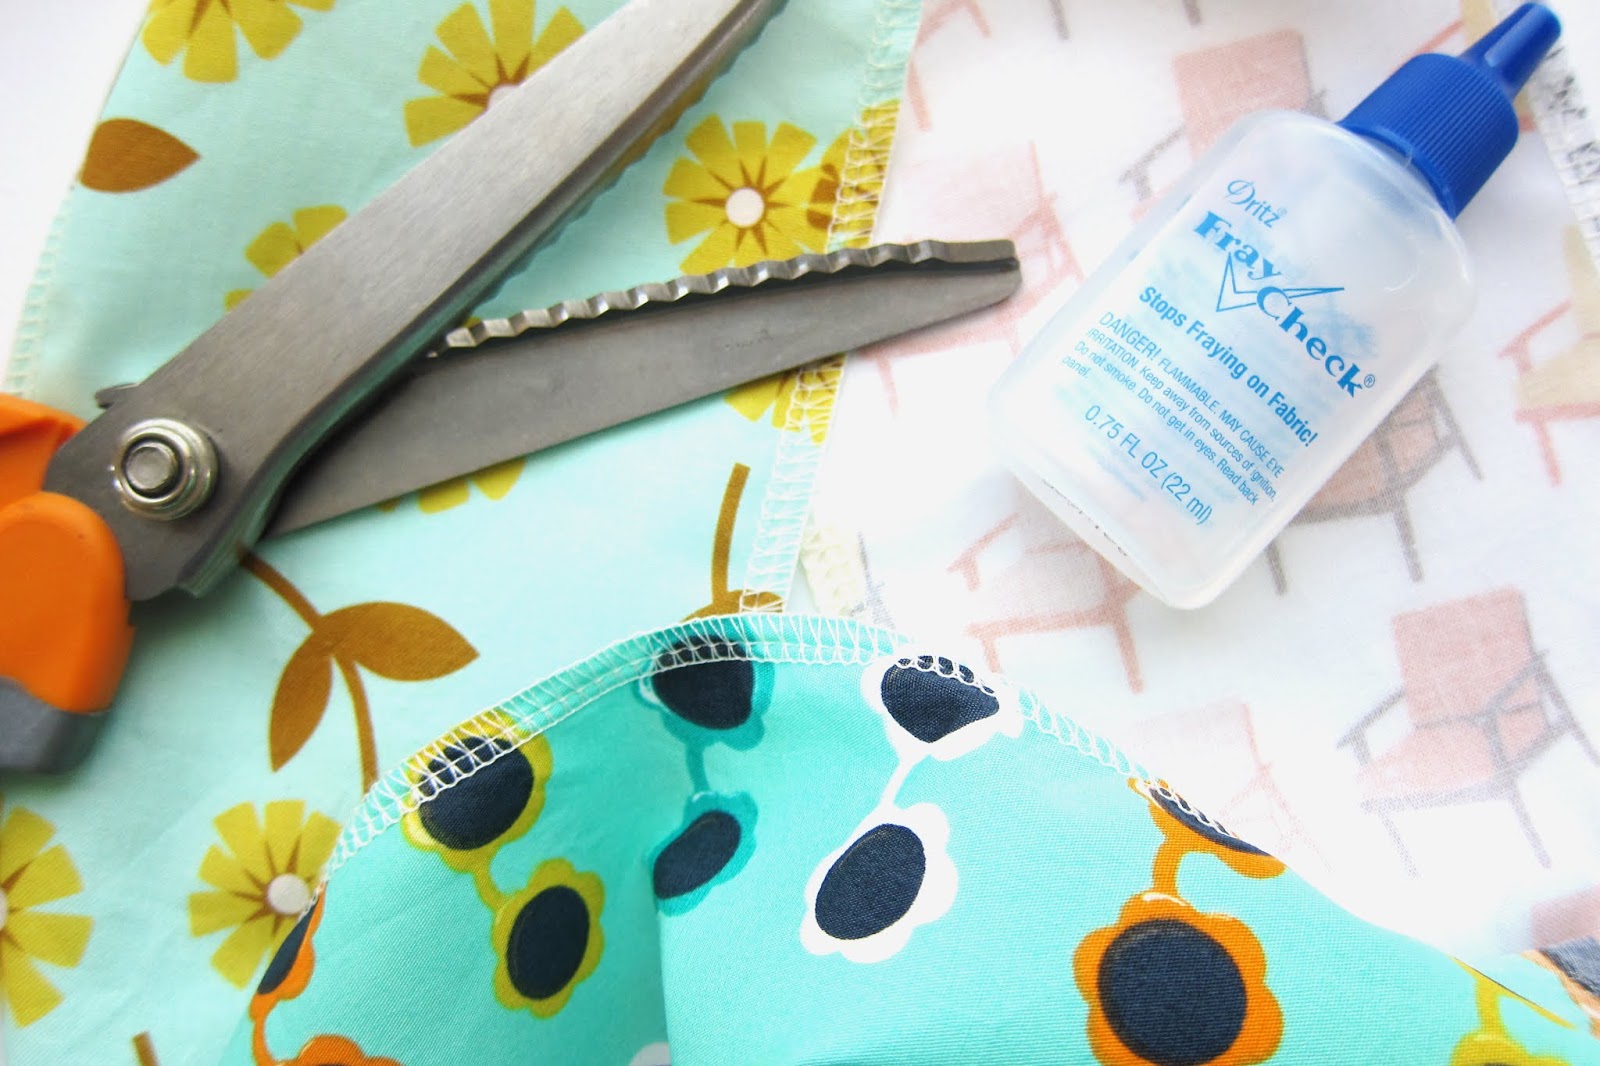
To prevent frayed edges inside the pouch, I use a serger for the long fabric sides.  You could also trim with pinking shears or run a bead of FrayCheck down the raw edge.


Next, fold both short ends in twice then topstitch, for a nice clean flap.


Fold your fabric into thirds, overlapping in the center just a tad.

My pouches are about 3.75" wide. Lightly press to mark the creases.  


Lay the raw edge of the tab along one side, in the center section, near a crease.  Then fold the pretty sides together.


Make sure you turn the tab up a little, or you will catch it in the other side seam.  

Then you would have to pull out the seam ripper.  And that's no fun.


Sew down both open edges using a 3/8" seam.


Then I go back and sew once more about 1/4" in, where the tab and the overlaps are.

Just for a little extra strength at the stress points.


That was fast!  Flip right side out.

Poke the corners with a chopstick. Or something pointy, but not too pokey.


Now just to finish up the tab.  I placed my snaps 3/4" in from the end - any closer to the end, and it was hard to pull open the snap.  

Then the other goes 2" down from there.   You could also use velcro, or even stitch both ends into the seam for a plain loop.


I use KAM snaps.  I have a boatload of snaps and an awesome press from when I was making Mara's cloth diapers.   

If you need any kind of fasteners, I highly recommend ordering from this family business. Amazing customer service, super helpful owner, high quality well tested products.   https://kamsnaps.com 


DONE!  Now to put a mask inside.  

A pleated mask fits perfectly.  Fold it into thirds.


Slide one end under the flap.


Pull the other side from behind and over the mask...


 ....while you stuff it in. 


Ready to go.


As a note, I made a few and ran them through the washing machine. As if I had been out and needed to wash my mask and maybe also the pouch when I got home.  

The pouch washed up beautifully.  

I tested topstitching the pouch a bit, but it wasn't needed to help hold its shape and it made the pouch lines look a little less clean.

Next up, cutting info if you want to make some mask and pouch sets with your cool fat quarters!