Monday, April 29, 2013

Huge Quilt Block Squaring Up - one way how

Boy has it been a busy month!

There has been a lot of this going on.....all three boys moved bedrooms.....much cleaning and painting, getting things ready for the baby.

(Becket was super excited to help paint his new room.  Being unable to hand over control of stuff, I didn't want him to REALLY paint the wall.  So I gave him a small trim roller for his paint.  He worked happily away for a long time, then we re-coated the area for a solid look later.)


I've actually done a decent amount of quilt and baby sewing as well. Just haven't had the time to photo and post them yet.

But, I got an email asking about how I squared up my large, purple quilt blocks - they were larger than my biggest square ruler. I already had several pictures on my computer, and have ditched the photoshop editing part of my process in the interest of actually getting this posted!


The challenge here is a block that needs to be 24.5" square, my largest square ruler being 16.5".

Also, for the finished quilt to look just right, the white sashing needed to be perfectly centered in both directions.

To get all this done, I used a largish square ruler, my cutting mat, and a couple other 26"+ long, narrow rulers.


Start by marking what you want to be the center, on one of the block's edges.

You can see here that I used my Frixion pen.  Ironically, the email I got asking about how I accomplished this squaring up was asked by a quilter that had originally found my blog as she searched for information about the Frixion pen!  This is one of the two ways I actually DO use it on  my fabrics.  All the marks are in the seam allowance, or trimmed away.


My block needed to be 24.5" square, so I needed to measure OUT FROM this center point, half the size of my block - which is 12.25".


Please ignore the next two photos that need to rotate.   Part of the annoying blogger thing and how it randomly deals with unedited pictures.

I have my ruler lined up so that the 12.25 mark is at the center point of the block.  ALSO the vertical and horizontal are both aligned squarely.


Better view in that picture above - What is important is that those parts of the block are as near perfect in both directions.  That way the finished design looks like a square, and not a wacky, slanting rhombus or something.


Now, the tricky part.

Especially for those of us who are cursed with slipping ruler syndrome.

Hold your big square, and carefully slide a long ruler up against it, without shifting anything.  I would re-check the 12.25" mark and the squareness of that yellow ruler after getting the long ruler in place.

Oh, must be noted, I am right handed.  And I am totlaly unable to cut with my left.

If you can cut with your left, remove the first ruler (the square yellow one, in my case), hold the long ruler in place, and trim your block.


For myself, I carefully moved away the square, replaced it with yet another 26"+ long ruler - moved that second one out of the way - and then trimmed my block.

Did you get that?  It's a bit of swapping back and forth, and I'm lucky to have a big stack of rulers.

Those steps take the longest.  The point of them being getting yourself a starting point that puts the center exactly in the middle and the first edge perfectly square with your piecing.

Let's get the last three sides done.....


Using your cutting mat, line the nice edge you just made up with one of the ruled markings.

Check that it's nice and straight, top to bottom.


Count over to the other side, the full width of your finished block.

I had to go over 24.5"

Use a long ruler and the markings on your mat to perfectly cut the block, ending up with one set of perfectly parallel sides.


...Ugh, another sideways photo.....

Anyway, we are going to do the process again, for the last two sides.  WITH ONE DIFFERENCE.

After you mark the center of the sashing, you need to measure over that same half distance as before.  12.25" in my case.

INSTEAD of lining up your square ruler with the block piecing, you now line it up with one of the two sides we already cut.  I used two large squares to double check I was in exact center, because I'm Type A like that.  Do not freak out if your outside edge alignment and the block piecing alignment are just a bit off.  For me, an 1/8" drift was not visually obvious in the end.  I did have one mess of a block, I have no idea what I was doing as I pieced.  The sashing angled nearly 3/8" off center from side to side.  I re-made that block.

After you trim this third side, line it up on your cutting mat again and measure over the full block width for your last cut.


Ta-Da!  Perfectly square and centered, huge quilt block.

I'm thinking this all will make more sense if you are reading and cutting at the same time.  It's a bunch of shifting and rulers.  But I hope it helps!

Ask away with questions on any horribly confusing stuff, and I'll try to make things clear.


Sunday, March 17, 2013

Bloglovin Link....

Bit the bullet and organized my blogs back into groups, and got their read status up to date, on Bloglovin.

Although that was why I liked Feedly better to begin with, I'm liking the usability of Bloglovin better. Feedly has that graphic, magazine/Pinterest thing going for it, but that seems to make it just too fiddly for use.

One thing I noticed was that if a blog hasn't posted in the past week, there doesn't seem to be a way to link over to their blog, even though it does stay in the reader.

Here's my official link.

Follow my blog with Bloglovin

Thursday, March 14, 2013

No Google Reader?!

Update: What I really liked about Reader was how it made it easy to see which blogs had new posts, and also gave folders to group people - like I have my bee people in one spot, 'online friends' in another...

From your speedy tips (Thanks!), I just signed up for both bloglovin and feedly - and at first glance, I think I like feedly much better. Bloglovin crashed in the first attempt at migration, while feedly took just a couple of seconds. Feedly has all my Reader folders and current unread count in place and correct. Bloglovin doesn't seem to have any folders at all, all the unread post counts are wrong, and it's linked to Facebook - which puts me off a bit. Feedly seems to be a Google product? It was happy that I had Chrome.....haven't looked into it that much, yet.

Let me know if you have any thoughts on those two or another...

Lola Bea Fabric

The fabric has nothing to do with the post, but it's pretty!  And the huge stack of photos I've taken for blog posts-to-be are still unedited.

Reader popped up a little message today that it will be gone on July 1st. And I had to use some kind of takeout service to get all my Reader links into some random kind of file.

Is this a hint that we shouldn't bother following all the blogs anymore?! What is everybody going to use, it almost seems strange to go back to a long list of browser bookmarks.

Tell me what you will do......I have no idea what the choices are out there.

.

Wednesday, March 06, 2013

WIPs - For Baby and Serger

Lola Bea Bag Markings

I have a whole list of WIPs, and ones to start, before school is out and the due date arrives in June.

Knowing that I'll have to start hauling around a bunch of baby stuff, a diaper bag made it high up the list.  I've been saving this yard of Echino for several years, planning on making a bag.  Even though it is theoretically a half yard short for the diaper bag pattern I found, I gave it a try to make it work.

I'm squishing and rotating the pieces. A big puzzle!  For sure, loving the Lola Bea Diaper Bag pattern so far.

first try - epic fail

And THIS is my most challenging WIP in a while.

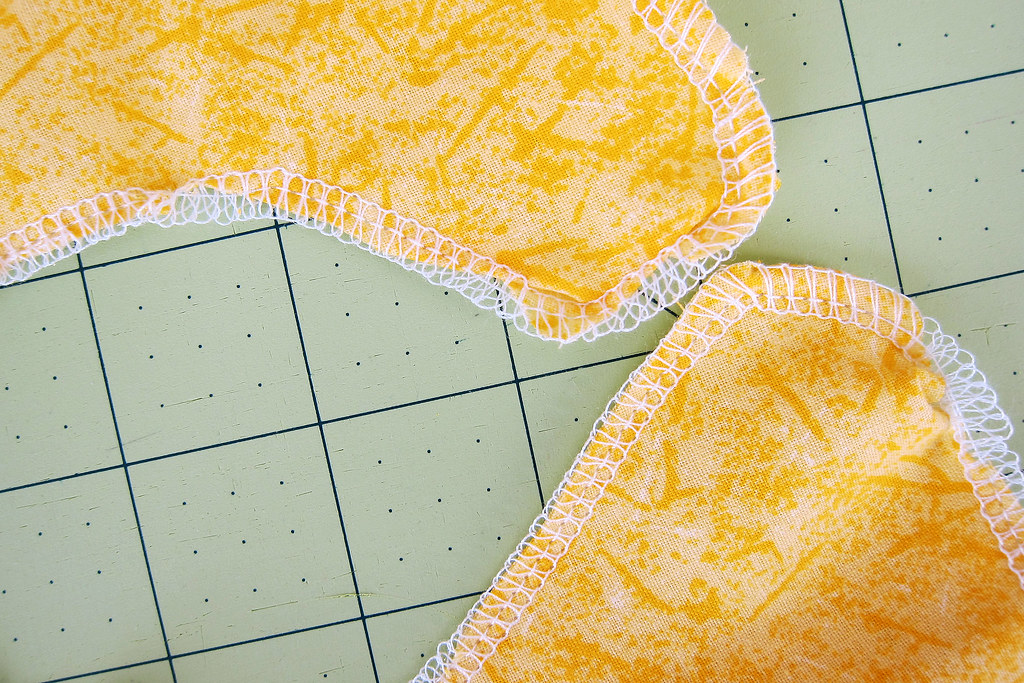
Serging around tight inside and outside curves.

Epic Fail!

 Hopefully I have something good to share soon, because I'm interested in doing way more than covering simple, straight seams.

Linking up to Lee...

WIP Wednesday at Freshly Pieced

Monday, March 04, 2013

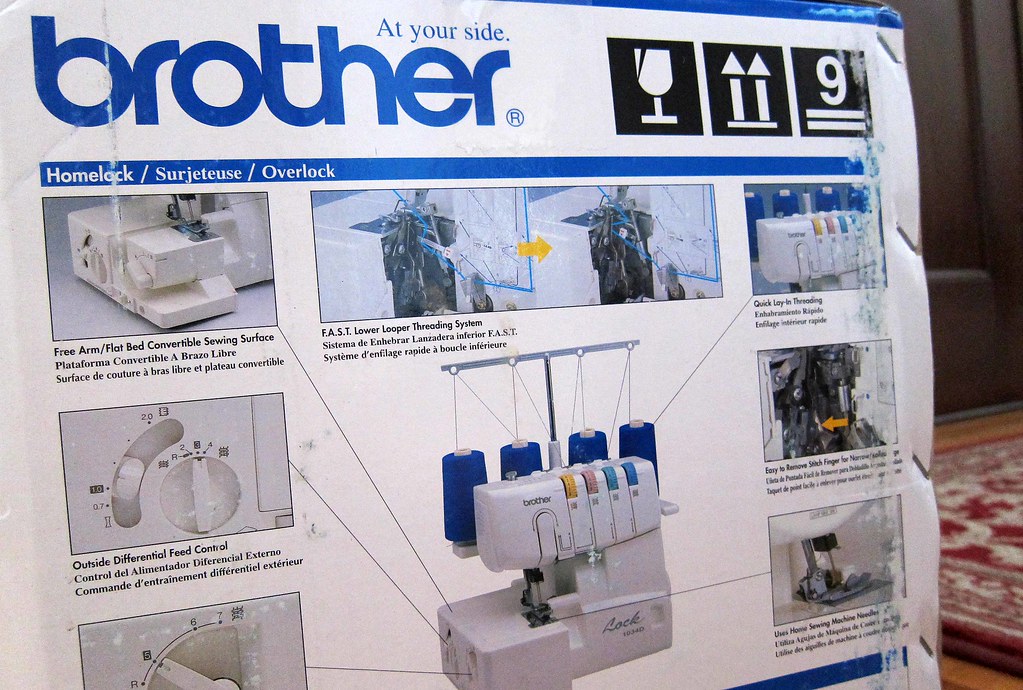
My New {Serger}!

Birthday Serger

Look what the UPS guy left for me!

I was thinking about it for ages, then my birthday came, and I finally went for it.  I think my Bernina training class did the most to make me feel like I could use this strange, chopping thing.  I figured that if I could understand how to fix the guts, certainly I could make it stitch things together without slicing off my fingers.

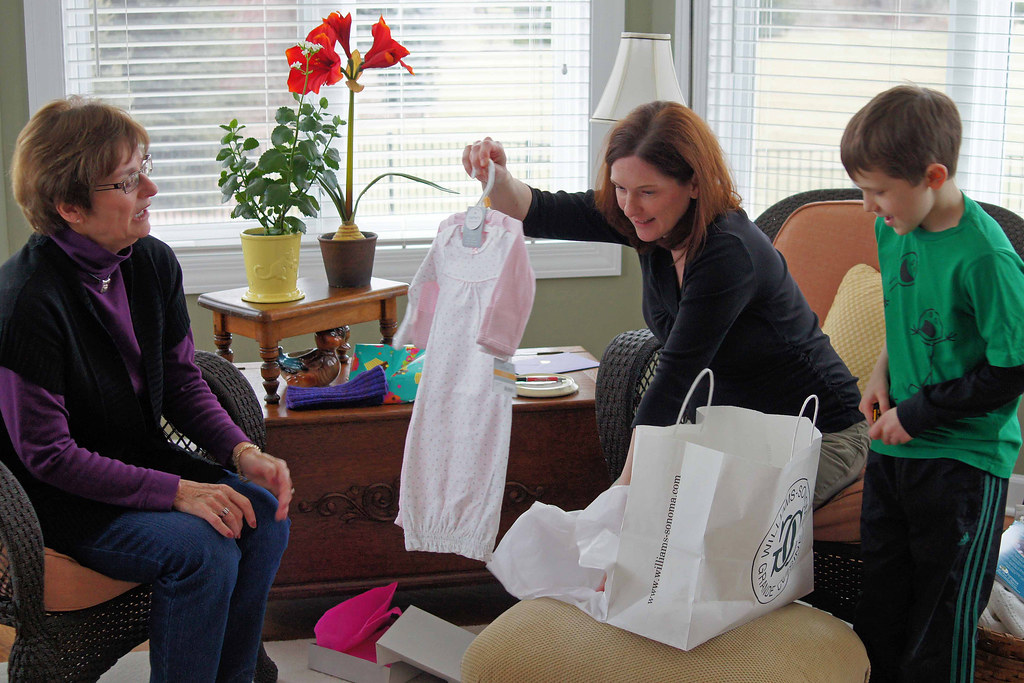
Pink BdayPresent

Of course, with a baby girl on the way, my birthday also included lots of wonderful pink stuff.

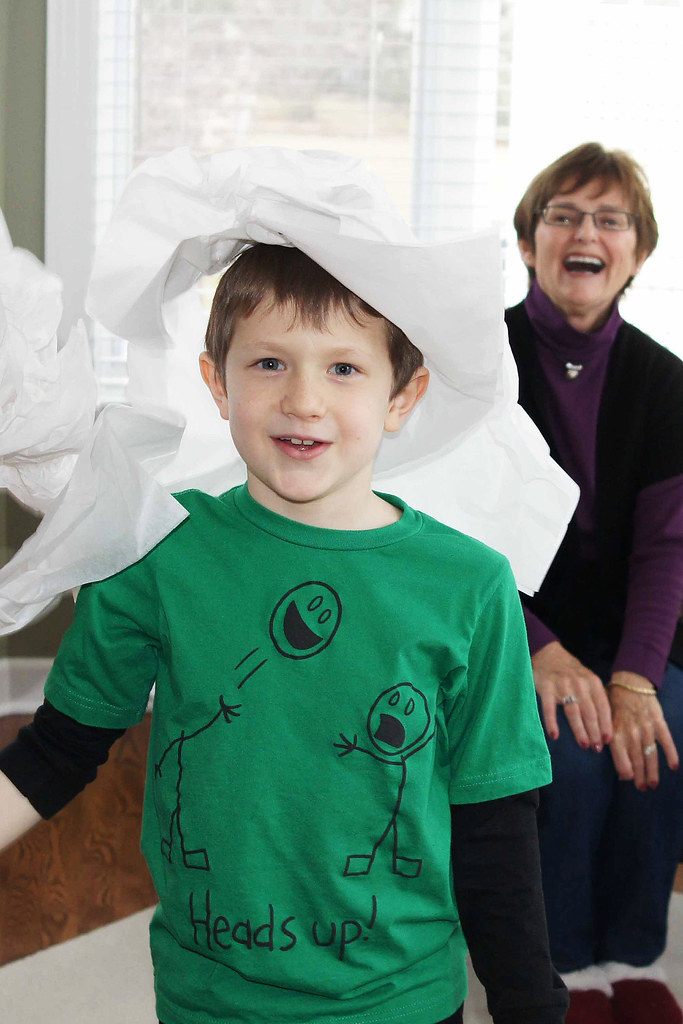
Becket paper hat

And there was much fun with the tissue paper....

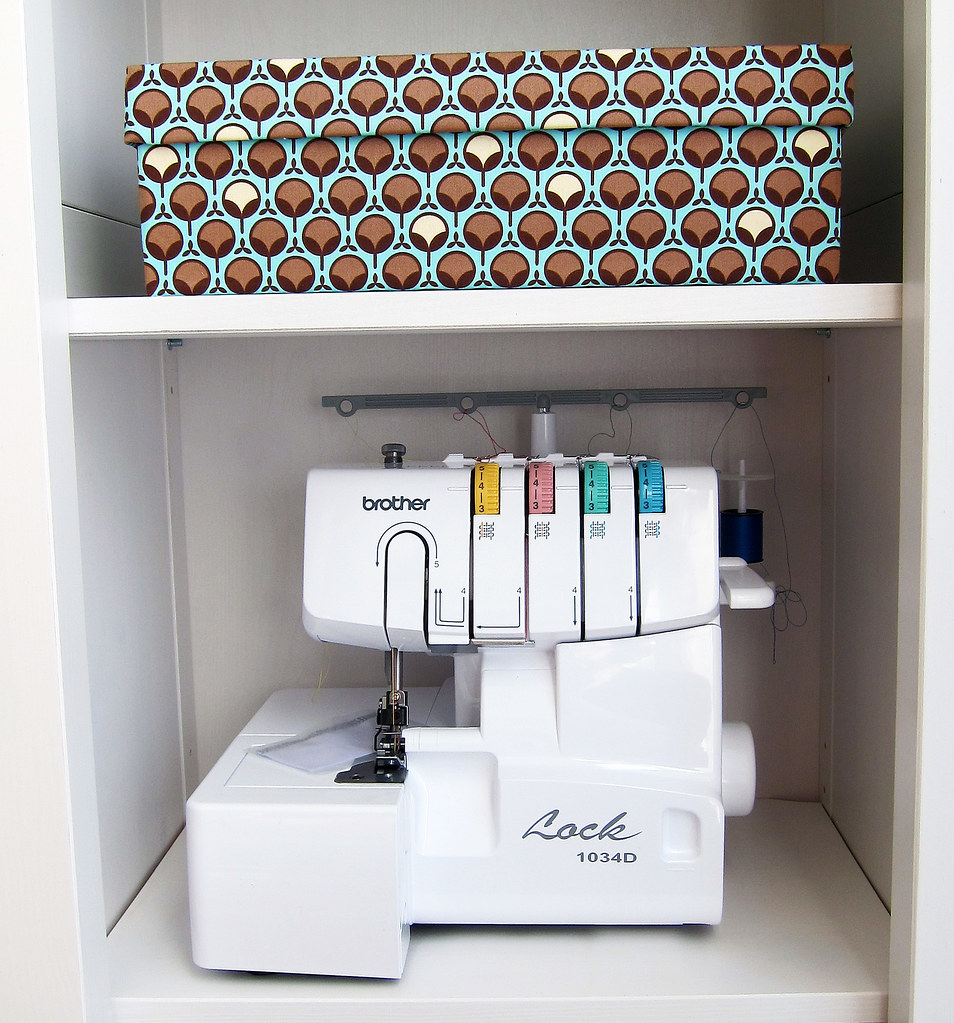
NEW SERGER

.....almost as much fun as fitting my new toy perfectly onto a shelf in my sewing room.

Now I just have to learn how to use it!  I've pinned a whole ton of stuff, scoured blogs, checked out a book - and I'll be sure to share all the new things I learn.

blanket to chop

First up, I was planning on making some fuzzy PJ pants for Becket.  I could use several new skills on them, and being just PJs, wouldn't have to worry about them looking perfect.

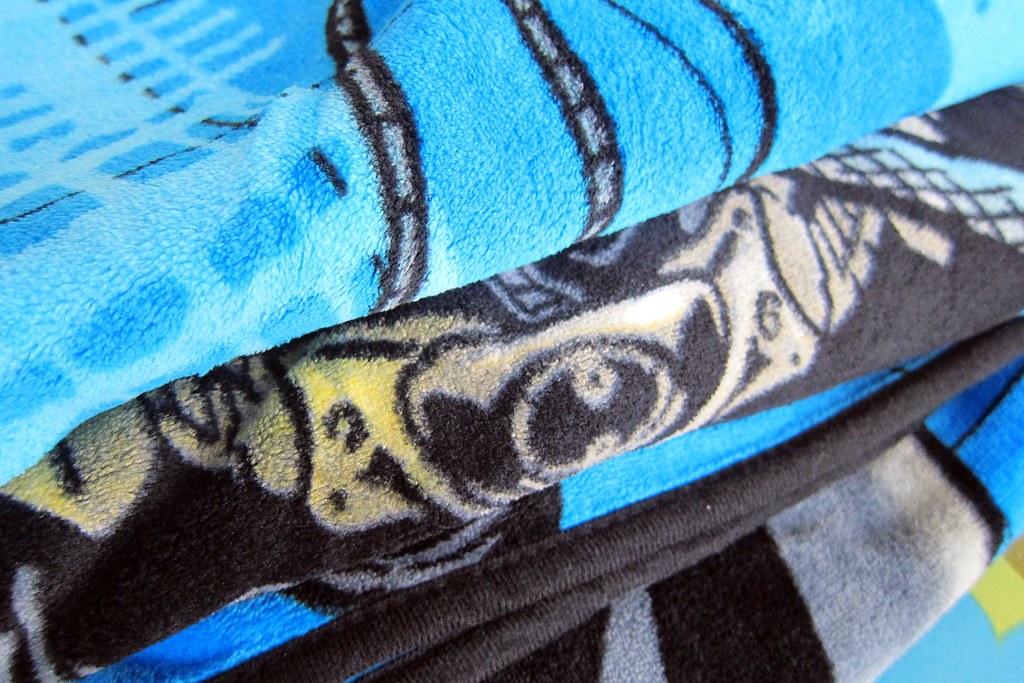
My trip to Target this morning turned up exactly what I needed for them!  I found this 62x90" micro fleece blanket on the clearance shelf, only $7.48 for 2.5yards of super soft fabric.  Way better than JoAnn's with a coupon, and perfect for my first try at serging a piece of clothing.

Lola Bea Fabric

Two of the boys were miserably sick with flu aches last week.  In between drink refills and movie changes, I actually pulled out some of my longest hoarded, most favorite fabrics.  And Cut. Them. Up.

I need a cool diaper bag for this summer!


Tuesday, February 26, 2013

Leah's Quilt {Done and Delivered}

Leah

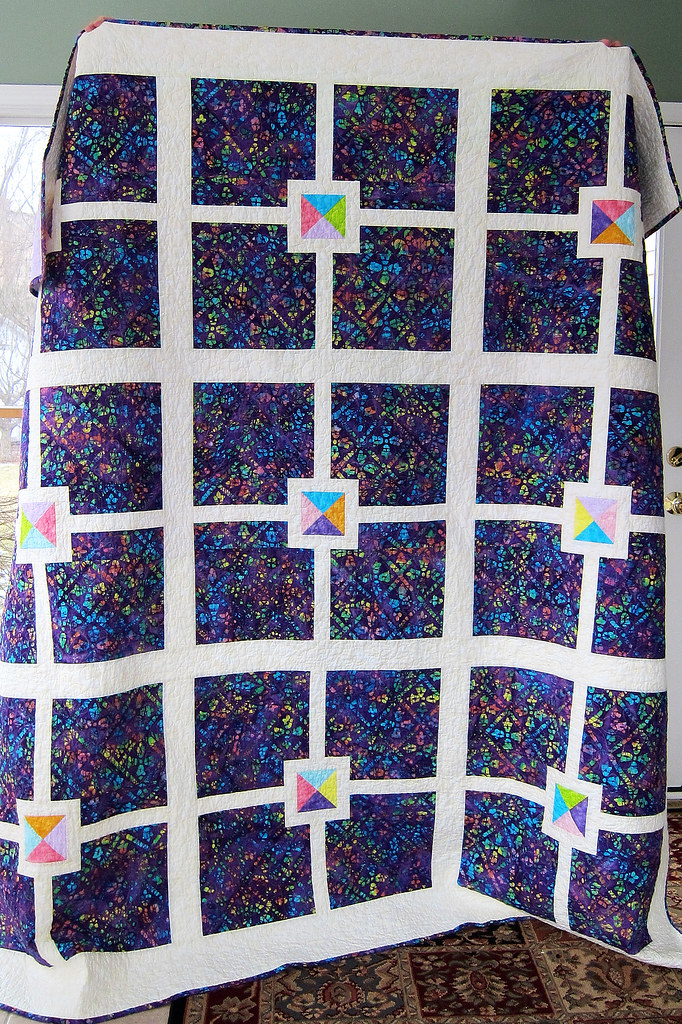
Leah's Quilt - Delivered this morning to a super awesome dad, made for his little girl.

I started talking with Mike this summer about making a quilt for his 8yr old daughter.  They had been looking for a long time, with no luck, trying to find just the right bedroom set for his purple tie-dye loving girl.

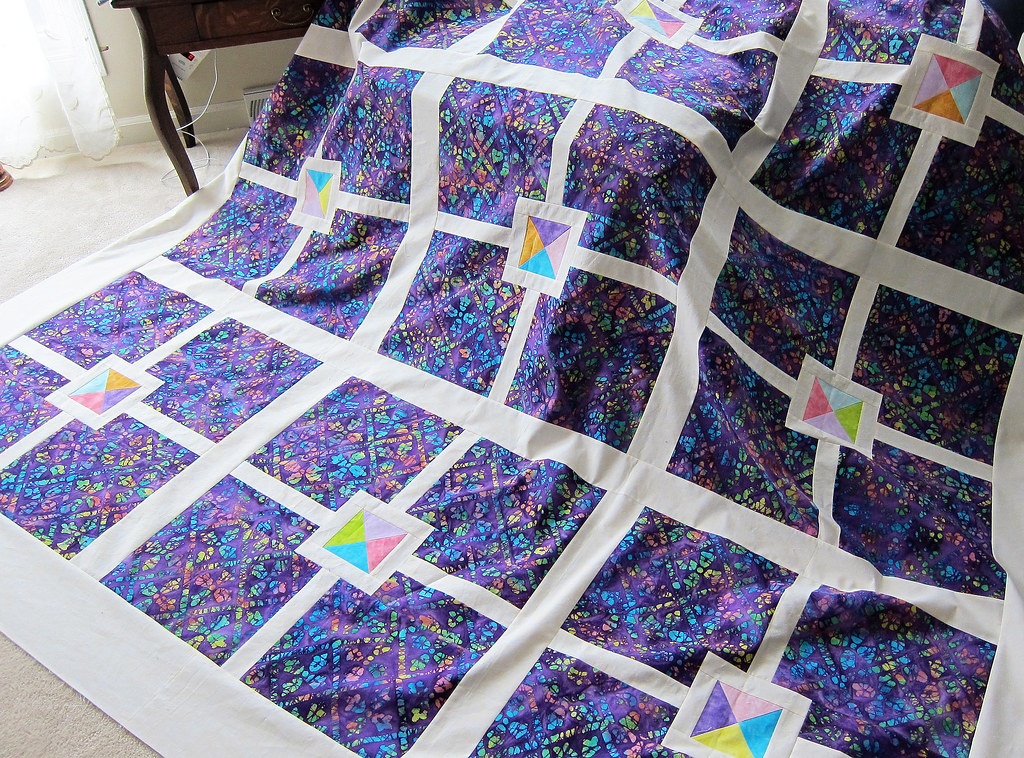
quilt top done

We talked a bit about designs, but he pretty much came up with the whole plan on this one.  Didn't he do an awesome job?

The biggest thing they had trouble with was finding that main purple batik.  I sent him links to a whole bunch of them, and we all loved this print.  We were able to find the source and he ordered a whole bolt.

Going from there, he then found Moda Marbles for making the quartered triangle blocks, and spent a good amount of time trying to get just the right colors from Hancock's online.  I think it was a labor of love!  I had thought that perhaps they changed their mind about having the quilt made, as I didn't hear from him again until December.  With a couple iterations of colors choices, and waiting for back ordered stuff, he spent a long time just gathering all the supplies.

THEN!  A quilt store person had mentioned at one point that fabrics should be pre-washed before quilting.  I told him how I usually do not pre-wash, but he was interested in prepping everything himself.  Seriously, this Dad deserves a medal.  He washed the half yards of solids, and full bolts(!) of the batik, cream, and a light purple that was used on the back and is intended for curtains.  AND HE IRONED IT ALL!  His daughter and wife are super lucky to have such a dedicated dad.

Leah front

The quilt finished up at 88" square.  Too big for my husband to hold flat on his own, and everybody else was already off to school.

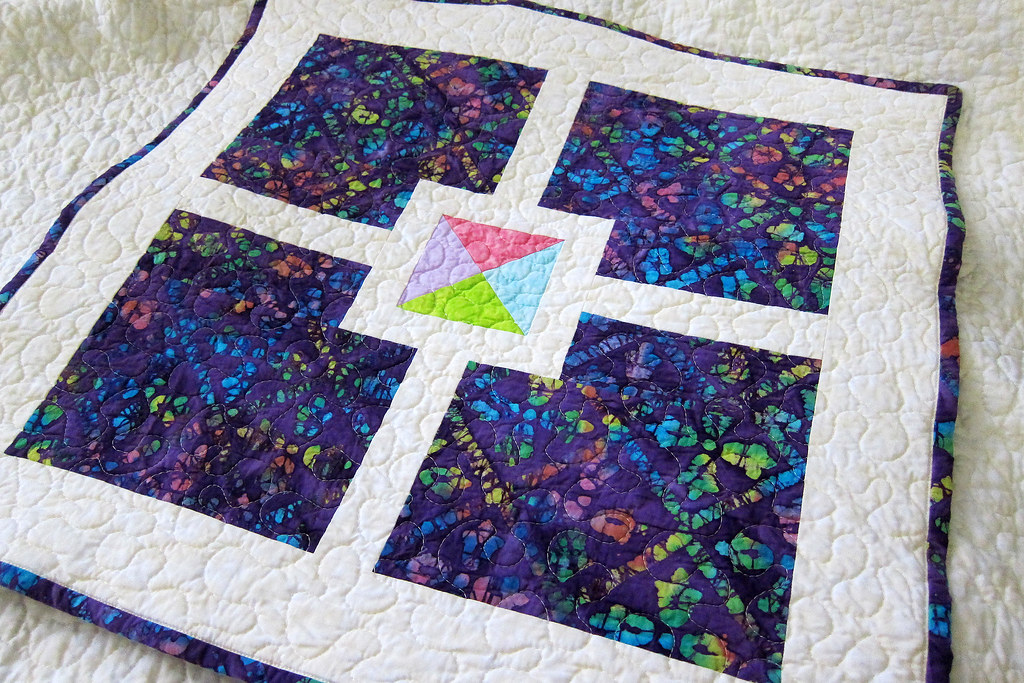
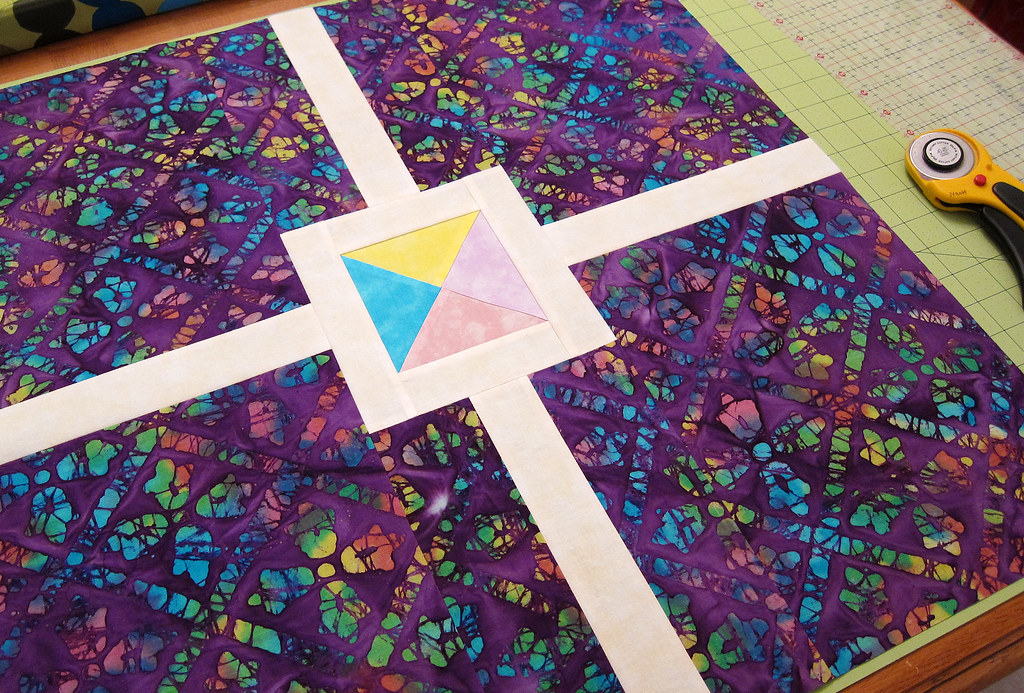
I really enjoyed making these huge blocks.  24" square - joined by 3" sashing.   Such a fun quilt, and the end look is really very striking - especially in person.  With the fabric hunting and quilt design, I thought that Mike just needed his own sewing machine to get hooked on quilting!

I was super happy with how well my horizontal and vertical lines matched up in all directions.  I had a system of rulers, and cutting mat, and order of measuring - all to make sure those creams would align.  

Leah block

Since the little girl is 8, and they hope she will have this on her bed for years to come, a nice stipple was the way to go.

Good texture and extra strength for the long haul.

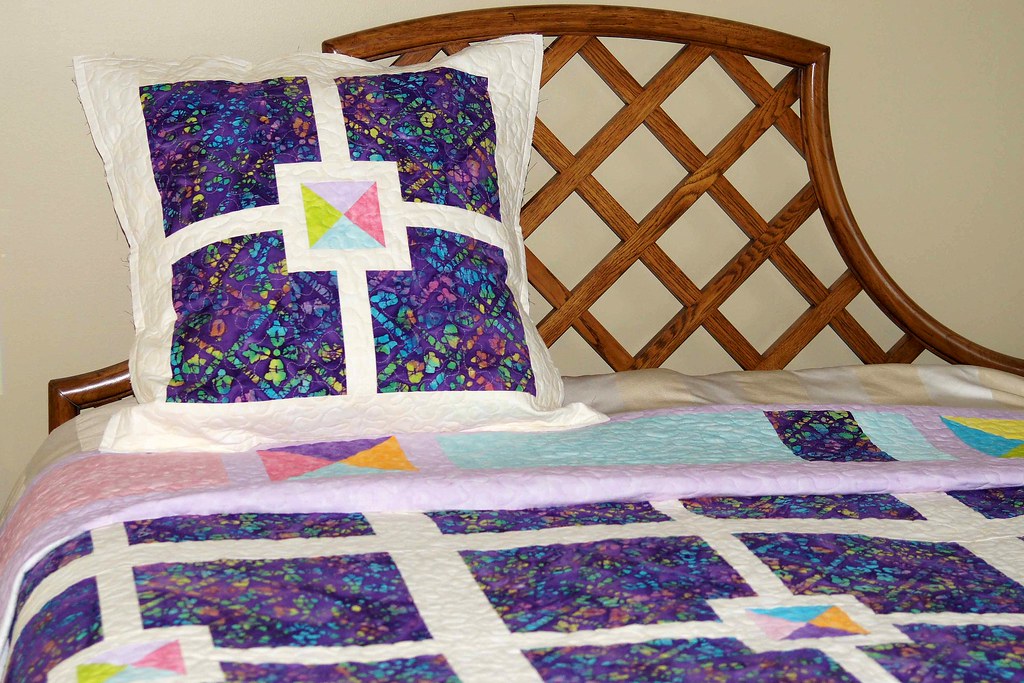
Leah pillow

Along with the quilt, she needed two European sized pillow shams.

Since the purple would be right at the edge with the 24" blocks, and we wanted to keep the center solids the same size as the quilt, I ended up cutting down the edges of the purple a couple inches all around.  That way you would still get the effect of a sashed block.

Leah test

I was kind of nervous about them being the right size, so I took the whole thing over to my mom and dad's.  Quilting was done and pillow mostly assembled.  Just the binding needed adding on everything.  But at that point, the pillow would still be easy to adjust in or out as needed.

We stuffed a 26" pillow inside and laid it all out on their queen bed.  At this point I was wanting to keep it for myself!

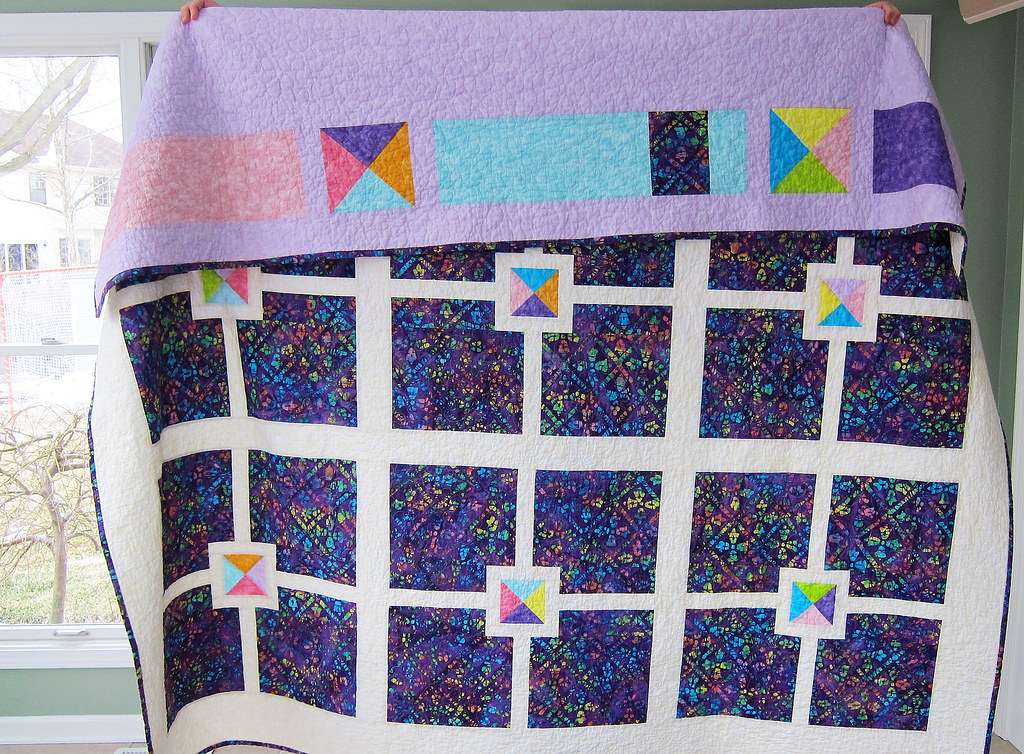
You can get a peek of the turned down top on their bed.  I had shown Mike several of my quilts when this all started, and he liked the idea of the pieced backs I do.  A great idea, he planned the back to have an accent strip of the same solids.

Leah with fold

That backing purple is intended for the curtains, as well.

He asked me a whole bunch of times to make the curtains.  They're actually very simple, straight panels, but I declined.  Lining and then evenly hemming all four sides, so that they hang nice and straight, for those tall curtains....worried me.  Never having done them myself, I didn't want to have my first pass going into their house.  Things like that never seem to work out nicely on the first pass.

Even without the curtains yet, I hope that Leah is super excited about this quilt that her Dad designed just for her!  (And I love this pattern, I think I'll put it in the queue for myself.)

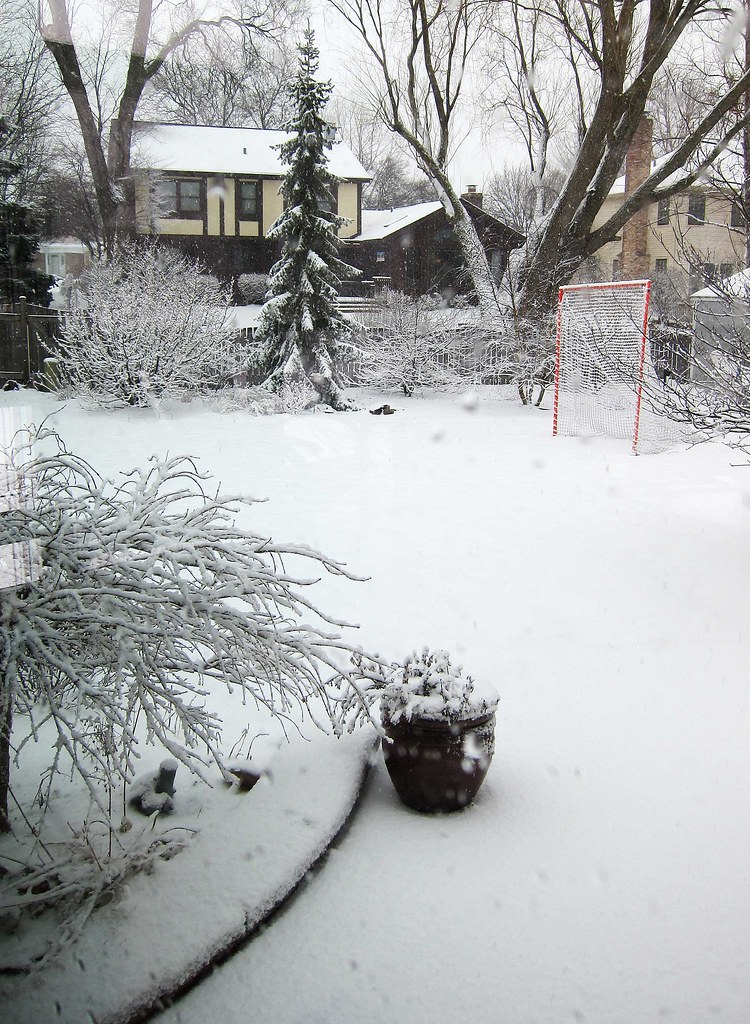
Now - please note the small tree just out the window, to the left of the quilt.  See how it's kind of bright out, and everything is all clear?  The nasty winter ice and snow storm headed our way was brought on quickly by my journey to deliver the quilt, and our joking about how we probably wouldn't get more than a drizzle and a couple flakes.  Because that's pretty much how these last two winters have gone in Chicago.

Leah Snow

Within 10 minutes of leaving for home, my highway journey was attacked by ice pellets, sleet, and huge heavy snow.  The back yard is now a winter wonderland.

You're welcome O'Hare flyers and Chicagoland.

Now, with the custom quilt done and hibernation starting, Let the Baby-Girl-Sewing begin!


Thursday, January 31, 2013

Buried in Girl Stuff

tie dye scraps

I have been working on a custom queen quilt for an 8yr old girl.  Her dad is awesome, and I think he would be a quilter if he had lots of spare time!  He and I get along well, talking quilt math and design.

The little girl has definite ideas regarding colors and pattern, being a HUGE fan of purple tie dye.  They were unable to find anything commercially made for her new bedroom set, so went looking for somebody to make her a custom set.  We met a few times and zeroed in on an exact quilt plan, as well as main fabric choices.  It was so funny when I finally met her over Christmas break - she came in wearing a pink/purple tie dye outfit.  I said that we certainly had the right fabrics for her, and couldn't wait to make her new bedroom set!

So, now I'm buried in pink, purple, rainbow yardage and trimmings!  Kind of like a tween girl and her unicorn exploded in my sewing room.  I never work with batiks, as I prefer more  modern quilting cotton prints.  But I am LOVING the minimal amount of fraying.  I assume that is the way batiks normally are?  One of my major pet peeves is all the little stray thread that end up all over the back of your quilt by the time it's ready to baste.

tie dye block

This photo is pretty true to the real colors.

I spent a decent amount of time thinking about and then squaring up the main blocks.  They are 24" finished - which is larger than my largest ruler, and half an inch wider than my cutting mat width.  Not only did I want the block to end up the right size, with four 90 degree corners, but it was important to have that middle perfectly centered as well.

Any of you out there, who have been making those big  swoon blocks, come up with a good way to square them up?  I was thinking about doing a quick photo tutorial of what I came up with for mine.

first girl fabric buy

In  my own girly world.....Thank You so much for all your congratulations and kind wishes!  I have loved looking up your suggestions and links.  If you think of any more, feel free to add them on.  I have a pinterest board going with other sewing ideas, too.

My first fabric bought just for a girl baby - the pink colorway of Monaluna's silky organic Fox Hollow.  I've been stalking this adorable print for a while.  I bough half a yard and plan on using some to make a sweet, soft burp cloth. 

girl clothes

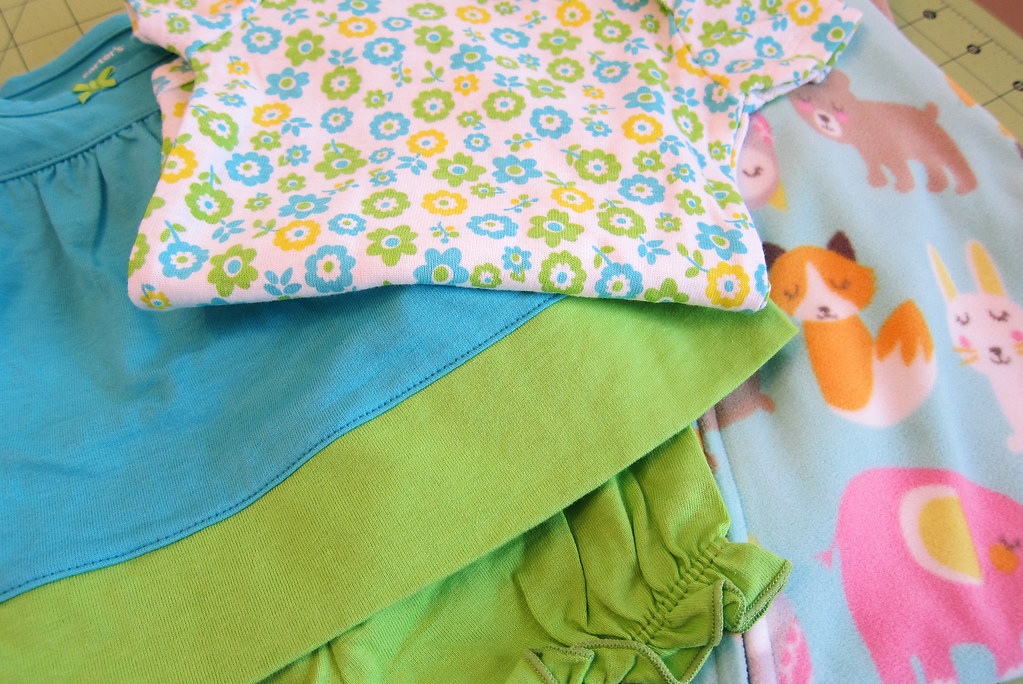
I also came home with a couple things from my Costco trip - a cute 3mo sundress, and a snuggly pj in 6mo size.

Had to laugh at the fact that they look mostly like the boy stuff I usually buy, in lime green and blue, just dress-shaped!


Tuesday, January 29, 2013

eBook Winner!

book front

Thank you everybody for stopping by!

My winner for the ebook version of Modern Quilts from the Blogging Universe is:

#69, Heather


Friday, January 25, 2013

OMG! Send me your Links!

Its a girl!

I. Can. Not. Believe it!

We're going to have a little girl.

My Three Sons + A Girl!  I need you all to send me links to your favorite girly fabrics, and baby girl quilts.  I have that set up at the end of this post.  But first I'll ramble on a bit about my exciting morning.

becket waits

So glad my appointment was at 9am, I don't think I could have waited much longer.  Although, after a record 11 months of no measurable snow, I think we got our first inch last night.  Major down side to going so long without it - EVERYBODY forgot how to drive.  The hospital is 6 minutes from my house (a mom of three boys, you totally know the travel time to the ER) it took almost 20!  Luckily I'm a bit crazy about not being late for stuff, and left the house 25mins before my appointment.

The older two were at the ultrasound when we found out that Becket was a boy, so this time Becket got to skip out on the morning at school and be the first to know.  Being a Level II ultrasound, I knew it was going to take a little longer, and we brought Hidden Pictures for him to pass the waiting time.

We had planned on taking a photo of him at the moment he found out boy/girl, but the tech put the kibosh on that!  No photos or video allowed in the building.  Bummer.  It was super cool to see his face when he first recognized a baby within that snowy picture on the screen.

It was only a couple minutes before she told us that we were having a girl.  Mark and I just looked at each other and said - Really?!

After the tech was done with the million measurements, it was time to wait for the doctor to come in.  Love that the doctor comes right then, does her own check, and gives you the report before you walk out the door.  I can worry a bit (major understatement), so I was very excited to hear everything right then.  Luckily we did bring those books for Becket, we ended up waiting over 45 minutes before the doctor came in.  Of course, I had convinced myself that there was something horribly wrong with her heart or something, and they were taking a long time trying to decide what else needed checking.  Seriously, 45 MINUTES!  May as well have been a year.  I think I said a million prayers - alternating between Hail Mary and Hail Holy Queen, with some pleading in between for either peace or good news.  Ended up a clerical mistake - my folder was put at the back of the queue instead of the front.  The doctor was super nice and apologized a couple of times.
The baby's sex is not written in the tech reports, so she said we would get her official second opinion right then.  It was just a minute and she was quick to congratulate us on a little girl.  Then the most wonderful news yet, she said that everything was looking very healthy and they didn't see any markers for congenital defects.  Major sigh of relief.


We came home with a whole bunch of pictures.  Her cute little profile up there.

You can see the ball-like thing on her belly, that's her hand.  They barely caught it, as it was moving up and down the whole time.  She was super busy!  They also did the 3D thing and were able to get a fair picture.  Each time the tech would try to capture her face, she would turn to us, then quickly turn away - not wanting much to do with the process.

I told the doctor how I have 3 boys, and my brother has 2 - and that my mom had pretty much given up hope for ever having a granddaughter.  She labeled this next picture just for my mom.
What's so funny, is the doctor captured little miss doing her thing in this one.  That's her arm reaching up above her head.  And what she is doing is pointing her little index finger out of her fist, like I'm number 1.  Or perhaps, practicing telling her big brothers what to do.  It was so funny.  She did that a bunch of times, with both hands.  She's an ambidextrous bossy little girl.


Now I need help from all of you!  How am I going to choose the perfect baby quilt(s) and fabric for this little one?

Link up your favorite baby quilts and girly fabric combinations, I would love to see them!


Wednesday, January 23, 2013

Want Fabric...{Stash 2013}

'Want' is exactly correct.

For sure I don't NEED any :)

stash 2013
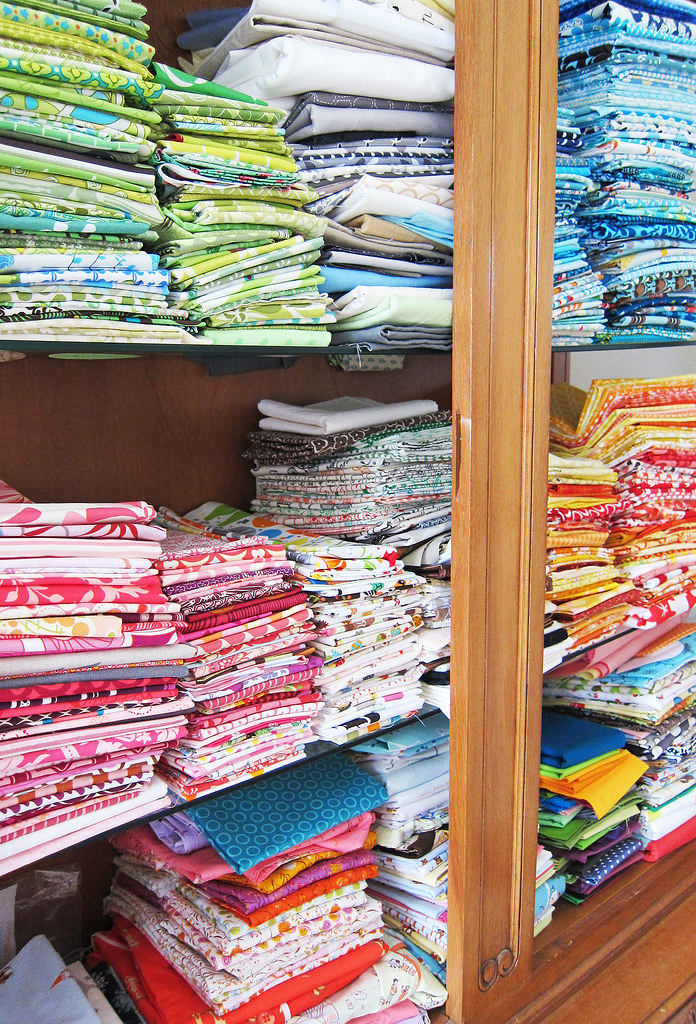
Messy Stash

I've been tracking my stash for three years.  Nothing better than a good spreadsheet.

So, how did 2012 go?  Glad you asked.

rainbow

Things were going pretty well until I started my shopping for the perfect ocean blues in June/July.

(About 62 yards showed up at my door....blues and a few others fell into my online carts....ooops)

I ended the year only 33 yards up, and I didn't even make a stop at The Fabric Shack while in Ohio over the holidays. I really do like trying to use the fabulous fabrics I have, before I don't like them anymore.  Overall, I say 2012 was pretty good stash-wise.

orange and yellow

Last week, a couple of great tonal prints were in the clearance section at the shop.  I always seem to need a good orange or yellow, so I grabbed these at half off.   Besides, nothing had been added to the stash since early November!

boy blue
Blue if it's a Boy....

Here's the real question, though.  Will I be making a little girl quilt or a little boy quilt?!

Ok, I don't actually need a single scrap of blue, and I'm pretty good with pink/purple as well.  But I have deemed a new baby a valid reason to buy fabric.

I'm looking forward to poking a few buttons, once I know.  Just have to control the fun and avoid shipping 50+ yards to the house.

girl pink
Pink if it's a Girl....

Friday is the day for my ultrasound. Can. Not. Wait.

.

Tuesday, January 22, 2013

Blog Blitz!

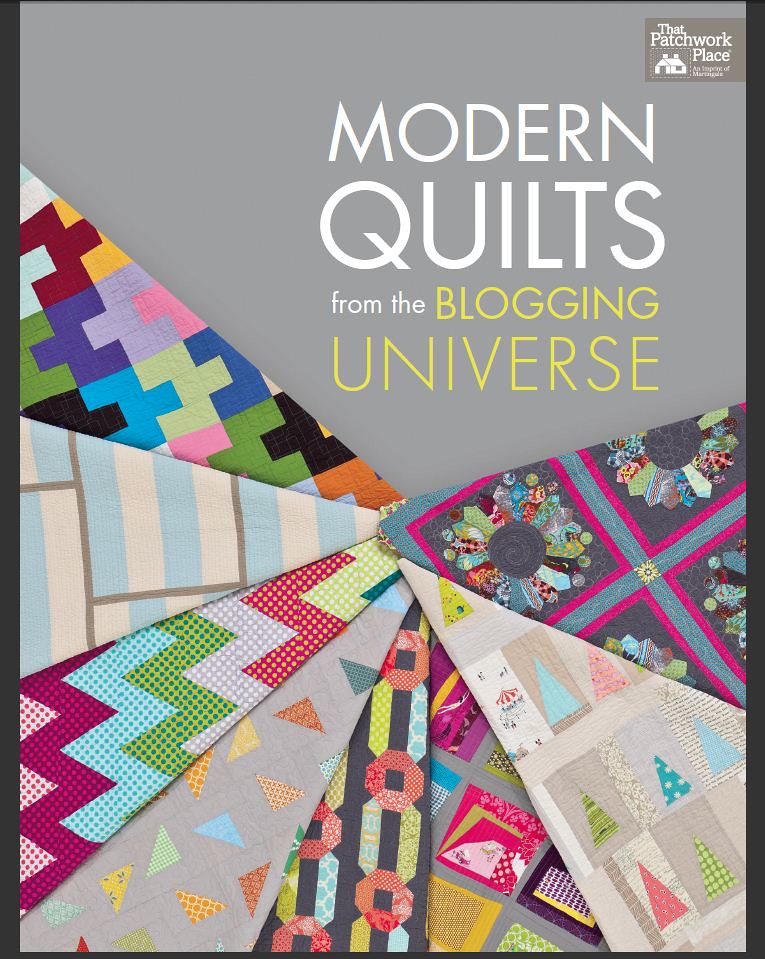
As I had mentioned, I'm one of the 18 contributors to the new book, Modern Quilts from the Blogging Universe.

There are all kinds of awesome quilty bloggers in this book, and I'm honored to be included among them.

book front

My quilt is called Starflower.

I designed it late last summer, at the time thinking quite a bit about the negative space we constantly talk about.  I thought it would be cool to look at the idea of reversing the prints and negative space within both traditional and common modern quilts.  The change in quilt design that results is really fun and sometimes surprising!


Well, the publisher's Blog Blitz is starting, and that means free stuff for you!  Leave a comment here, and you have a chance to win the ebook - 19 cool, modern quilt patterns for you to follow or give inspiration.

Mark sure you leave your name and email address, linked through or part of your comment, that's how they will get your ebook to you.

Even better, enter a ton of times - not only one chance here, but at Martingale and all 18 blogs.  Follow Martingale's link to get to all your other chances:  Martingale Blog Blitz

We will all pick our winners on Tuesday, January 29th.

Good Luck!

Friday, January 18, 2013

Birthday Quilt in Blue and Yellow

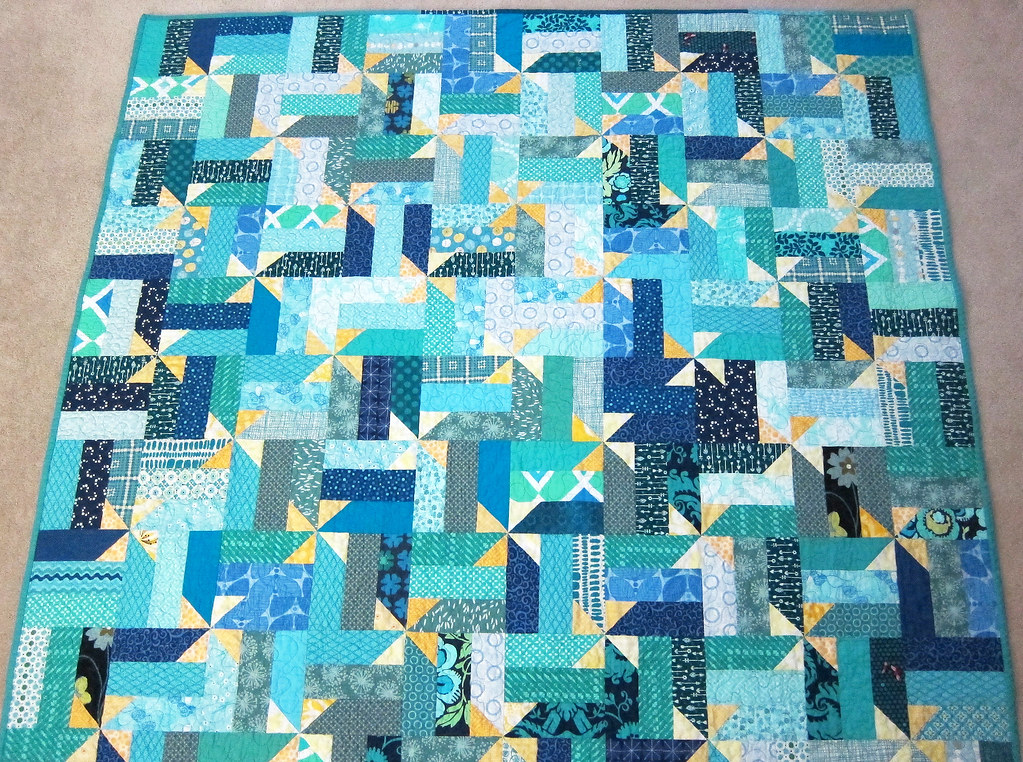
Scrappy blue and yellow

One more finished quilt!  It was a ton of fun to make, and came together super fast.

This is another birthday quilt for a breakfast club friend.  Last year I gave her a cathedral window pillow in yellow, orange and blue, so I wanted something that would kind of go with that.  I was also in the mood to do something really scrappy.  I pulled out a pattern called Field Greens by Madison Cottage Design, and started chopping up my blue scrap bin.  The surprising thing is that although the blue scrap bin is super full, I ended up cutting a few strips from yardage.  So many of my scraps are smaller than 6.5x2.5 in one dimension or another.

quilting

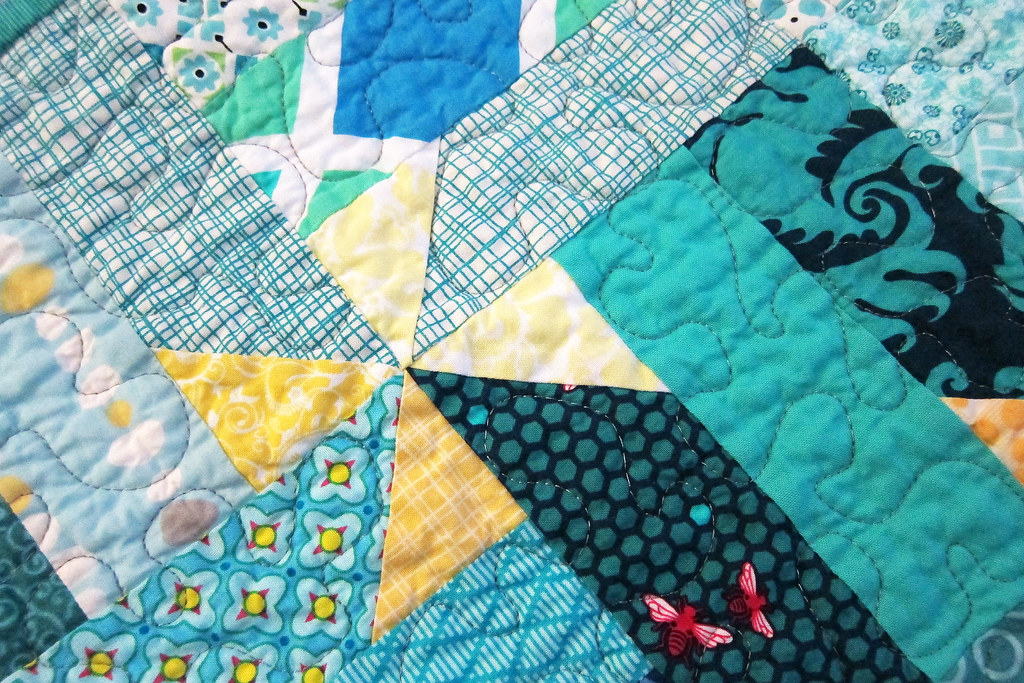
When it came time to quilt, I decided on a stipple.  But only in the blue.  I thought leaving the pinwheels unquilted would help them stand out even more.

machine binding

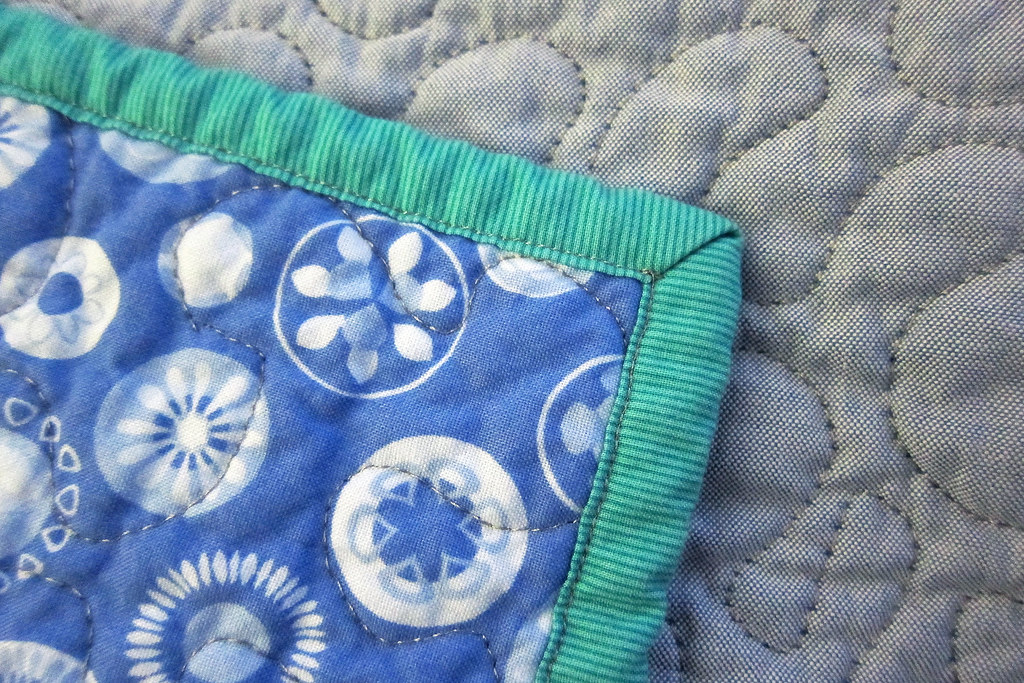
I always like to learn and try new stuff, and on this quilt I did a few new things.  One was to try out machine binding once again.  I really do love the look of hand sewing the back, but have been wanting to try out doing the whole thing by machine, and this seemed like the perfect quilt for it.

All the edges on the front are scrappy blues, instead of my more common solid neutral.  I thought that would help hide the stitching line that results from sewing down the back half.  It worked out really well, including nice mitered corners.  And for sure is WAY faster.

pat's quilt

I only have a couple pictures, because I seem to put that part of the process off for too long.  We meet at our restaurant at 8:15, right after the kids are all off to school.  I'm often trying to take pictures about 7:30 that morning, in the early light without anybody to hold them up, right before I bundle things up for gifting.

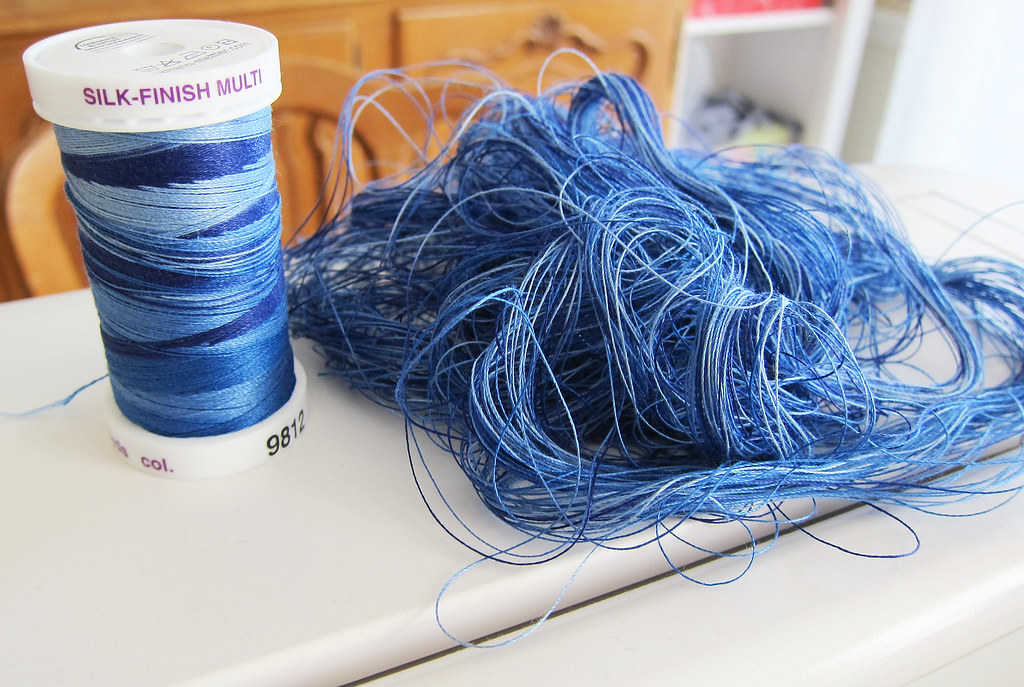
But I did have a chance later to take a photo of my horrible thread pile.  Another thing I was going to try out was quilting with this variegated Mettler, instead of my standard Isocord solid.  Seemed like the perfect time to try it out, in the sea of blue.

I got about a 6" square quilted before my thread broke, although the stitches looked good up to that point.  Changed needle, rethreaded, reseated the bobbin, then same thing.  NOT a happy camper, I decided to ditch the thread and go back to my solid isocord, having to unspool the four bobbins I already wound. Leaving that nice pile of thread spaghetti, and a crazy amount of time unpicking, for such a tiny quilted space.  Maybe this spool was old and had been sitting out in the sun at the store for too long.  I don't think I'll be trying it out again any time soon.

Bad thread