Showing posts with label finished quilts. Show all posts

Tuesday, February 26, 2013

Leah's Quilt {Done and Delivered}

Leah

Leah's Quilt - Delivered this morning to a super awesome dad, made for his little girl.

I started talking with Mike this summer about making a quilt for his 8yr old daughter.  They had been looking for a long time, with no luck, trying to find just the right bedroom set for his purple tie-dye loving girl.
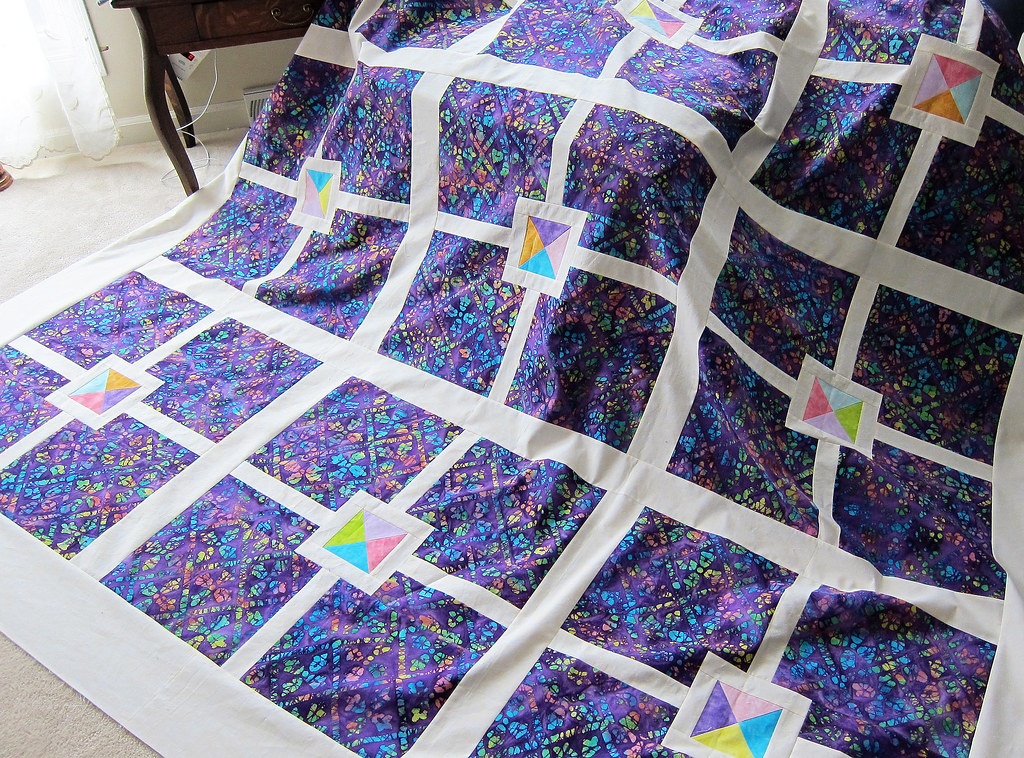
quilt top done

We talked a bit about designs, but he pretty much came up with the whole plan on this one.  Didn't he do an awesome job?

The biggest thing they had trouble with was finding that main purple batik.  I sent him links to a whole bunch of them, and we all loved this print.  We were able to find the source and he ordered a whole bolt.

Going from there, he then found Moda Marbles for making the quartered triangle blocks, and spent a good amount of time trying to get just the right colors from Hancock's online.  I think it was a labor of love!  I had thought that perhaps they changed their mind about having the quilt made, as I didn't hear from him again until December.  With a couple iterations of colors choices, and waiting for back ordered stuff, he spent a long time just gathering all the supplies.

THEN!  A quilt store person had mentioned at one point that fabrics should be pre-washed before quilting.  I told him how I usually do not pre-wash, but he was interested in prepping everything himself.  Seriously, this Dad deserves a medal.  He washed the half yards of solids, and full bolts(!) of the batik, cream, and a light purple that was used on the back and is intended for curtains.  AND HE IRONED IT ALL!  His daughter and wife are super lucky to have such a dedicated dad.
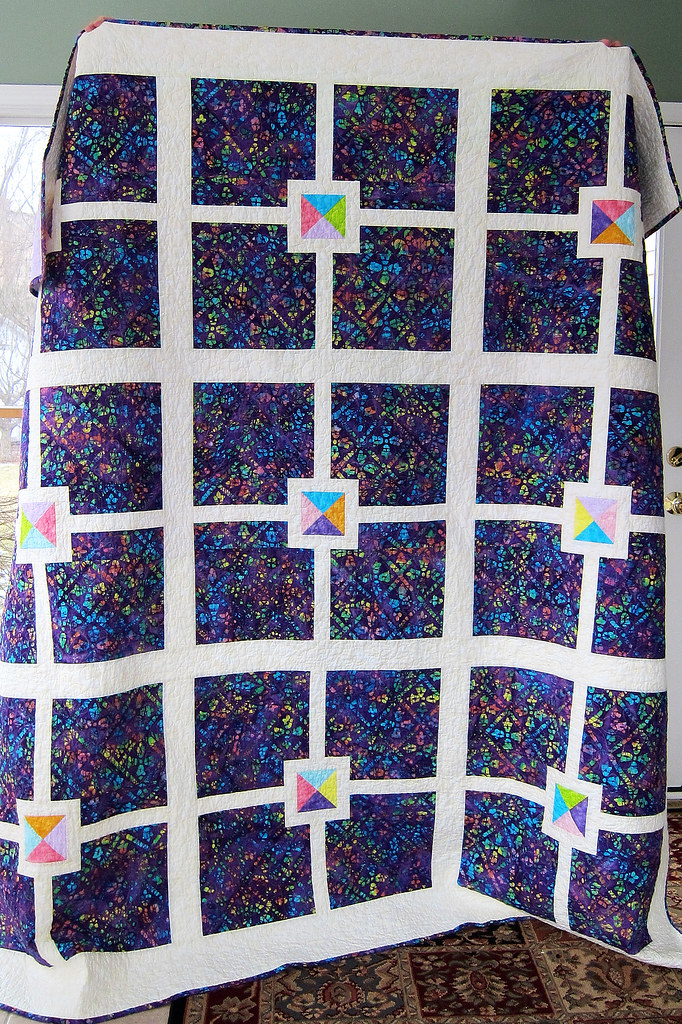
Leah front

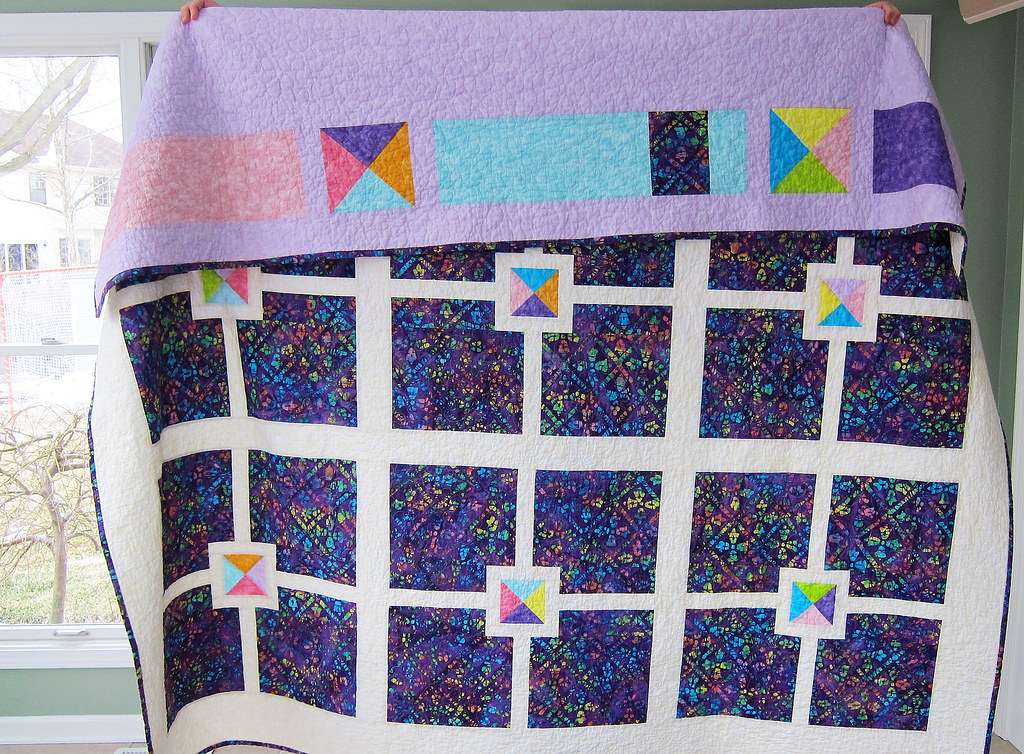
The quilt finished up at 88" square.  Too big for my husband to hold flat on his own, and everybody else was already off to school.

I really enjoyed making these huge blocks.  24" square - joined by 3" sashing.   Such a fun quilt, and the end look is really very striking - especially in person.  With the fabric hunting and quilt design, I thought that Mike just needed his own sewing machine to get hooked on quilting!

I was super happy with how well my horizontal and vertical lines matched up in all directions.  I had a system of rulers, and cutting mat, and order of measuring - all to make sure those creams would align.  

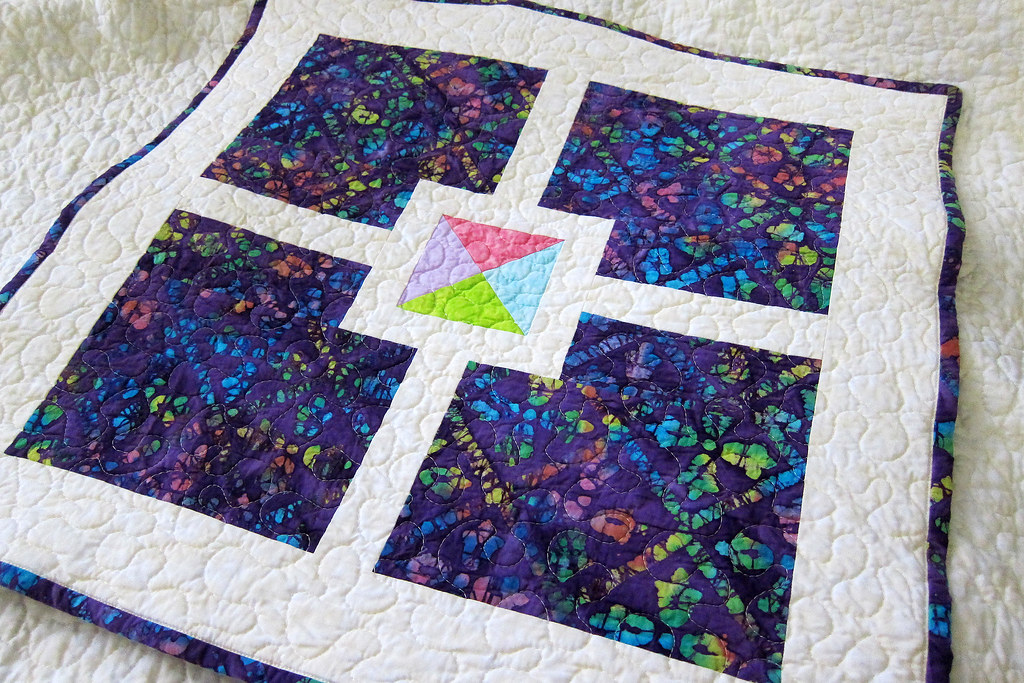
Leah block

Since the little girl is 8, and they hope she will have this on her bed for years to come, a nice stipple was the way to go.

Good texture and extra strength for the long haul.
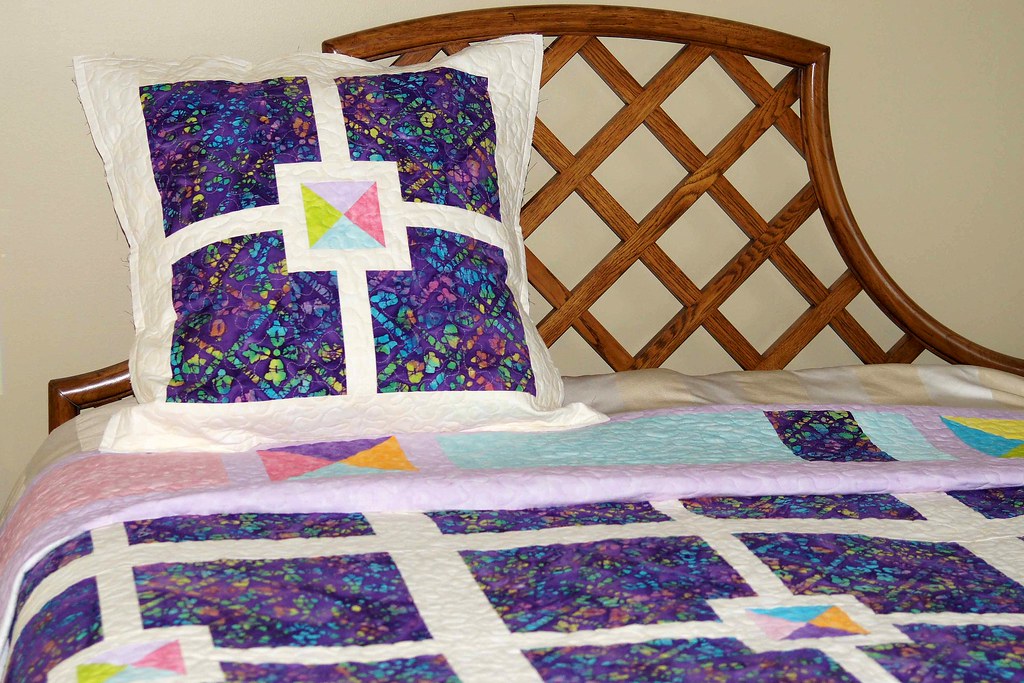
Leah pillow

Along with the quilt, she needed two European sized pillow shams.

Since the purple would be right at the edge with the 24" blocks, and we wanted to keep the center solids the same size as the quilt, I ended up cutting down the edges of the purple a couple inches all around.  That way you would still get the effect of a sashed block.
Leah test

I was kind of nervous about them being the right size, so I took the whole thing over to my mom and dad's.  Quilting was done and pillow mostly assembled.  Just the binding needed adding on everything.  But at that point, the pillow would still be easy to adjust in or out as needed.

We stuffed a 26" pillow inside and laid it all out on their queen bed.  At this point I was wanting to keep it for myself!

You can get a peek of the turned down top on their bed.  I had shown Mike several of my quilts when this all started, and he liked the idea of the pieced backs I do.  A great idea, he planned the back to have an accent strip of the same solids.
Leah with fold

That backing purple is intended for the curtains, as well.

He asked me a whole bunch of times to make the curtains.  They're actually very simple, straight panels, but I declined.  Lining and then evenly hemming all four sides, so that they hang nice and straight, for those tall curtains....worried me.  Never having done them myself, I didn't want to have my first pass going into their house.  Things like that never seem to work out nicely on the first pass.

Even without the curtains yet, I hope that Leah is super excited about this quilt that her Dad designed just for her!  (And I love this pattern, I think I'll put it in the queue for myself.)

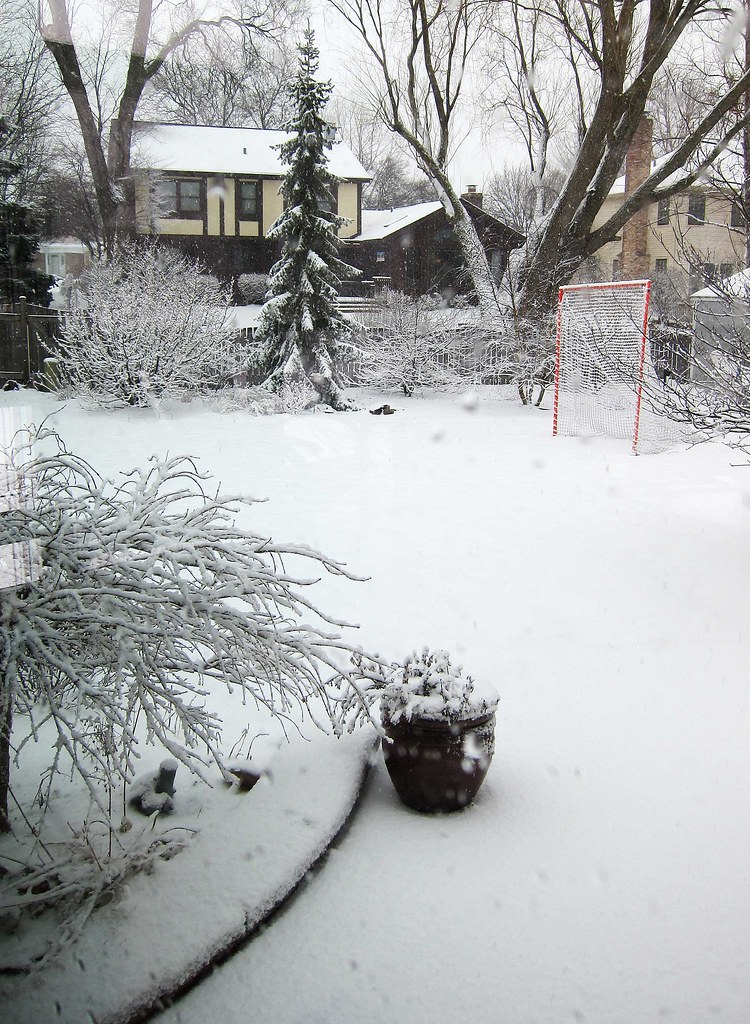
Now - please note the small tree just out the window, to the left of the quilt.  See how it's kind of bright out, and everything is all clear?  The nasty winter ice and snow storm headed our way was brought on quickly by my journey to deliver the quilt, and our joking about how we probably wouldn't get more than a drizzle and a couple flakes.  Because that's pretty much how these last two winters have gone in Chicago.
Leah Snow

Within 10 minutes of leaving for home, my highway journey was attacked by ice pellets, sleet, and huge heavy snow.  The back yard is now a winter wonderland.

You're welcome O'Hare flyers and Chicagoland.

Now, with the custom quilt done and hibernation starting, Let the Baby-Girl-Sewing begin!


Friday, January 18, 2013

Birthday Quilt in Blue and Yellow

Scrappy blue and yellow

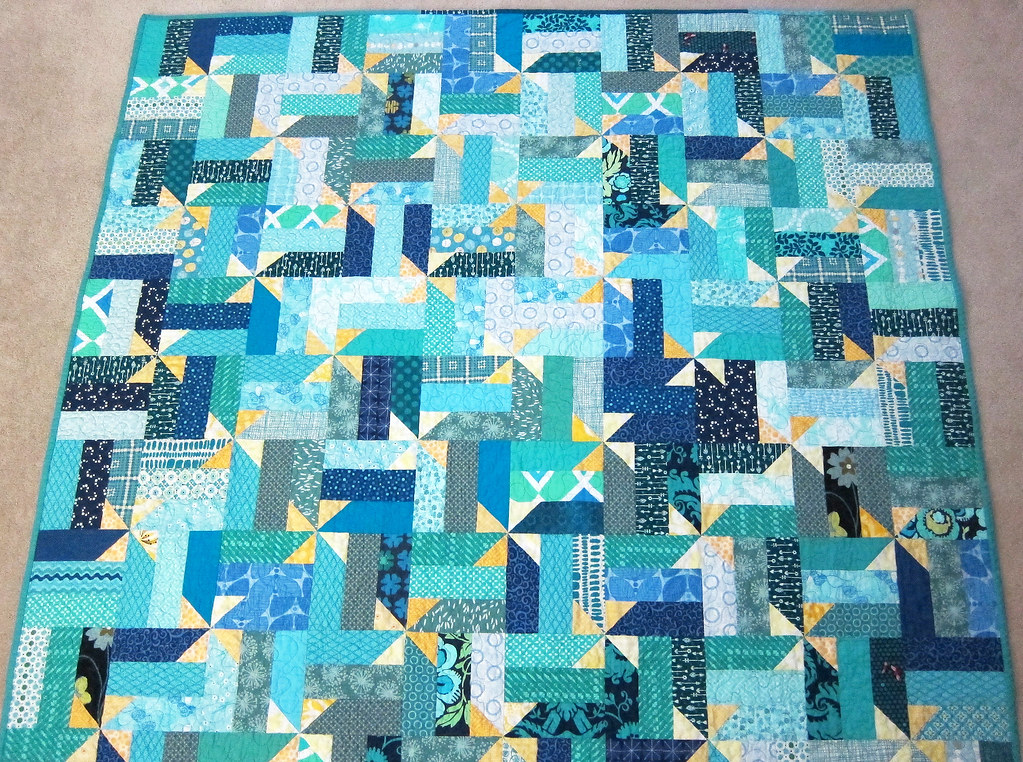
One more finished quilt!  It was a ton of fun to make, and came together super fast.

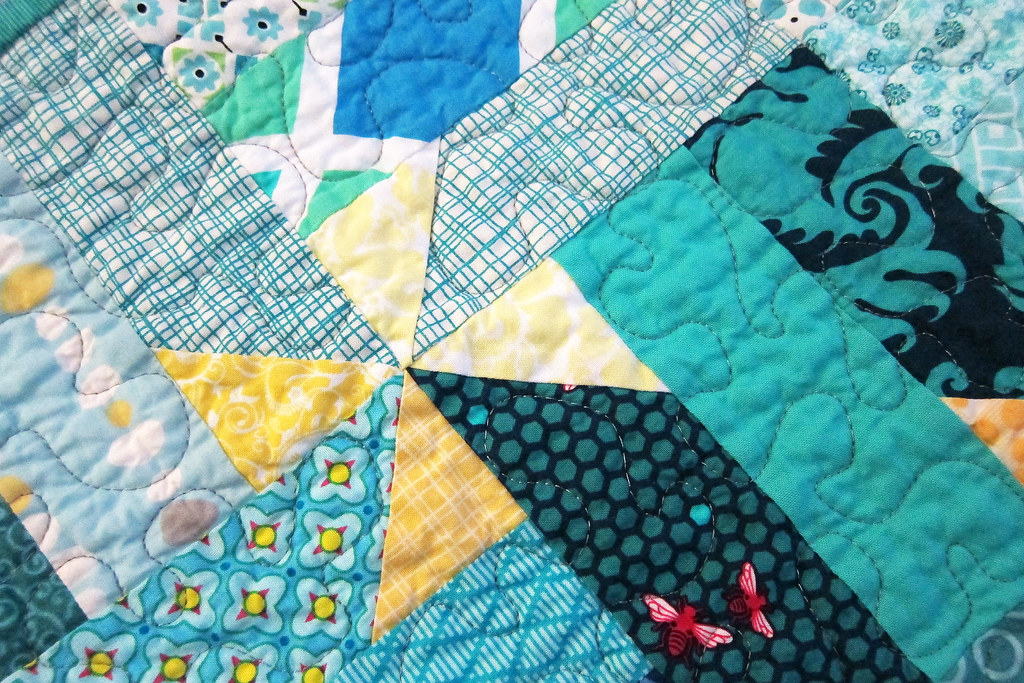
This is another birthday quilt for a breakfast club friend.  Last year I gave her a cathedral window pillow in yellow, orange and blue, so I wanted something that would kind of go with that.  I was also in the mood to do something really scrappy.  I pulled out a pattern called Field Greens by Madison Cottage Design, and started chopping up my blue scrap bin.  The surprising thing is that although the blue scrap bin is super full, I ended up cutting a few strips from yardage.  So many of my scraps are smaller than 6.5x2.5 in one dimension or another.

quilting

When it came time to quilt, I decided on a stipple.  But only in the blue.  I thought leaving the pinwheels unquilted would help them stand out even more.

machine binding

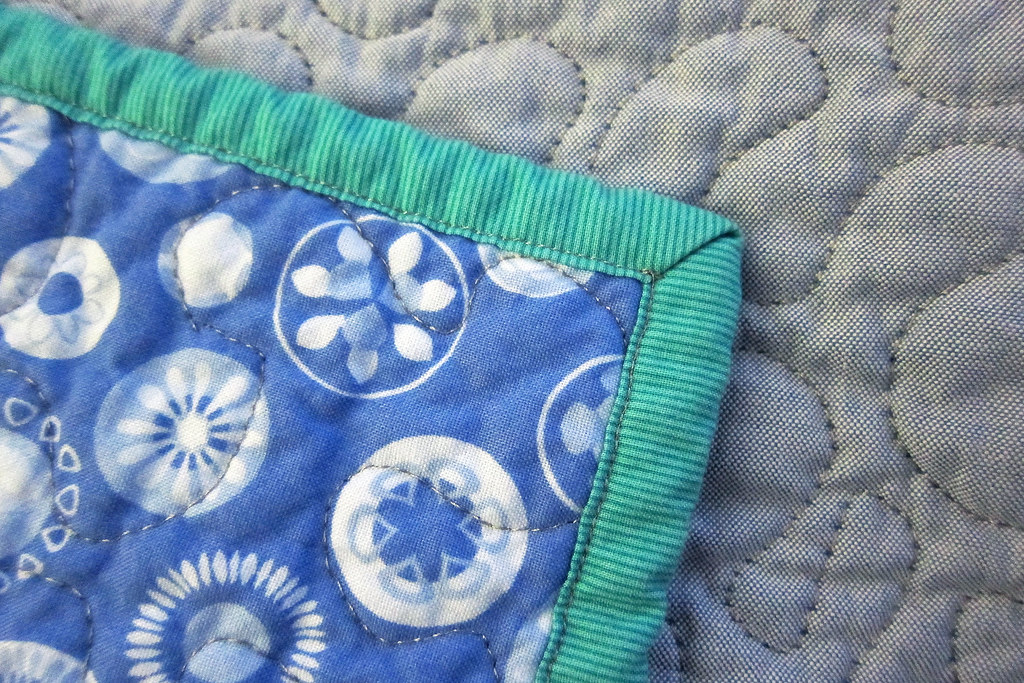
I always like to learn and try new stuff, and on this quilt I did a few new things.  One was to try out machine binding once again.  I really do love the look of hand sewing the back, but have been wanting to try out doing the whole thing by machine, and this seemed like the perfect quilt for it.

All the edges on the front are scrappy blues, instead of my more common solid neutral.  I thought that would help hide the stitching line that results from sewing down the back half.  It worked out really well, including nice mitered corners.  And for sure is WAY faster.

pat's quilt

I only have a couple pictures, because I seem to put that part of the process off for too long.  We meet at our restaurant at 8:15, right after the kids are all off to school.  I'm often trying to take pictures about 7:30 that morning, in the early light without anybody to hold them up, right before I bundle things up for gifting.

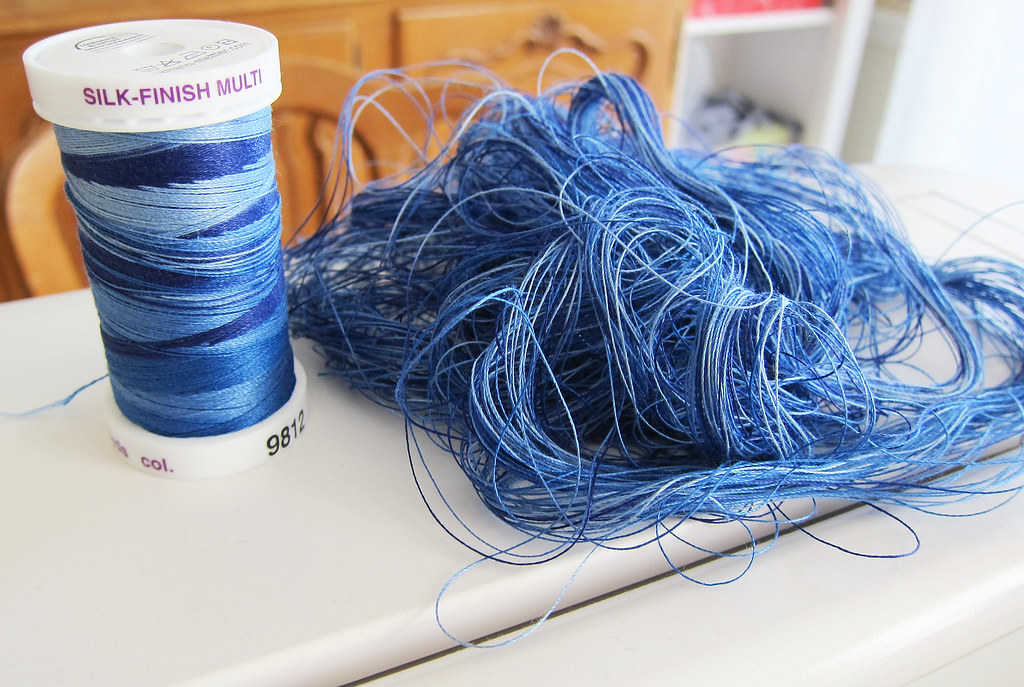
But I did have a chance later to take a photo of my horrible thread pile.  Another thing I was going to try out was quilting with this variegated Mettler, instead of my standard Isocord solid.  Seemed like the perfect time to try it out, in the sea of blue.

I got about a 6" square quilted before my thread broke, although the stitches looked good up to that point.  Changed needle, rethreaded, reseated the bobbin, then same thing.  NOT a happy camper, I decided to ditch the thread and go back to my solid isocord, having to unspool the four bobbins I already wound. Leaving that nice pile of thread spaghetti, and a crazy amount of time unpicking, for such a tiny quilted space.  Maybe this spool was old and had been sitting out in the sun at the store for too long.  I don't think I'll be trying it out again any time soon.

Bad thread

Monday, January 14, 2013

Lynn's Diamonds {Finished}

I just noticed that I haven't blogged the quilt my sister in-law had me make this summer.

She was building a new house, and needing a quilt to hang on the wall.  She was a quilter long before I started, and hand quilted many of her beautiful tops.  But she decided there was no way she would have time to make another one, and asked if I could do it.

Organizing

I've posted some of the process photos - this is the Fig Tree pattern she had chosen, along with the pretty Riley Blake fabrics.

Fig Tree Pattern

And talk about a process!

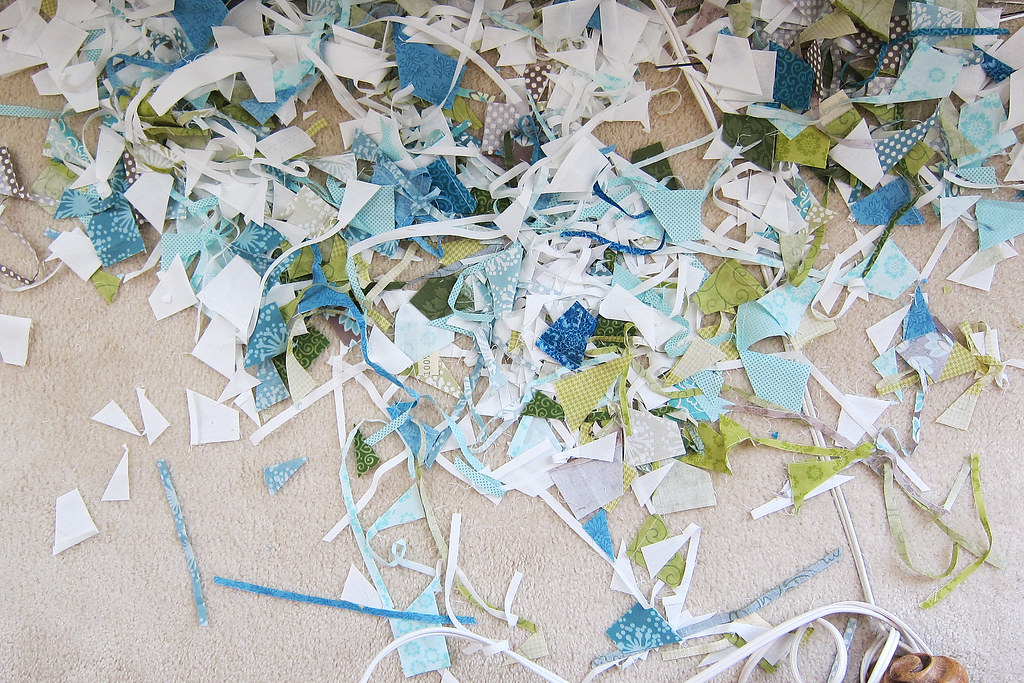
Large piles of trimmings were generated in the making.

scraps

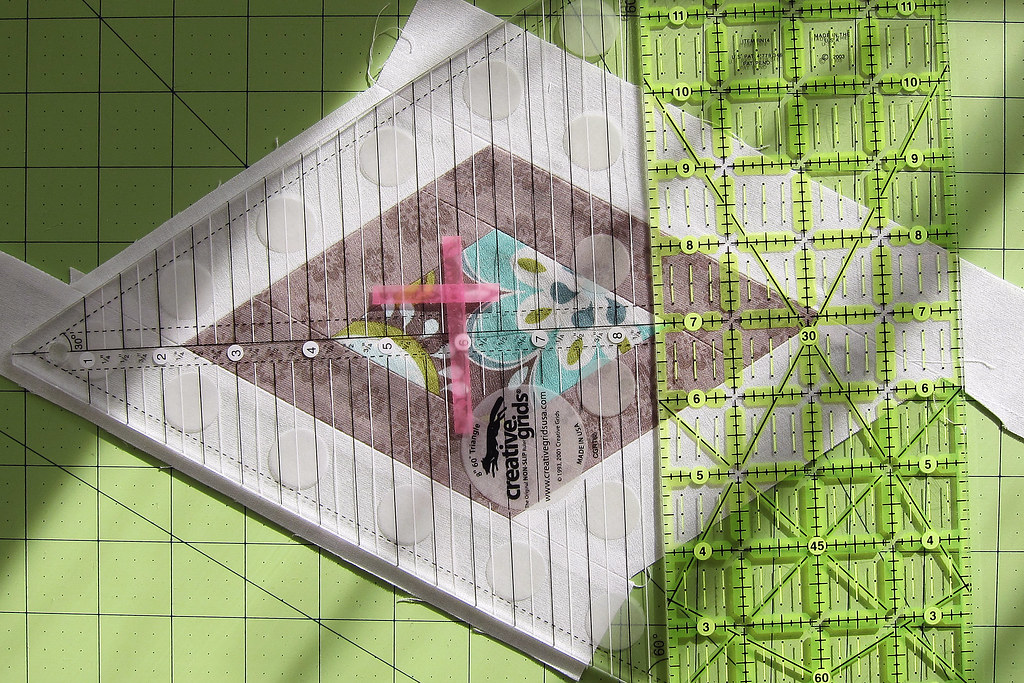
I wanted each diamond to be perfectly square - both vertical and horizontal.

The process involved a couple of rulers and lots of trimming, but I didn't mind.  I love lining up points and trimming things just-so.

xtra ruler

Then those nice diamonds were fun to join together.

Phew - done!

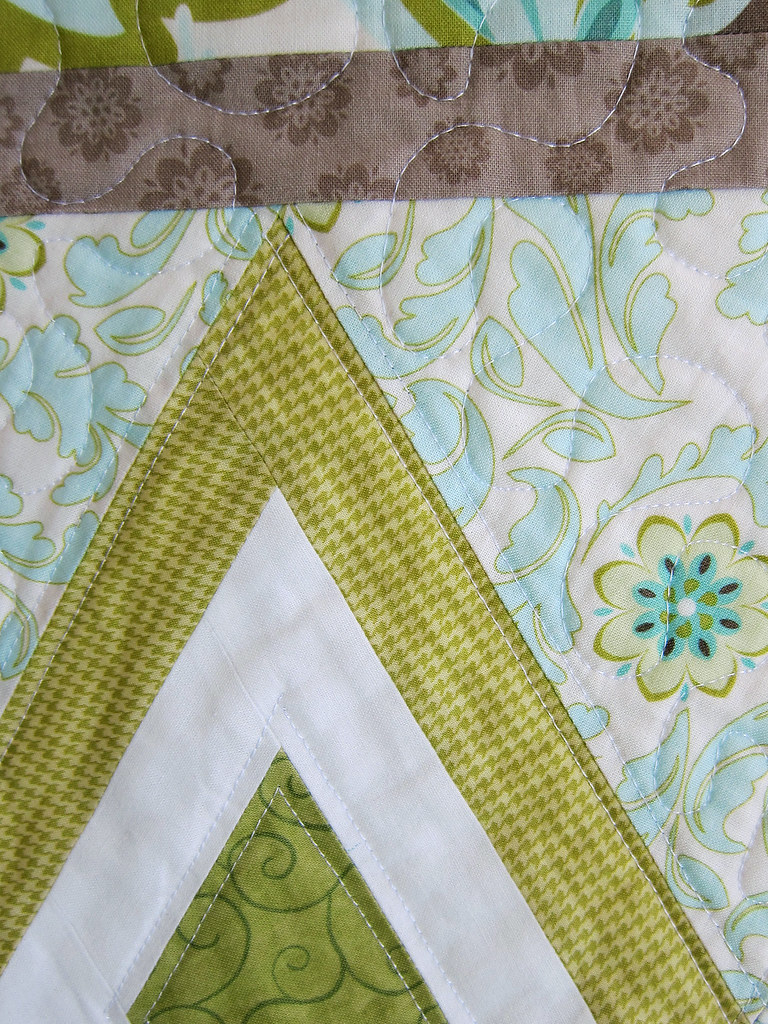
After talking it over with my sister in-law, I decided to stipple the outer border and into the setting triangles.  Then echoed both edges of the inner and outer diamonds.

This gave me about a million ends to weave in, but the final look was awesome.

Lynn's quilting

I could look at those points all day :)

I'm still thrilled at how well my new Horizon kept everything lined up.

Diamond Quilting

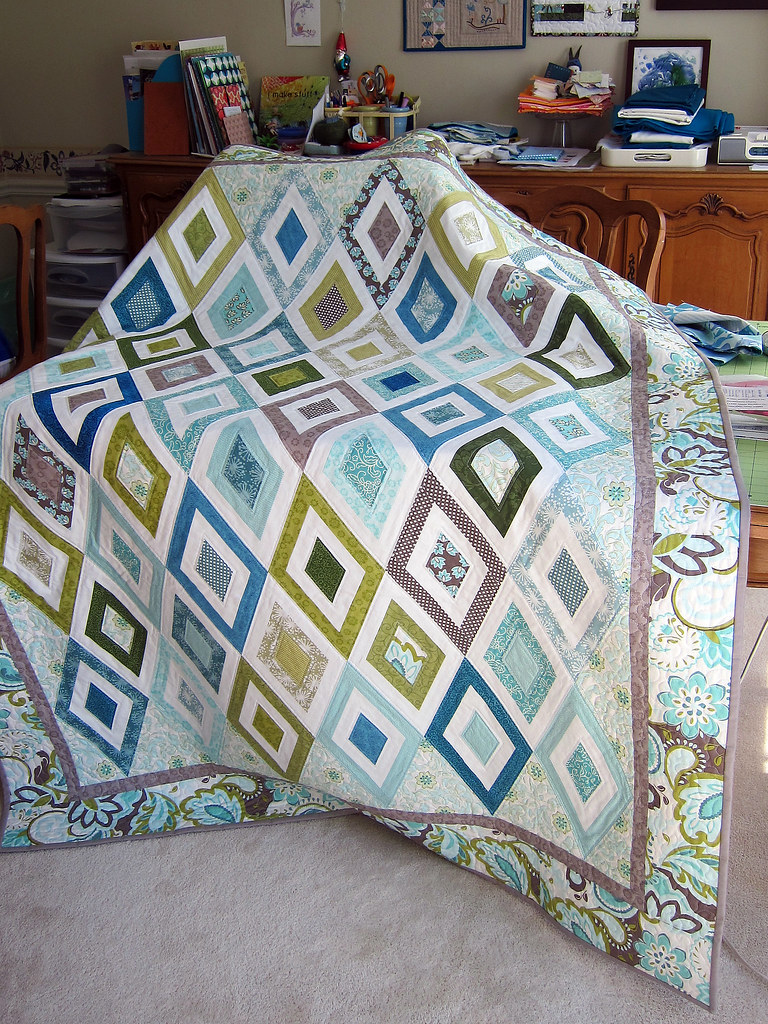
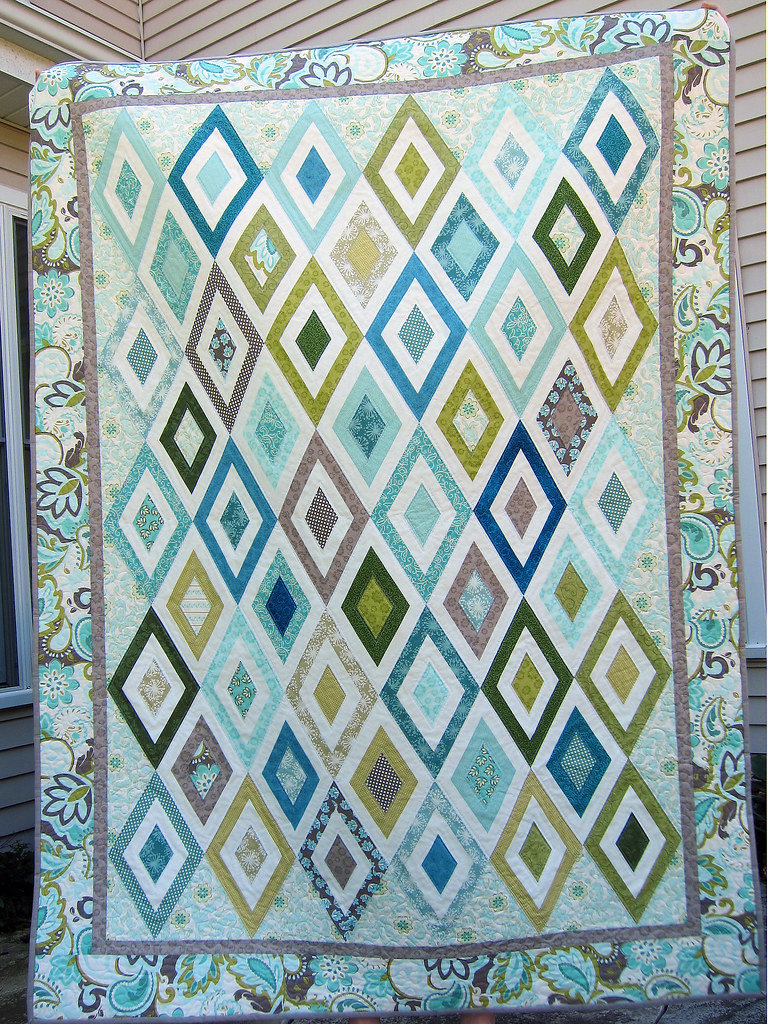
The whole quilt.

Got to see it hanging in the wild when we visited her at Thanksgiving, that was cool.

Lynn's Diamond Quilt

Wednesday, January 09, 2013

Baby Shower Quilt {Finished}

jenny close

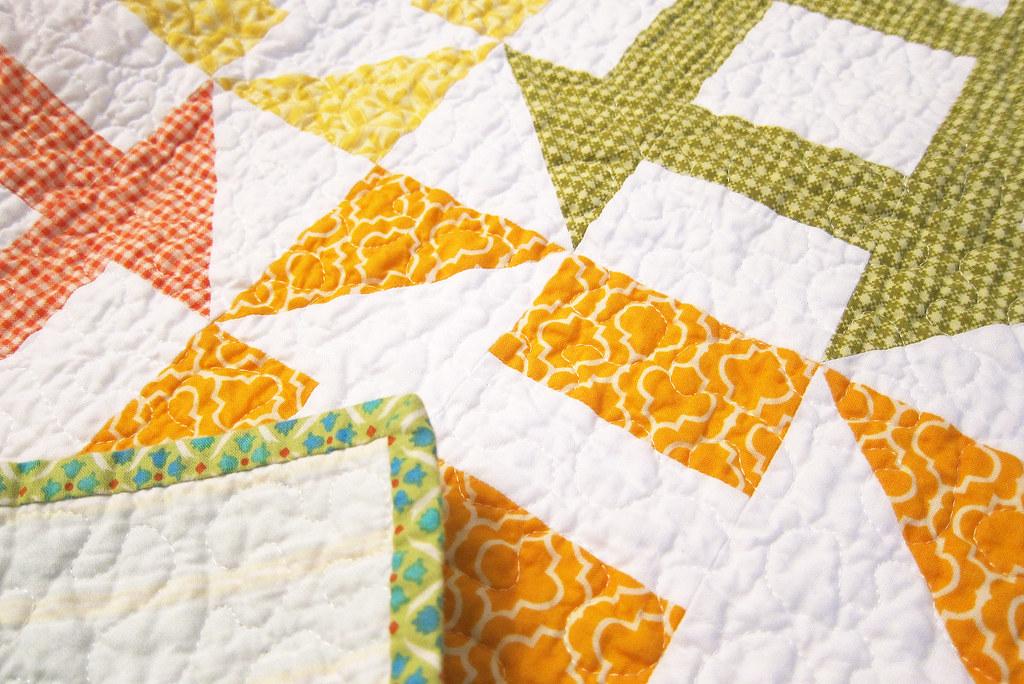
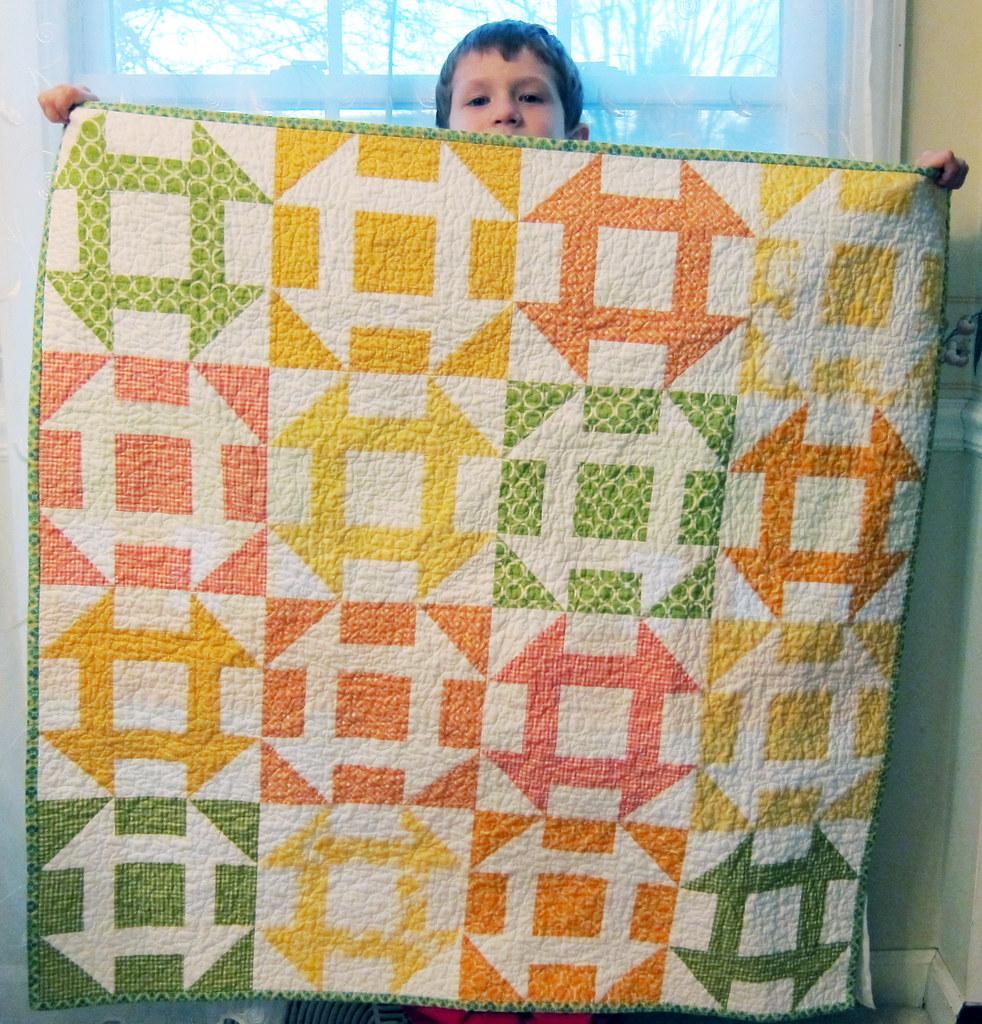
This is the third time I've made Amy Smart's Mod Churn Dash, and I love it every time!

This was made as a baby shower gift for a friend, who was due in December.  What could be better than some summer citrus blocks to brighten up the cold months?

It was a lovely baby shower - for Jenny's 6th baby.  We gathered for an evening, and started it with a rosary together, for the intentions Jenny wished. We didn't play any goofy games, and had fun with the one request Jenny made.  It was to go around the room and offer her our favorite boy and girl names, along with the most funny movies we could think of, for watching during labor.

jenny

I picked out favorite pink, yellow, orange, and greens.  FMF green tiles made the perfect binding.

I like sewing my labels right into the pieced quilt back.  If I left it to the end and had to attach it by hand later, it would only get done about 5% of the time!

What I usually do, before I baste the quilt together, is write it out with a Pilot Fixation pen to make sure I spell everything correctly and don't have spacing issues.  Then, I go over it with a Sharpie and with a hot iron, erase the Fixation and set the Sharpie.

jenny tag

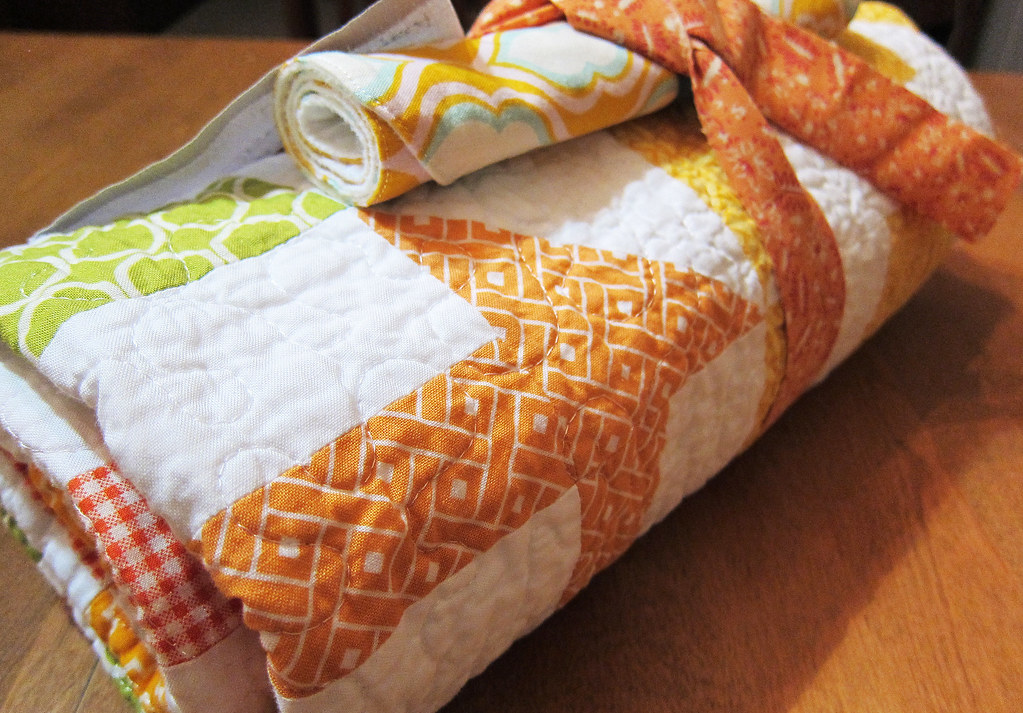
I've given up on trying to wrap my quilts, and go with a cute roll instead.  I usually fold it in thirds, then roll it up neatly and tie it with a length of matching fabric.

For Jenny, I also added a little burp cloth I tried out. Worked really well, and I think I'll be making a bunch for myself.

jenny bundle

Monday, January 07, 2013

Ocean quilt {Finished}

Thank you for all the congratulations!

Way back, what seems like a million years ago, I got a custom quilt inquery.  There was a pair of little boys, who share a room, and needed coordinating ocean quilts.

I had a ton of fun picking out wonderful ocean-colored fabrics.  (Maybe a bit too much fun, adding in some of that 'while the cart if open fabric', and I had 55(!!!) yards of fabric arrive at my house from 6 online shops.)

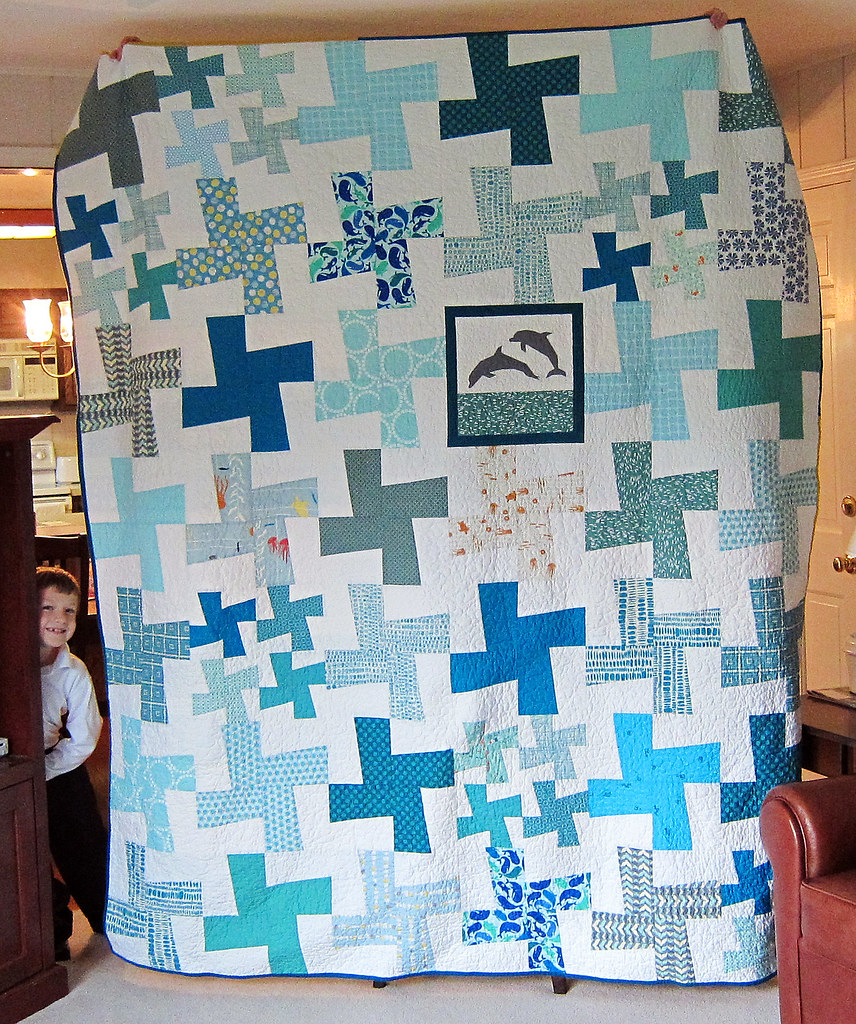
luke front

Whirlygiggles in two sizes, with a special paper-pieced dolphin block for Luke's quilt.

And no photo of the other one at all - boo!!  But both finished at about the same size - 81" x 88"

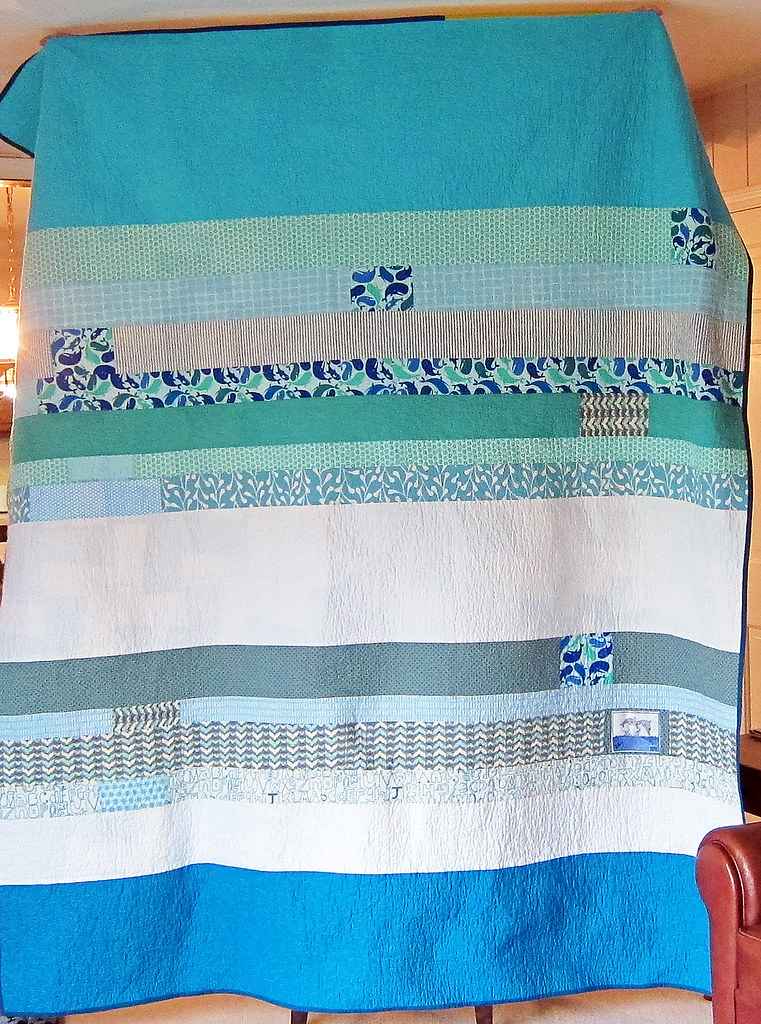
luke back

Look at how well I used a bunch of the extra yardage on the pieced back.

I did both quilt backs like this.

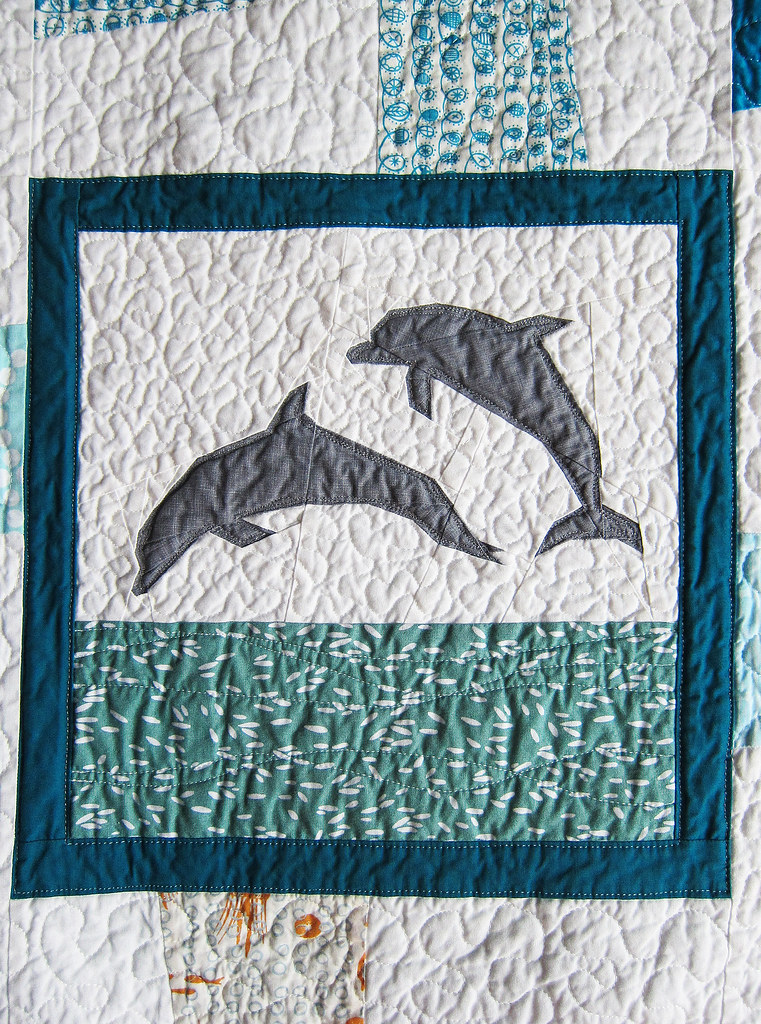
luke dolphins

The paper pieced dolphins were a labor of love.  From the start, as I hunted high and low for the perfect pattern.  To the final debate over how to quilt them.

I didn't want to include them in my overall stipple.  So I outlined the frame (which is my favorite Kona blue, Glacier), then did a seaweed kind of wavy thing in the water, and sketchy echo quilting in the dolphins.

luke dolphins close

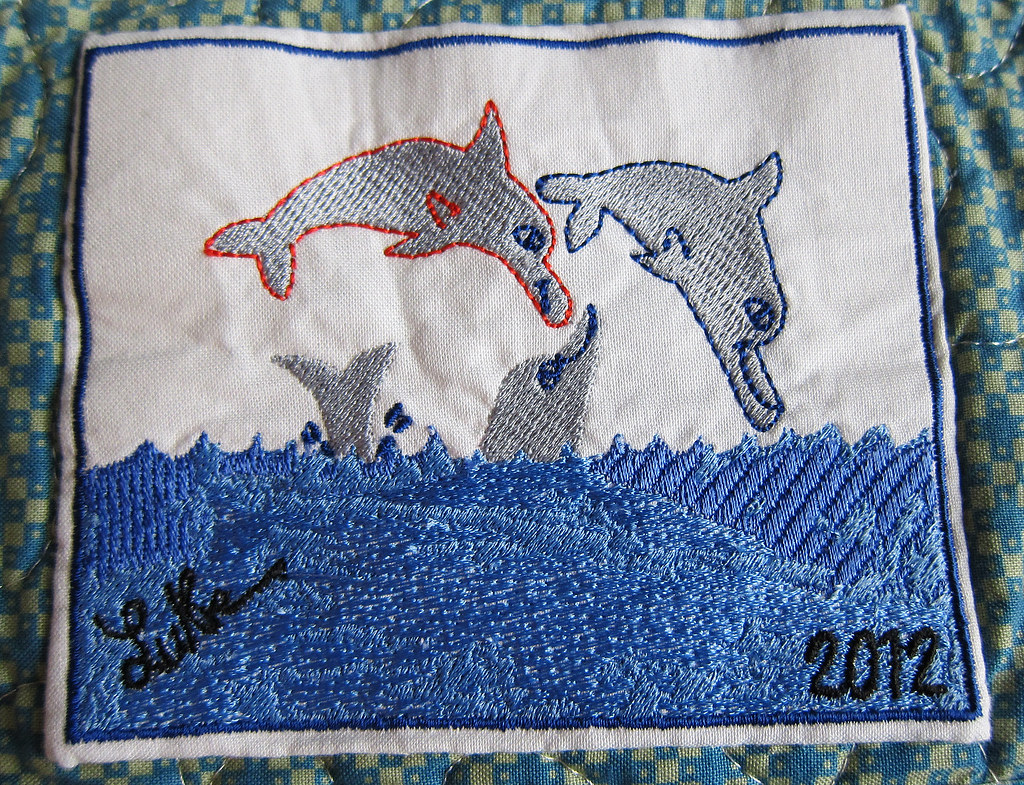
Now, this was super cool.  Luke's mom wanted to include some of his artwork in the quilt.  I didn't want it to fade over time, and also know how hard it can be to draw on fabric.

I had her send me a picture on a regular piece of paper, and made sure that he signed it.  Originally, I intended to hand embroider a representation of his art.  But then I started working at the Bernina store, and met some girls that are really into machine embroidery.  With the 830 and fancy digitizing software, they are able to take any jpg and turn it into a fabric sketch.  Marcy made this awesome quilt label - it's about 5x7" - and is almost an exact replica of Luke's drawing.  I didn't want to quilt over it, so I hand stitched it to the back after everything was done.

luke label

One final picture, with the Kona glacier binding and a touch of mustard added in.  It picked up the couple bits of mustard in prints throughout the quilt.

They were sent off to be loved (priority, insured UPS, with signature confirmation - I didn't want to chance them getting lost!).

luke

Wednesday, May 30, 2012

Finished Quilt : Kindergarten Flowers

I finished in time to wash and crinkle the quilt for Becket's teacher!

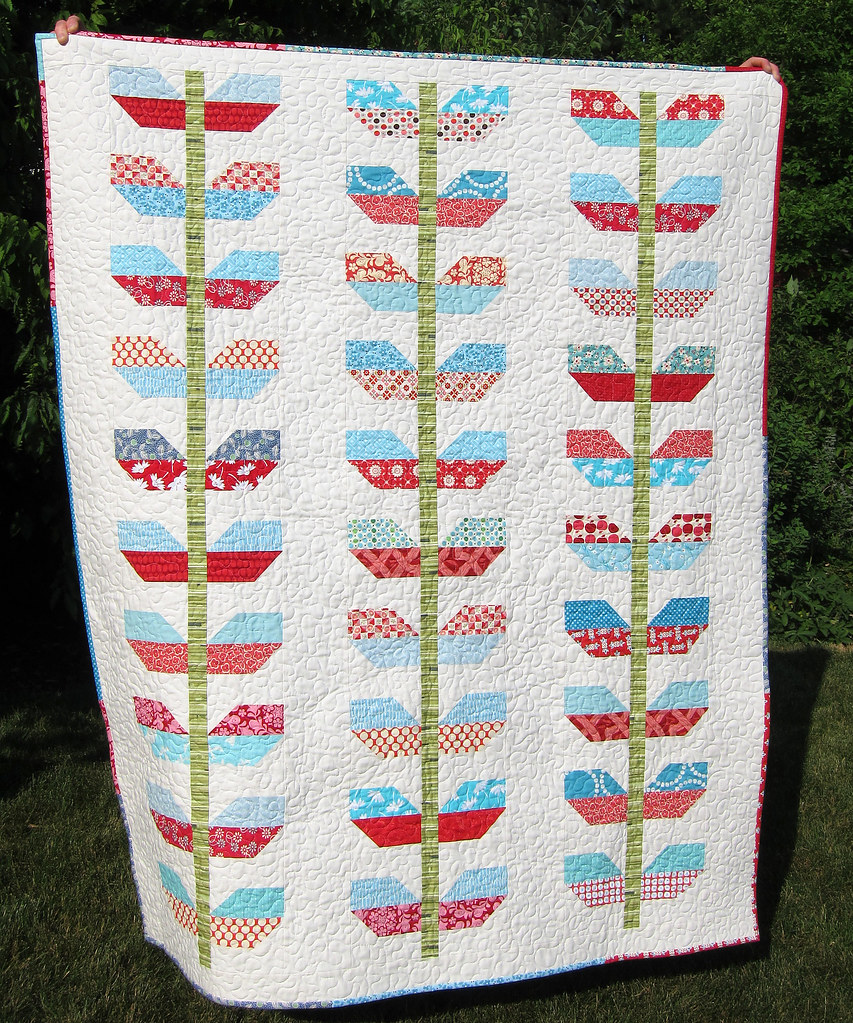
He said "flowers", so I looked through my flickr favorites and pins to find something fun to make.  I changed my mind a bunch of times and then came across the Stems quilt by Fig Tree Quilts.  I got all excited and started pulling fabrics for a quilt inspired by it.

Kindergarten Flowers

I was a bit delusional - as you may recall I started this just a week and a half before the last day of school.  But it got done.

Here's what I was thinking:  ooooh, I can pull about 10 reds and 10 blues, cut w.o.f. strips - sew them in pairs - chop - add some stitch and flip white - chop - stems - done. 

Quick and Fun!
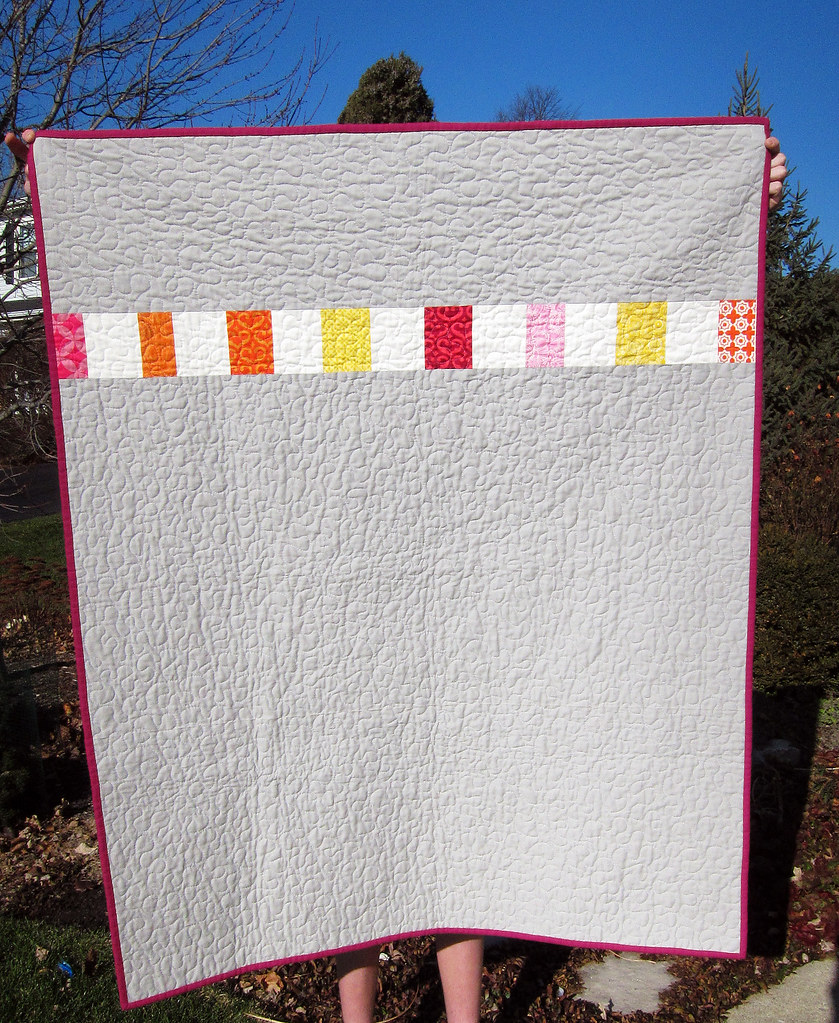
Kindergarten Flowers

Pulling all those reds and blues WAS fun.  But as I was finishing up my strips and making pairs I realized that if I wanted to keep all my points, I really needed to add the white triangles before joining them up.  So chop, chop, chop I made stacks of 60 small red strips and 60 blue....then paired them up - luckily realizing that I wanted to keep each flower the same from one side of the stem to the other.

It was lots of fun arranging them on the floor though, planning the rows of flowers, once the halves were all done.

The biggest challenge that I had failed to consider was those six long columns of petals.  I am a HUGE fan of squaring up.  I usually adjust any and all patterns so that I can make a block a tad larger, then press and trim into a perfect square.

Kindergarten Flowers

To keep my points and also to keep each half perfectly lined up on each side of the stem from top to bottom, I had to sew very carefully, instead of relying on squaring up.  Plus, I have some weird issue with drifting along long rows.  So I had to be super careful.

Way Stressful when you have a deadline!

Wish I enjoyed that whole process more.  This quilt is so cute I would like to make it in other color combinations. 

Kindergarten Flowers

On the up side, I had cut more 2.5" red and blue strips than I needed for the petals.  So I pulled what I had left together and created a scrappy binding.  I love how that worked out.

Kindergarten Flowers

I went with a stipple for the quilting.  It was some good, zen time after all that careful piecing.

Kindergarten Flowers

Becket had chosen four of his favorite flower prints for the back, so it's just pieced in large blocks.

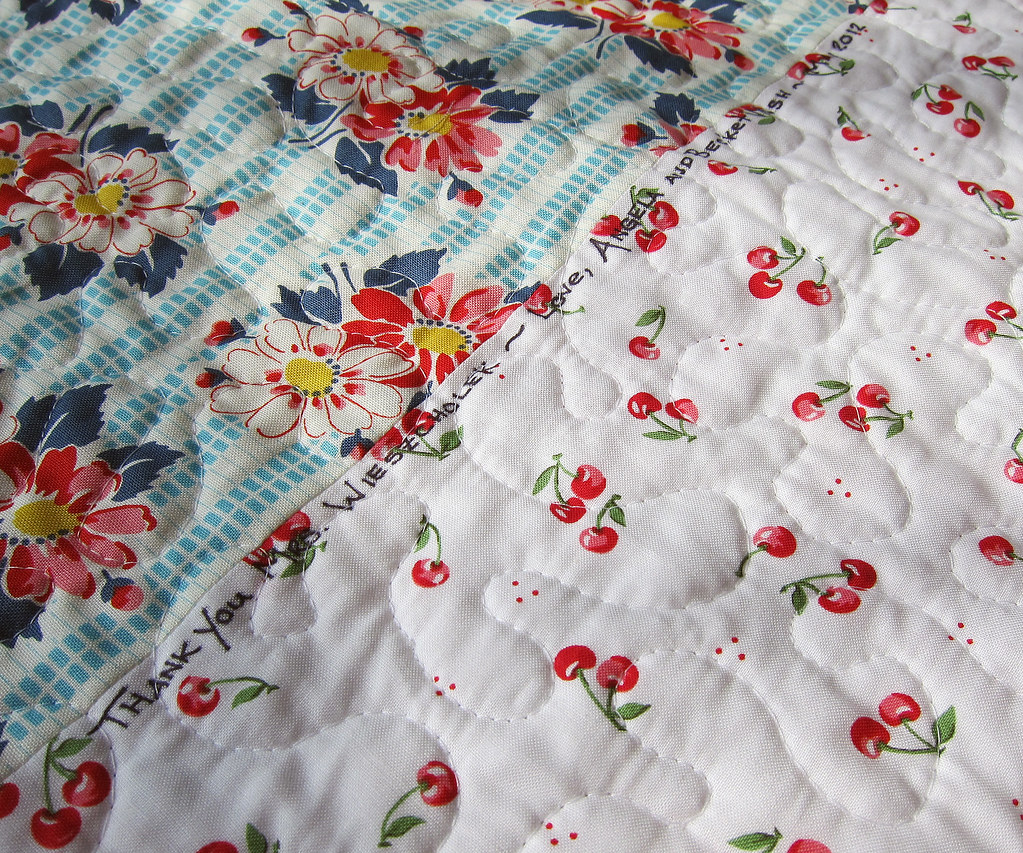
But I wanted to show the label/thank you I like to add to the back of my gift quilts. 

Normally I write everything out with a ceramic pencil, this time I actually used the Frixion pen.  It was perfect!  It writes so nicely, and any mistakes could be ironed off.  I traced over the writing with a sharpie and then set the sharpie/erased the Fixation with a pass of the iron.  

Kindergarten Flowers

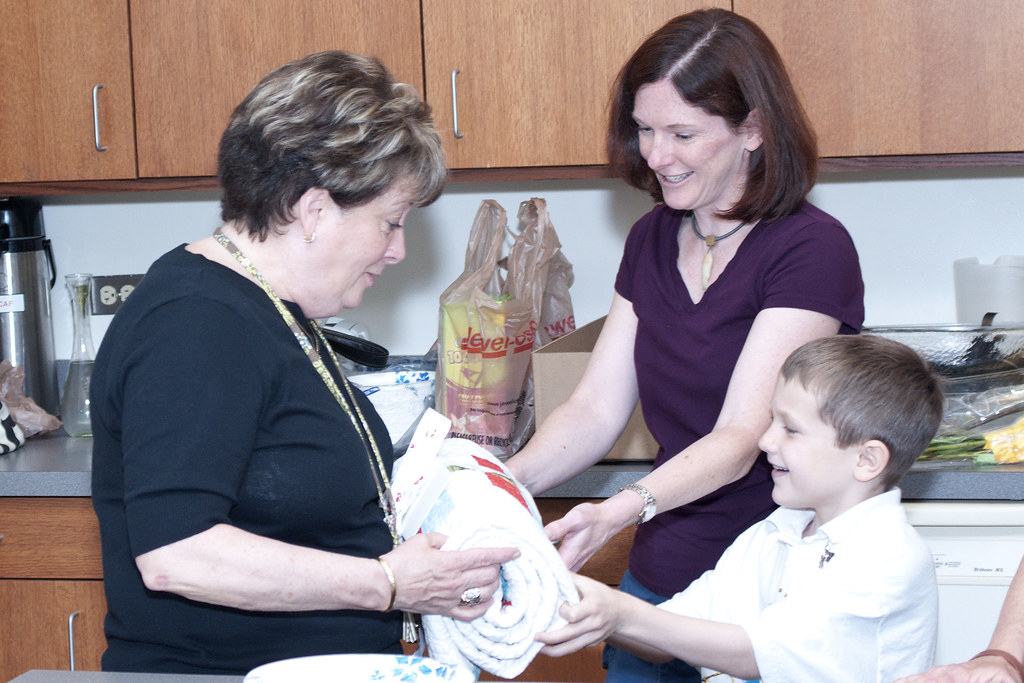
Becket had to snuggle up in it at least once before handing it over.

Giving the quilt

He was excited to give the quilt to his teacher.  Although, he had been coloring that morning and had marker all over his fingers, along with bits of BLUE frosting from cupcakes.

I was a tad nervous about Becket touching the white quilt.

1st Grader Now

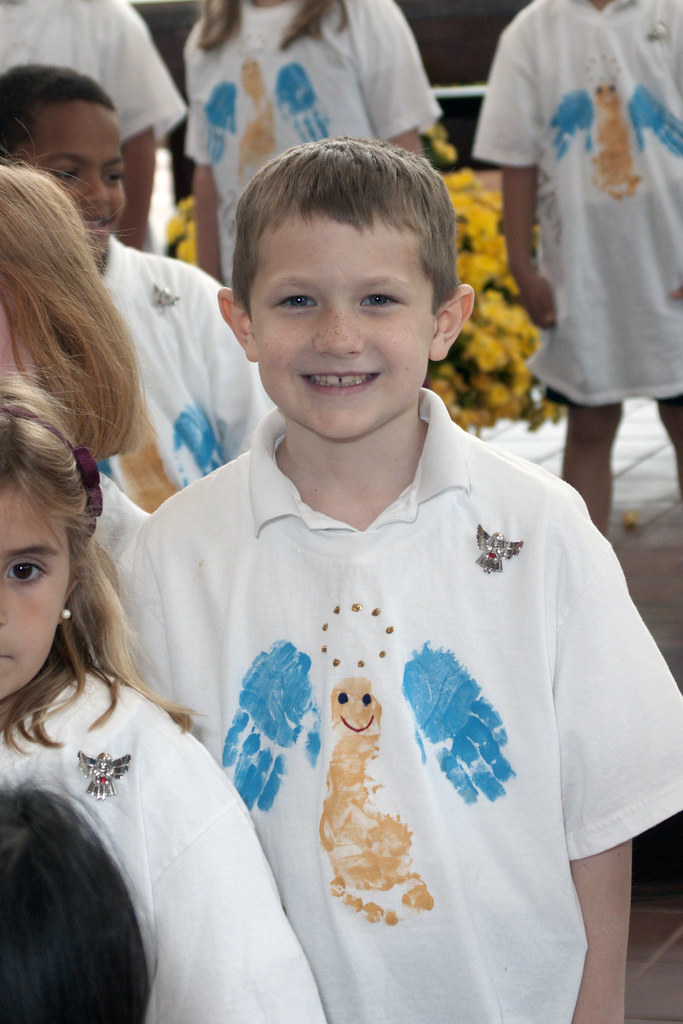
Those blue cupcakes were for the Kindergarten Angel ceremony yesterday.  So sweet.

with kenton

He's a first grader now!

Wednesday, February 15, 2012

A Birthday Quilt Parade!

It's my birthday today - so I thought I should celebrate by finally posting pictures of three more quilts I finished up late last fall.

(and I just noticed that I miss-typed 'Churn' when I loaded them into flickr - hate that)

Mod Chrun Dash

This is the Modern Churn Dash from Amy, over at Diary of a Quilter. I was interested in her method that used the fabrics so efficiently and her pattern is great!

Mod Chrun Dash

I have been really interested in the effect of reversing the conventional negative space. I love Amy's alternating of the negative space with these blocks.

Mod Chrun Dash

I was in the midst of my first fabric diet/quilt challenge with Leigh, so I was running low on neutral solids. Using gray on the back turned out so well!

Mod Chrun Dash

This next one was simply a collection of many of my favorite blues and greens. When you look at my fabric stash, they are leaning towers, way higher than anything else!

(don't tell them, but I've really started to love the pink/orange/yellow combination)

My favorite blues and greens

My favorite blues and greens

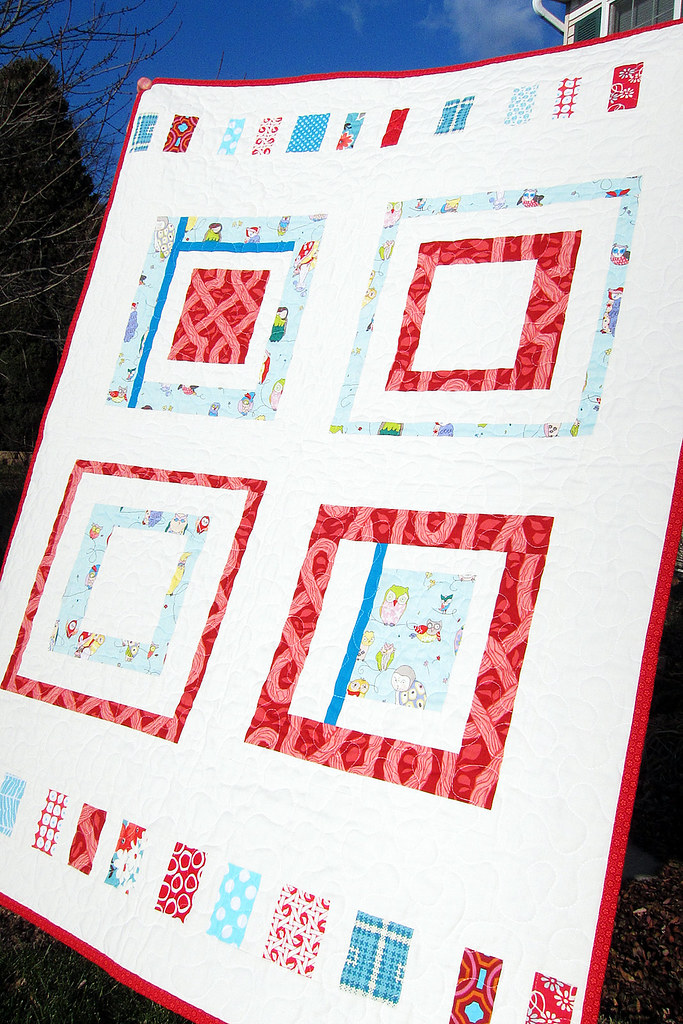
Finally, red and blue in fun 'There's a Square in There' improvish blocks. This was just a plain ol' fun quilt to make!

There's an Owl in There

Now, off to ruin my healthy eating/exercise plan a little more. I bought myself a small chocolate ganache cake at Trader Joe's today. We aren't having my official birthday party until Saturday with my Mom and Dad. So I had to get a treat for today :)


Thank you for both the comments of support and also disagreement to my last post.  I enjoyed the email conversations with both sides.


Thursday, January 12, 2012

Watery Zoo : Finished quilt

I loved working with all these deeper colors.

Watery Zoo

I was forced into them a bit when Leigh and I were working on getting 5 quilts done without buying any fabric.  I was getting really low on same-lot whites, so I had to pull out other plans and neutrals to get quilts done.

So glad I did!

Watery Zoo

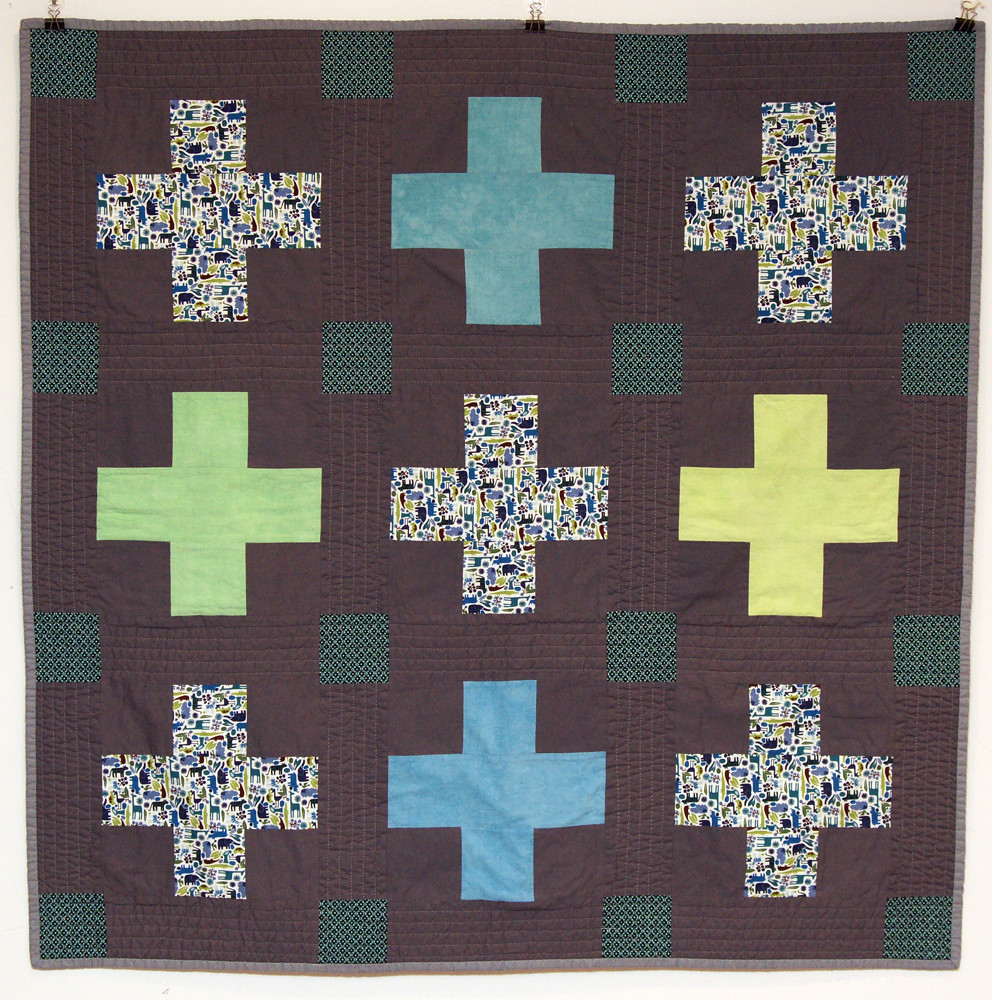
The solid pluses are made with hand dyed fabrics from Cherrywood Fabrics.  They have a great depth, and I thought they looked a bit like the sea, hence the Watery part of the Zoo.

Watery Zoo

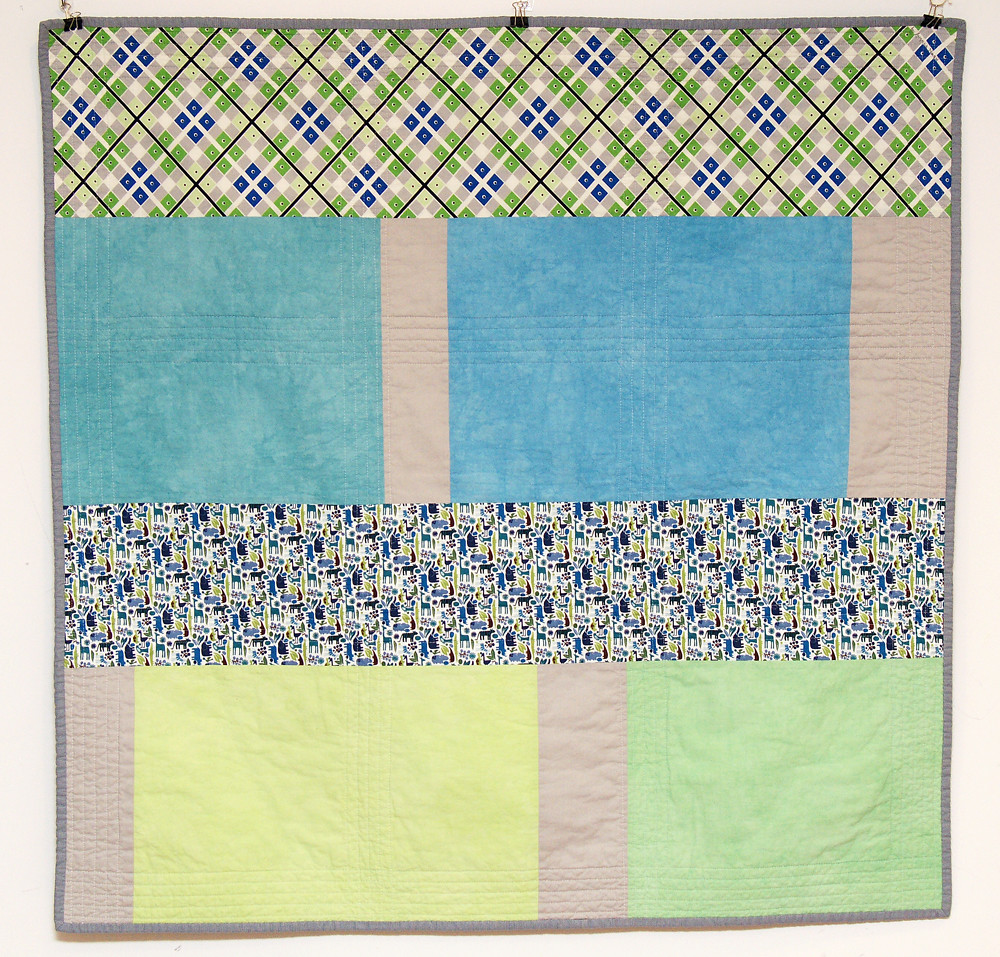
I was super happy after laying out that back - one of those where you pull out the bits leftover and add in a couple other pieces to make it all fit together.

This was an attempt to hang a quilt on the wall in the basement to photograph straight on. Not the best lighting! Upstairs the problem is that all my walls are either windows or occupied by furniture. Maybe I just need to clear a room out specifically for quilt photos. The oldest could be off to college in 3.5yrs - maybe that's a good plan for his room. It gets fabulous light all afternoon. Ha!

Watery Zoo

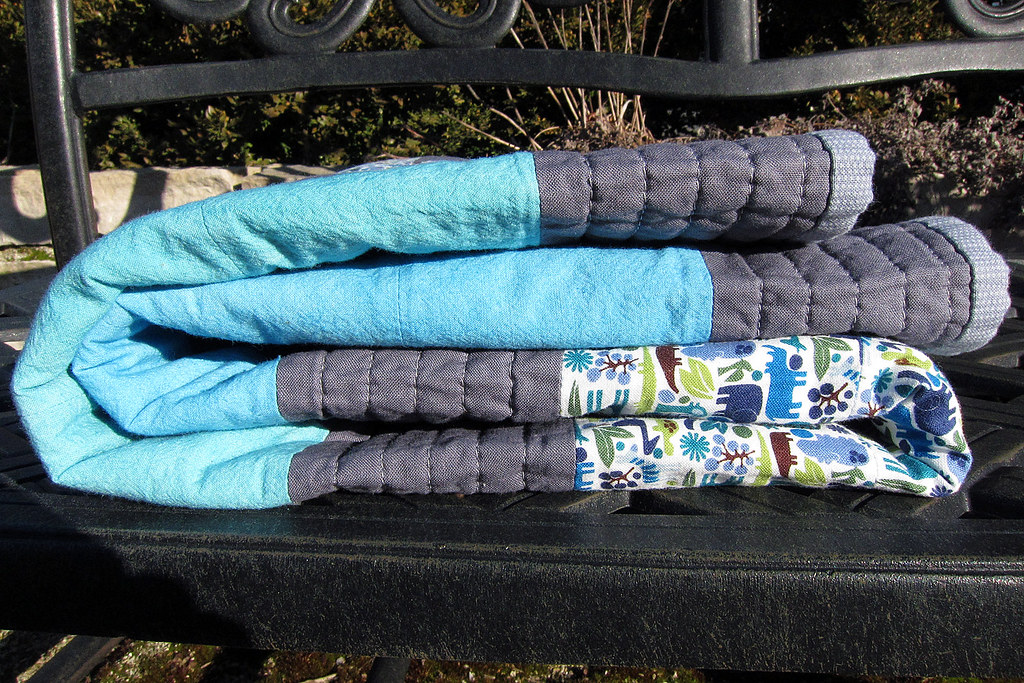
I actually made friends with sashing on this quilt, if you recall back here.  I did all kinds of stuff I normally don't do with this one - sashing, dark neutral, straight line quilting (still not a fan in-process but love the finished look here).

A fun little quilt. I listed it in my shop.

.