Showing posts with label process. Show all posts

Monday, January 14, 2013

Lynn's Diamonds {Finished}

I just noticed that I haven't blogged the quilt my sister in-law had me make this summer.

She was building a new house, and needing a quilt to hang on the wall.  She was a quilter long before I started, and hand quilted many of her beautiful tops.  But she decided there was no way she would have time to make another one, and asked if I could do it.

Organizing

I've posted some of the process photos - this is the Fig Tree pattern she had chosen, along with the pretty Riley Blake fabrics.

Fig Tree Pattern

And talk about a process!

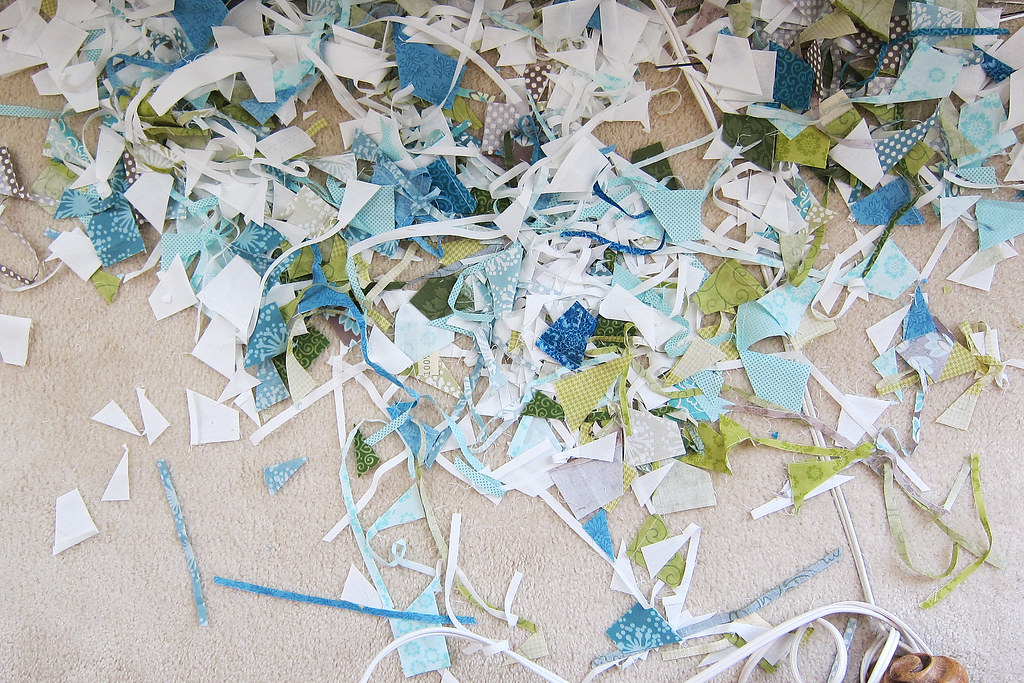
Large piles of trimmings were generated in the making.

scraps

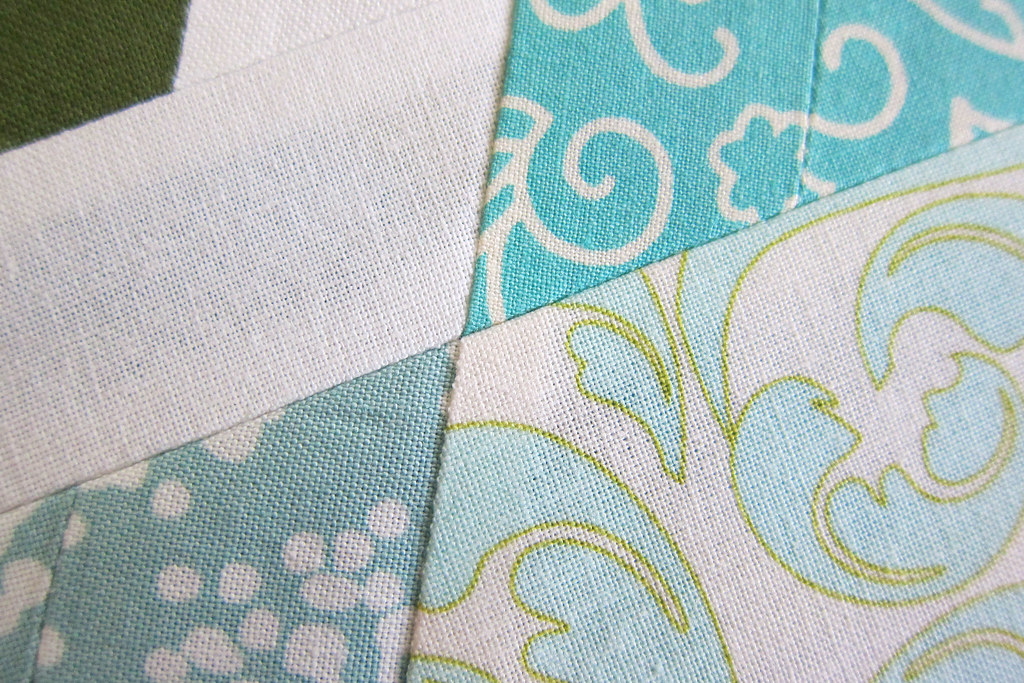
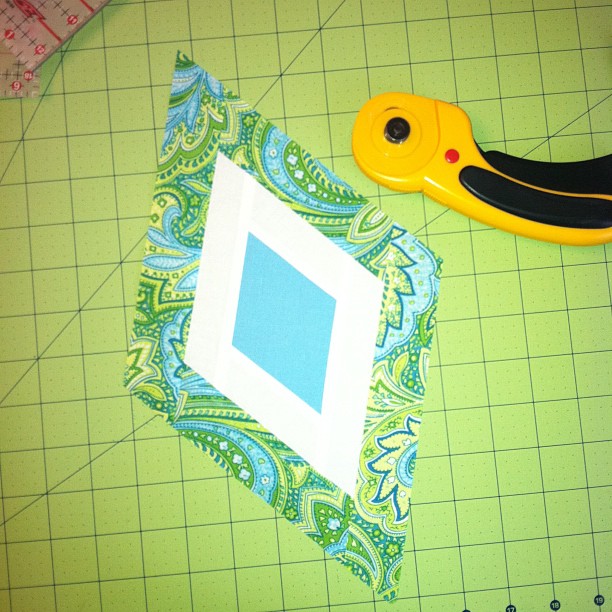
I wanted each diamond to be perfectly square - both vertical and horizontal.

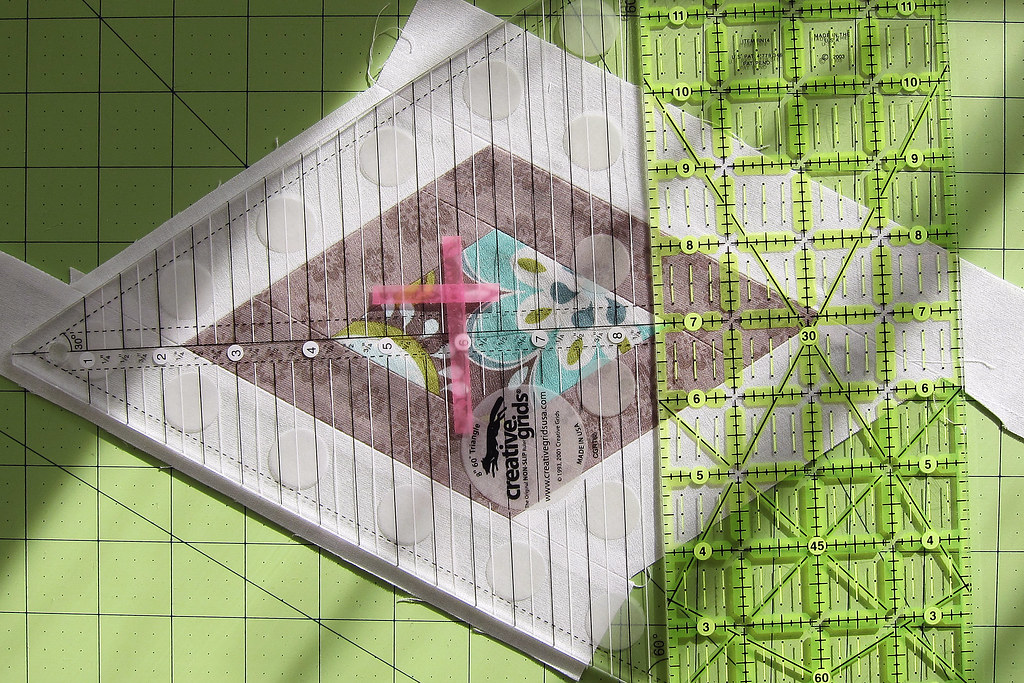
The process involved a couple of rulers and lots of trimming, but I didn't mind.  I love lining up points and trimming things just-so.

xtra ruler

Then those nice diamonds were fun to join together.

Phew - done!

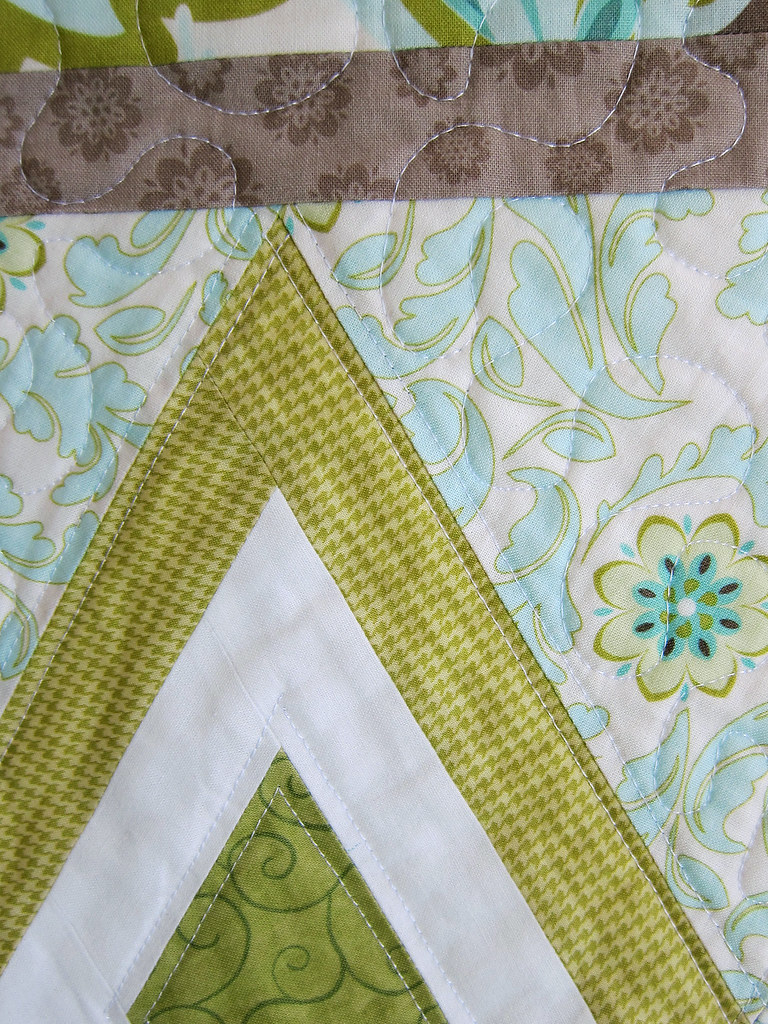
After talking it over with my sister in-law, I decided to stipple the outer border and into the setting triangles.  Then echoed both edges of the inner and outer diamonds.

This gave me about a million ends to weave in, but the final look was awesome.

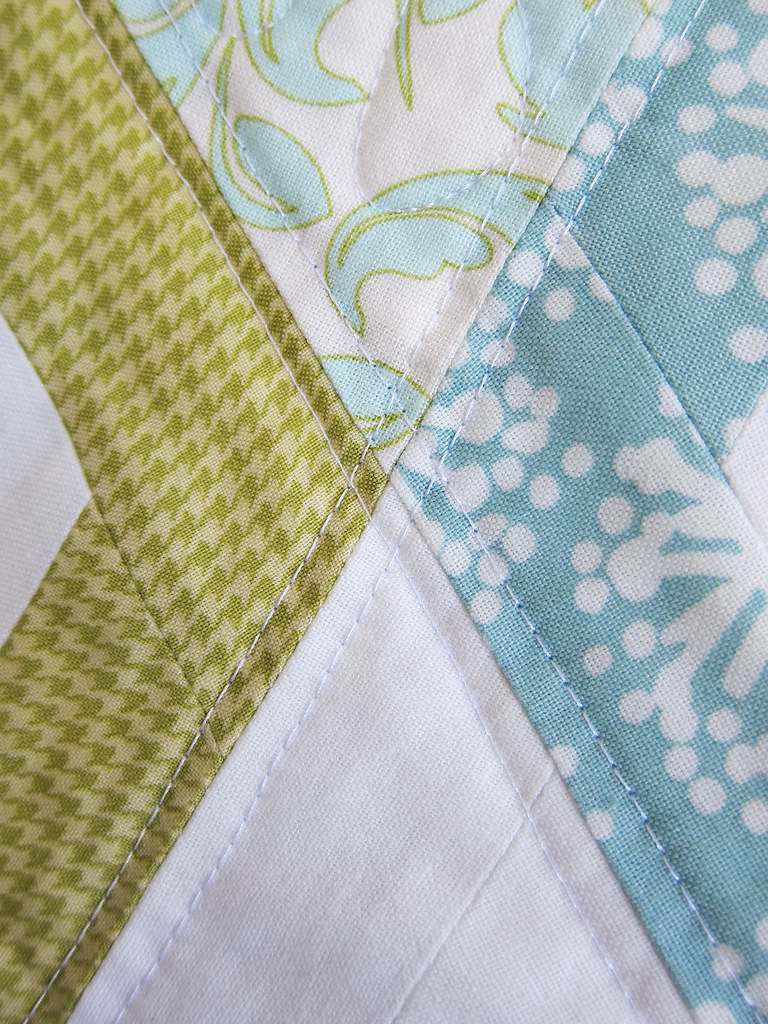
Lynn's quilting

I could look at those points all day :)

I'm still thrilled at how well my new Horizon kept everything lined up.

Diamond Quilting

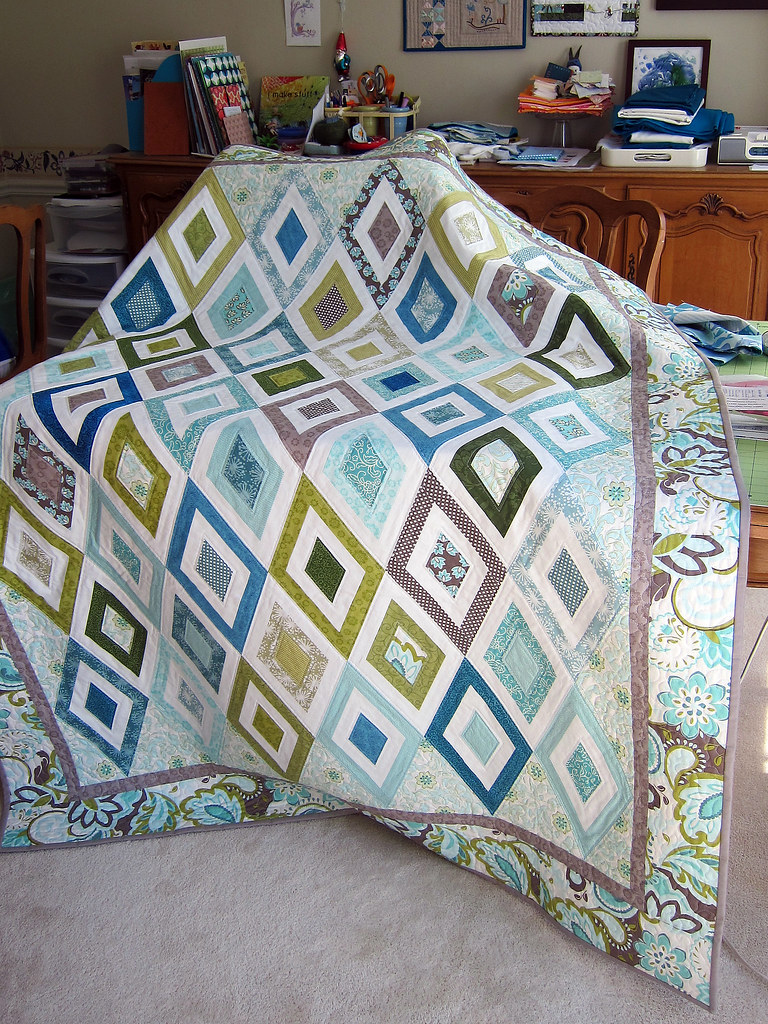
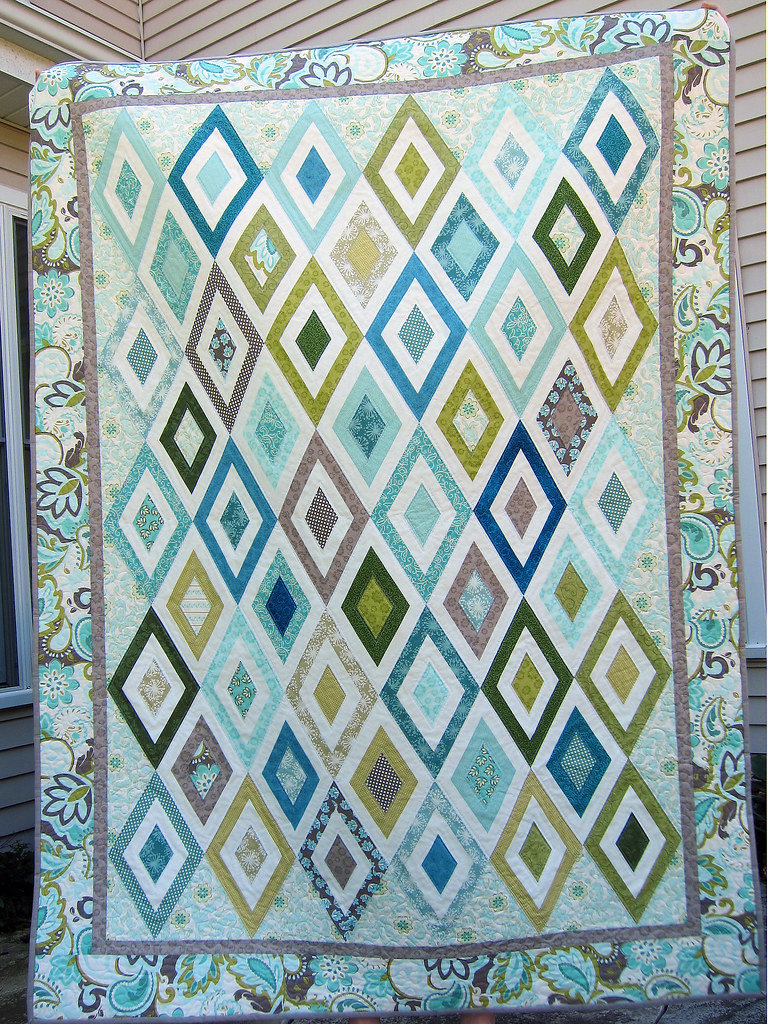
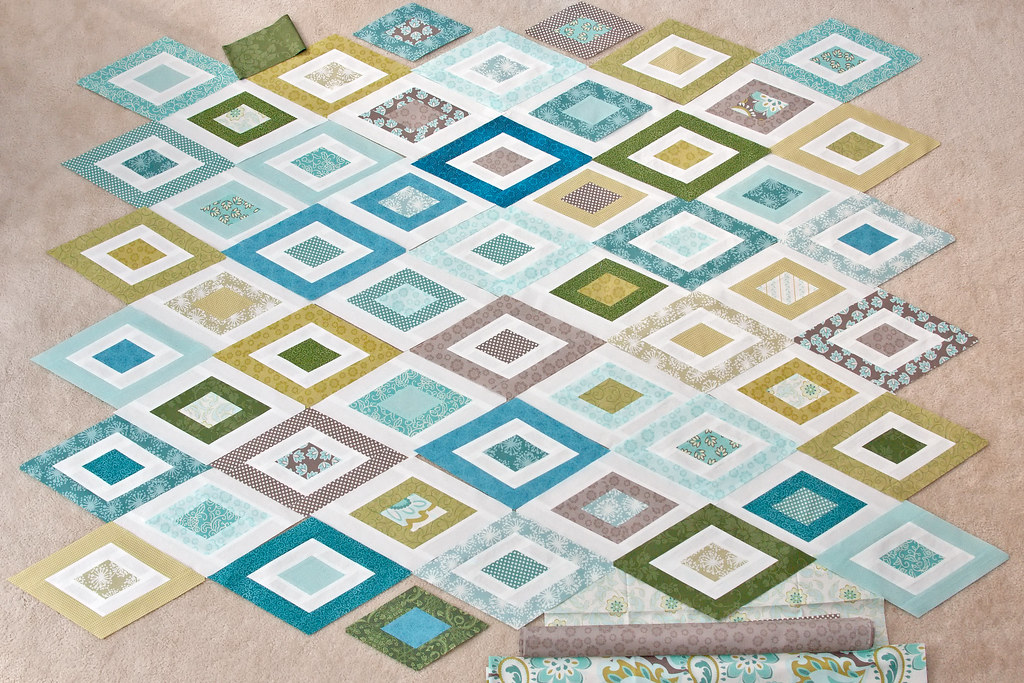
The whole quilt.

Got to see it hanging in the wild when we visited her at Thanksgiving, that was cool.

Lynn's Diamond Quilt

Saturday, September 15, 2012

FMQ on my Janome Horizon 7700

I did a happy dance last night, completing quilting on my largest quilt to date - so I must share with you :)

I also think that I will most surely remember whatever important thing I have figured out, but learned that it's way easier to just note the details down so I don't have to experiment again the next month.
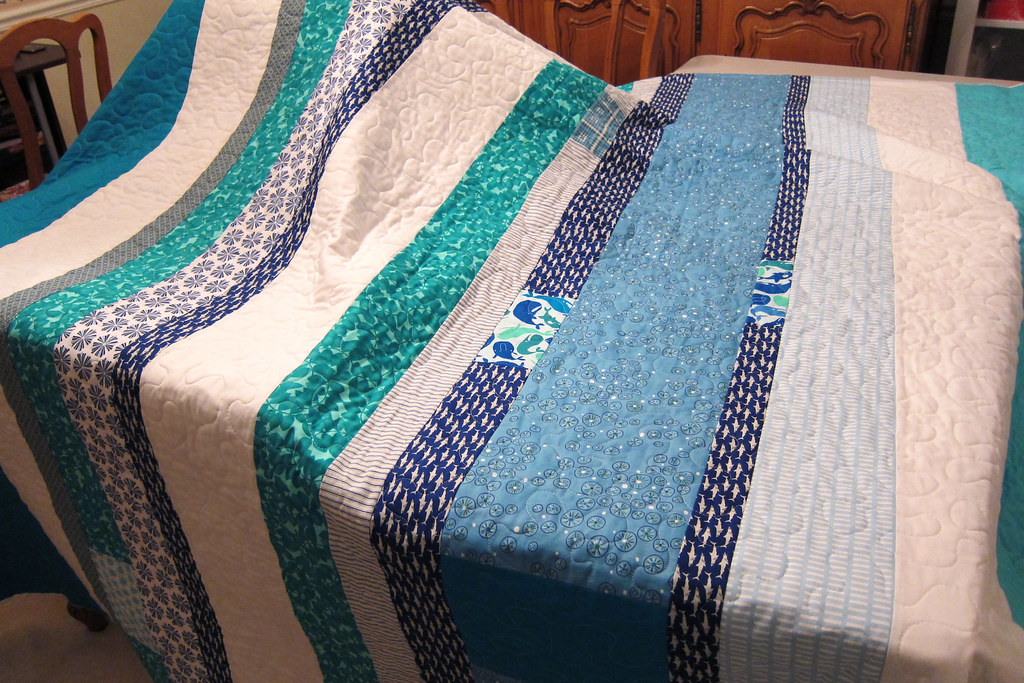
First full - done!

Last night I started and finished free motion stipple on a large full, 3 hours total! - it's about 82" x 92" (that's the back of the quilt - can't show you the front)

The largest I had done in the past was about 75x75 and that had seemed super, super hard on my old Brother. I actually got my ruler out and measured that there are exactly 11 flat inches to the right of the needle on the 7700. The point at which I was quilting in the exact middle of this one, the only trick was keeping the weight from catching on the outside lip of the extension table.

Hurray that I didn't have to WILL the time/space continuum to compress my quilt as I squashed it into the machine!
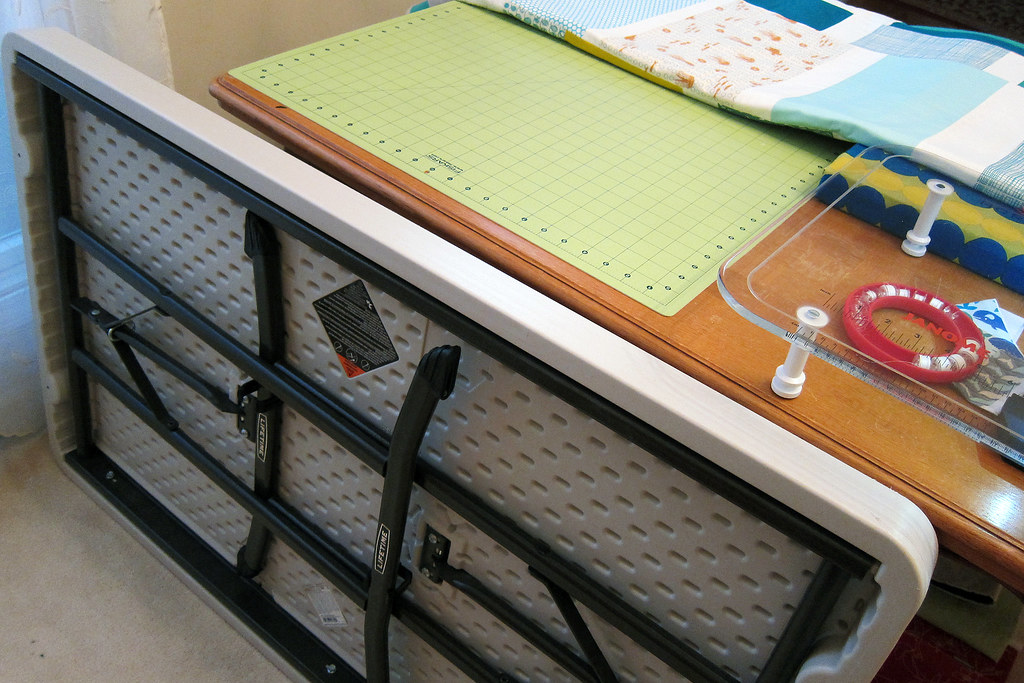
Table just for quilting

Knowing that I would need to wrestle the weight of this quilt a bit, I dragged a Lifetime table up from the basement. It's a perfect size for the space I normally have open.
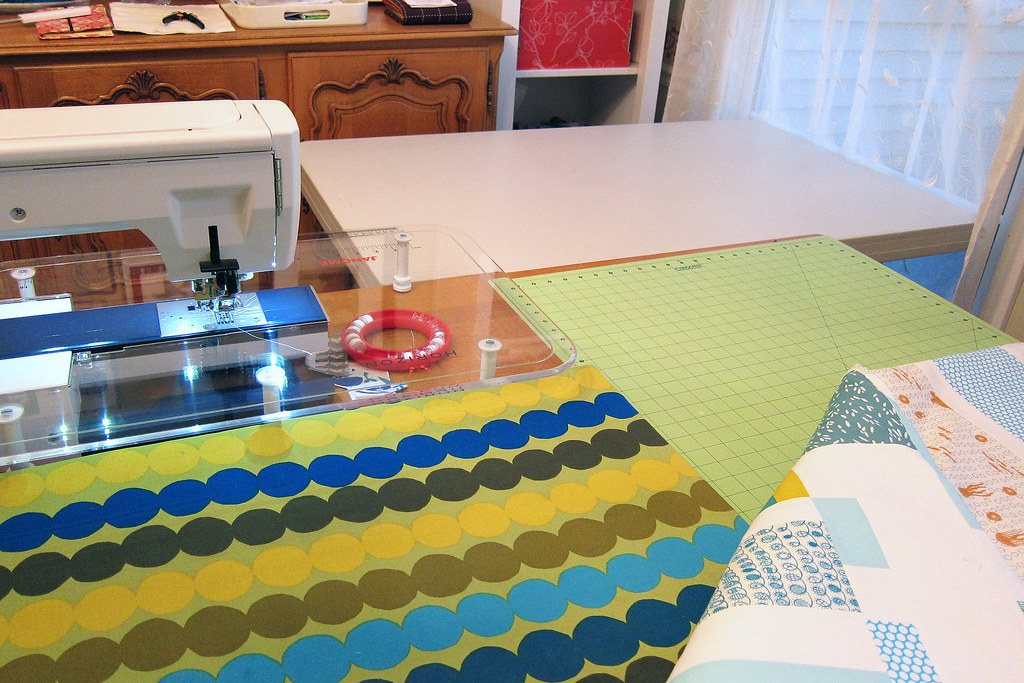
Quilting area all set

At 4 feet long, I just pushed it all the way against the window and up to the lip of my dining room table.

And as much as I love sitting at the dining room table, I'm going to look into getting the Gidget 2. I'll probably rearrange the room a little bit so I have just my ironing and cutting on the table and then set my machine down into the Gidget. It got pretty annoying every time the quilt bound up by getting caught on one of the Horizon's extension table edges.
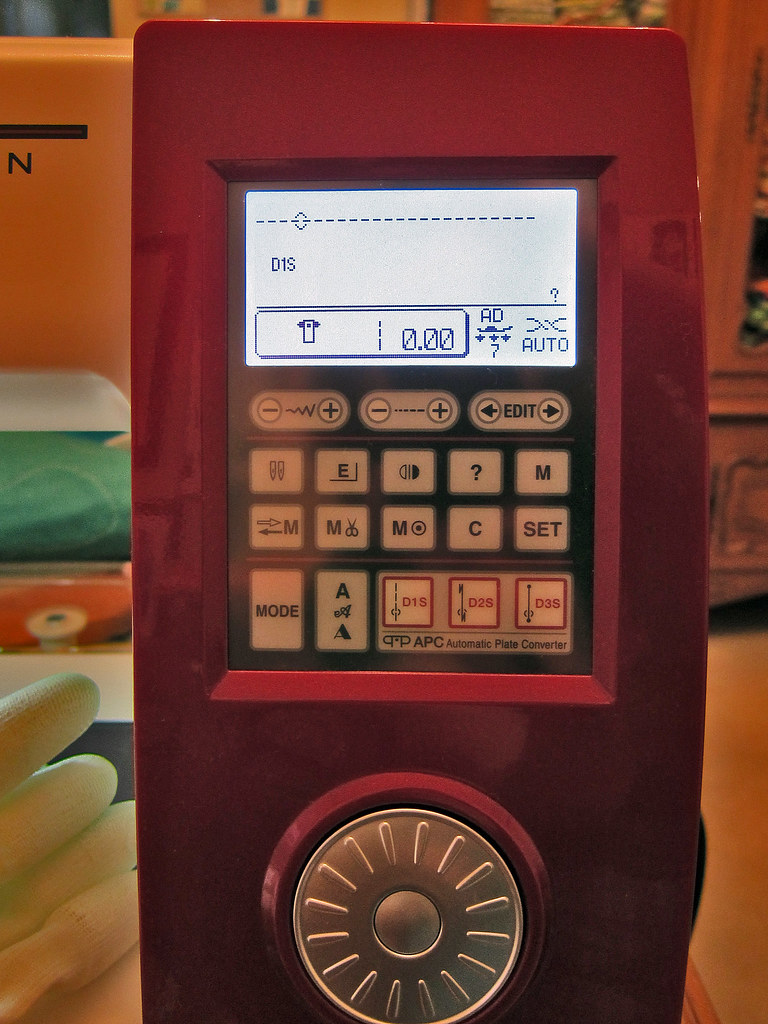
Janome Horizon FMQ settings

These are my machine settings for Free Motion Quilting. Leah Day's information was a fabulous place to start! I tried the D3S stitch, which makes a nice knot at the start and end for you, but found that whatever the machine does to make that knot, while nice and strong, was a little tricky to bury.

Stitch length = 0. You can't see it here, but I changed my thread tension off of the Auto setting (which is about a 4, I found out) and set it at about 5. I always do a quick practice sandwich and that tension is where I got the most wonderful stitch on both the top and bottom. My feed dogs are still UP, and I didn't change the presser foot pressure, as both of those things are compensated for ......

FMQ on the Janome Horizon

...... by the Supreme Slider - which I honestly didn't expect to be SO HUGE a difference. Seriously. If you haven't tried one yet, get one! Besides that super awesome, slippery surface, it covers those feed dogs.

The choice of stitch D1S automatically gives me the single hole plate. I found the single hole made a big difference during FMQ. With the regular slot, the thread would sometimes catch or break down inside the machine.

The green bit on my needle is the nice color that Schmetz gives to their Stipple Quilting needles. I make sure to use a new one for every quilt.

If you haven't seen the quilting foot on a Horizon yet, that huge thing is it! The little open-toe on the bottom can be swapped out for 2 other choices, but I like the open toe best. And that big double spring contraption on the right is actually super awesome. You can twist the rightmost one to raise or lower the hover height of the foot, so that it perfectly skims your quilt top. No need to change the machine's foot pressure.
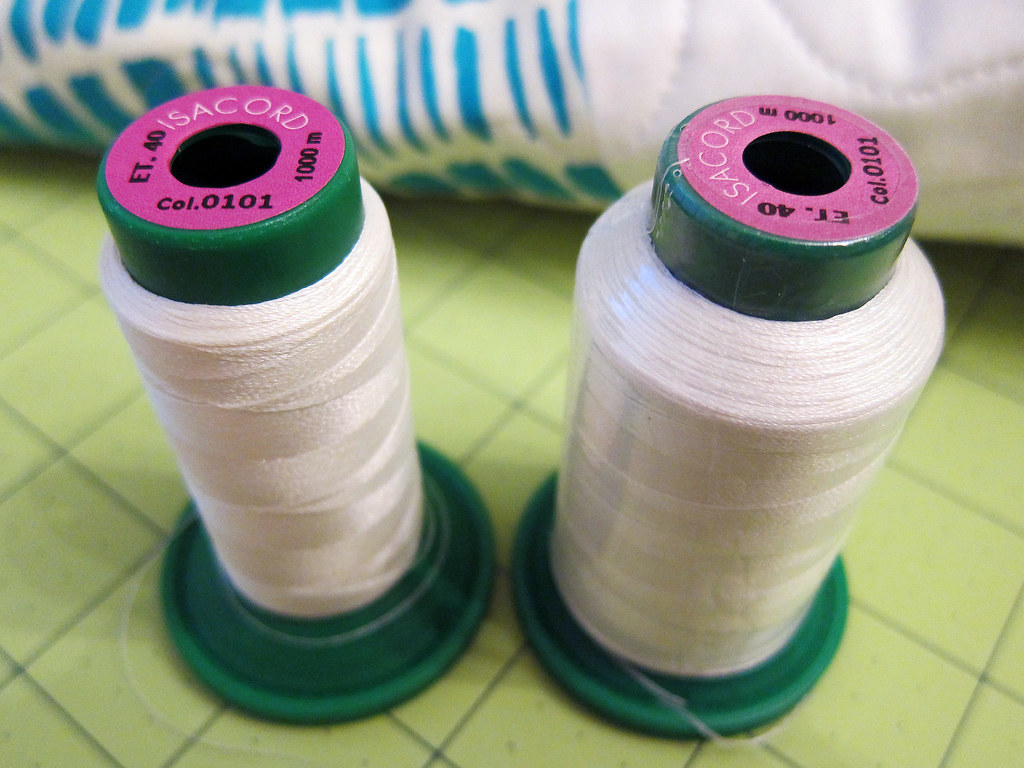
FMQ Thread

Finally, the thread - I usually quilted with Gutermann and was super happy with it. But based on Leah Day's rave of Isocord when free motion quilting, I thought I would give it a try. Plus, the store I work at has what seems like a million rainbow rack of colors! Not knowing much about it, I found out that it is used for embroidery - hence the million colors.

I picked eggshell white #101 - it was a perfect match for the Kona snow. One spool has 1000m, and I started with a new spool for this quilt. I didn't use all the bobbins I wound, but you can see about how much thread I used. I did a medium to large stipple, which seemed to fit the scale of the large improv design of the quilt.

Getting bobbins ready

I wound 6 bobbins and only used about 4 1/2! The Janome bobbin is a little bigger - taller - than my old Brother. Plus, the Isocord is fairly fine - so those bobbins went a long way. My quilt retreat friends will remember my neurotic need to know when my bobbin was low, as I always start and stop on an outside edge. But since giving the whole tail-burying thing a try, I've been liberated. Hurray!

Oh, I used 505 to spray baste this huge quilt. So glad I have the large size spray cans. Anyway, happy to report this large-full quilt is completely pucker-free. It's wonderful to be free of unpinning all that basting as you truck along on the quilting.

Between the beautiful stitches, bobbins holding a ton, not worrying about when they would end, and easily pushing all that fabric through my machine, it was a total zen quilt night!

Wednesday, July 25, 2012

Perfect Points

You know when you were little, or even today :) and you get to have a surprise trip to the ice cream shop?

And you're so giddy you could bust?

perfect points

That's the feeling when I open seams and get rows and rows of perfect points.

The teen boys in the house were not appropriately impressed, so I had to post them.

Definitely loving my new Horizon!

Monday, July 09, 2012

New Whirlygiggles

whirly test

A little late, but I worked on a 4th of July table runner this weekend.

I cut a bunch of whirlygiggles in large and small sizes. I wanted to test out my quilt math - I have two full size commission quilts to make.

(I may have gone on a bit of a fabric binge, getting just the right prints for those quilts. Fabric mail arrival to confess/document this week.)

project notes

I use this blank, bound book to record all my quilt plans and designs.

To get my quilt to end up as close to a traditional full size, without any borders or sashing, I had to adjust my whirlygiggle to about 13.75" square.

I thought a quick table runner for myself would be a good way to make sure my numbers were perfect.

miss

Ooops - I was off by 1/4" across the joining of the four small whirlygiggles. Just an 1/8th on each end, so not a big deal for my table runner. But I'll adjust those for the large quilt. Glad I did a test run!

Nooooooo!   This should be cut with an xtra 1"  Going to try to zigzag it back on.

I was really happy with myself and thought I had an awesome plan to quickly back and bind this. Not so much! An anguished scream was heard when I cut the edge right along my quilting, as I always do, instead of 1" out for a quick turned binding.

I need to recover from it for a couple more days before I post the end result.

Evenly lit

In the meantime, I'm finishing up the diamond quilt being made for my sister inlaw. I wanted to make sure she was good with how all the fabrics were playing together. So we took an overhead photo using two synced bounce flashes and my aqua painted ladder. It was fun!

scraps

This is what the floor next to my sewing table looks like. I swipe the trimmed bits right off the edge as I go through all 52 of my diamonds.

start and end

Finally, Becket bought me a new sewing machine this weekend.

It's even aqua with red gingham!

becket's kingdom

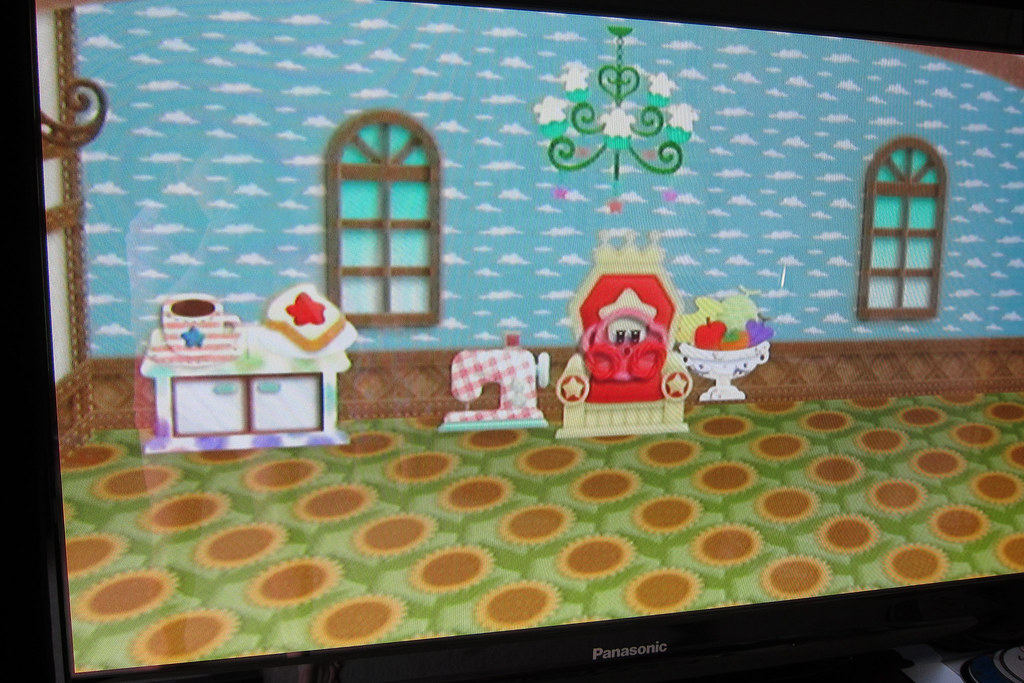
Kirby's Yarn is a super cute Wii game if you haven't seen it yet.

The little yarn guy has adventures in sewing notions and patchwork or knit worlds.


Monday, June 04, 2012

Pairs on Chairs

A couple people asked - the pattern I'm using for the diamond quilt is this one by Fig Tree Quilts.

Fig Tree Pattern

I have several of her patterns, and you can count on all kinds of great construction tips throughout the whole process.

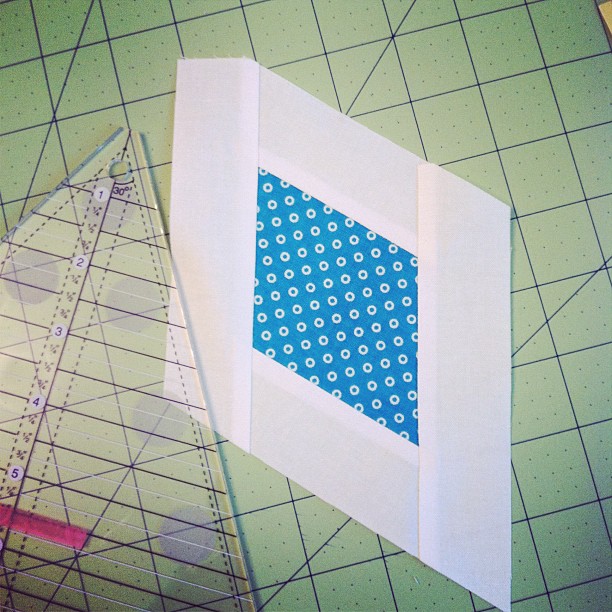
One thing she didn't suggest, that I would highly recommend, is the 60 degree ruler.  I happened to have one already, and it has made things much easier to cut the center diamonds and then to keep each color round perfect.

Organizing

Here's a portion of the fabric pairs I had covering several chairs in my sewing area.  I'm making the diamonds with white on the outside first, and I need 21 of them.

I spent one long evening shifting pairs of strips and diamonds around - standing back to look at them - shifting some more - until I had settled on 24 pairs.  I'm not 100% sure about a few and I have enough fabric to make extras to decide on at the final layout.

I took several photos of the pairs on chairs before going to bed, just in case they were tossed about by a kid!  They're now held safely, as they await their turn for sewing, by a serving tray - with strict instructions that nobody is to touch it!
Saturday, June 02, 2012

Quilt Pre-Start

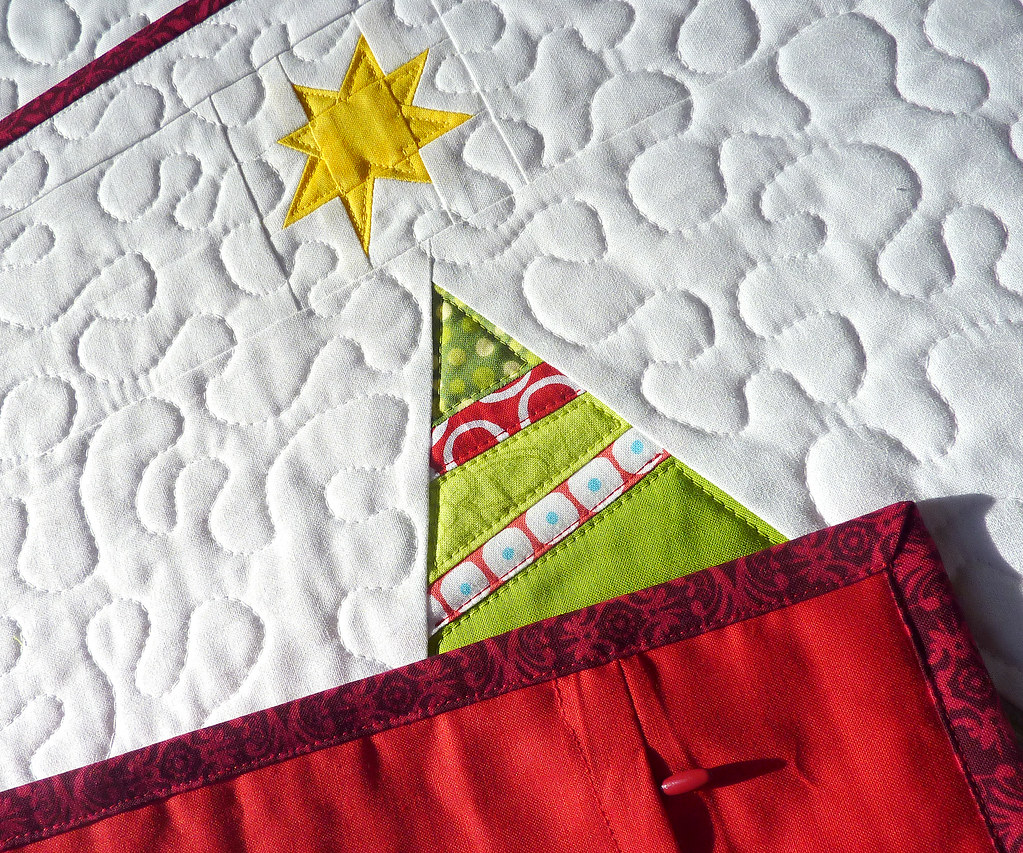
I'm starting a project that my sister in-law has commissioned me to create.

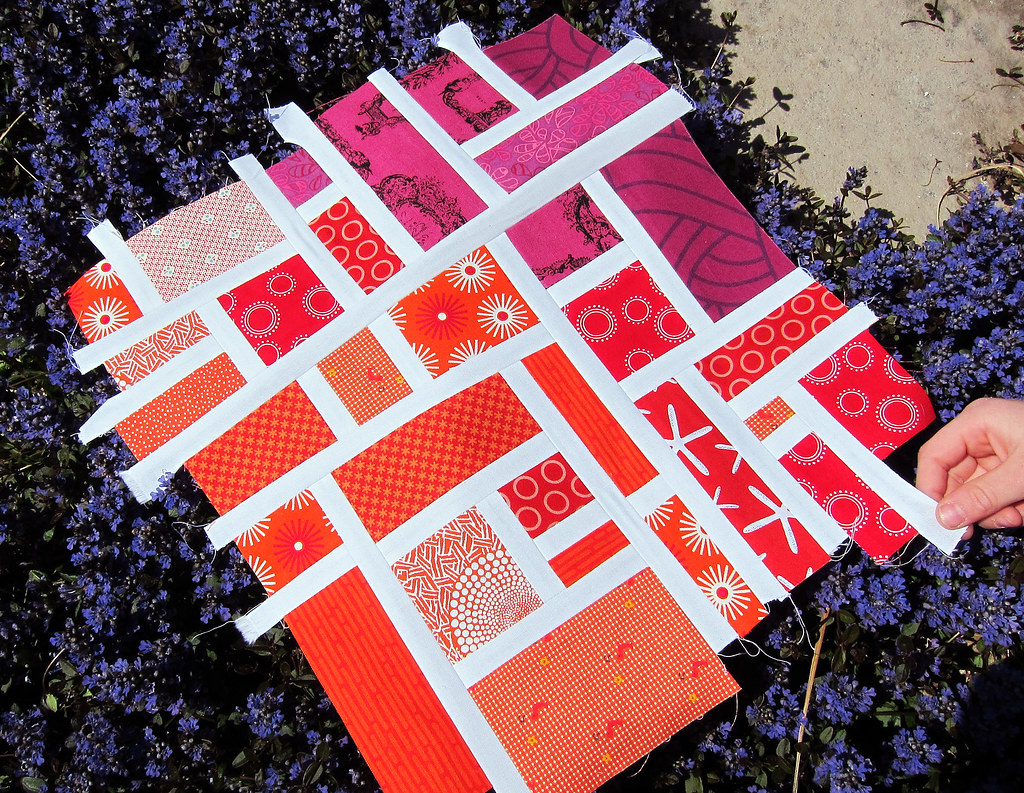
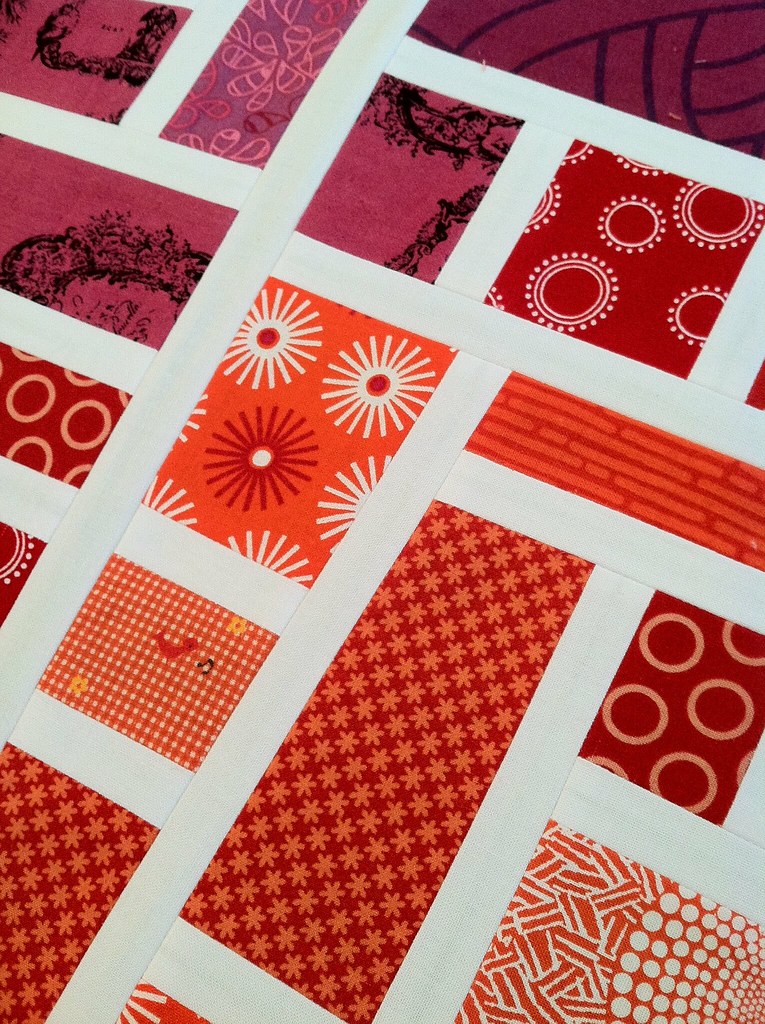
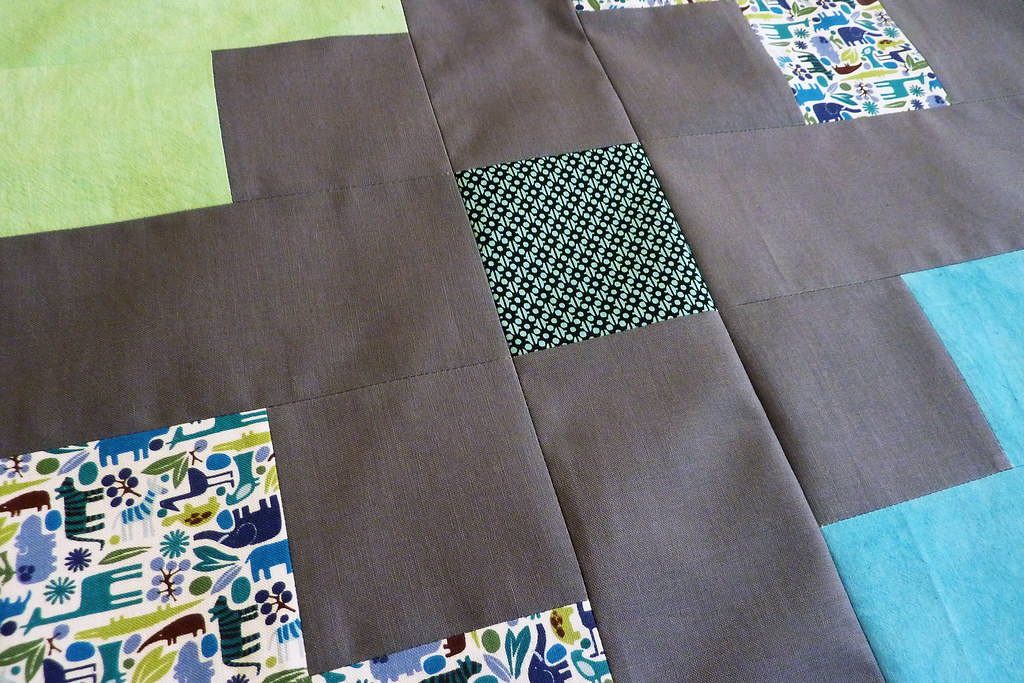
The pattern makes diamonds without y-seams or templates.

Oops. Lost my point.

Thought I should make a block with my own scraps before chopping up all her fabric. (Down side to this project, she sent me all the fabric. So no stash reduction.)

I spaced on the strip placement, and lost one of my points. Oooops.

Much better!
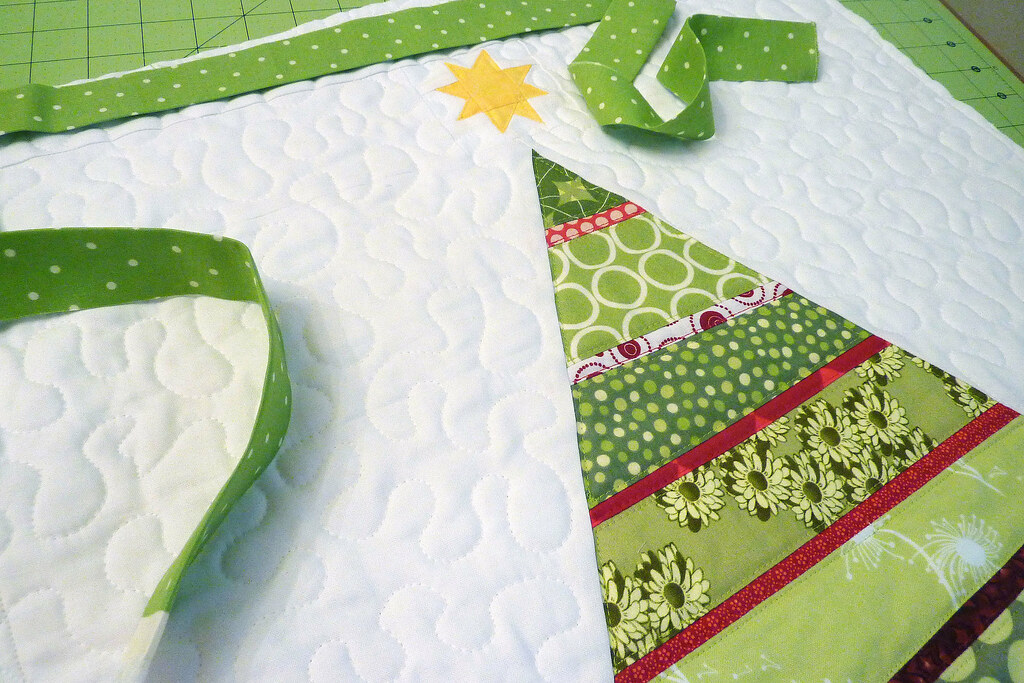
Try number two. Much better.

.

Wednesday, May 30, 2012

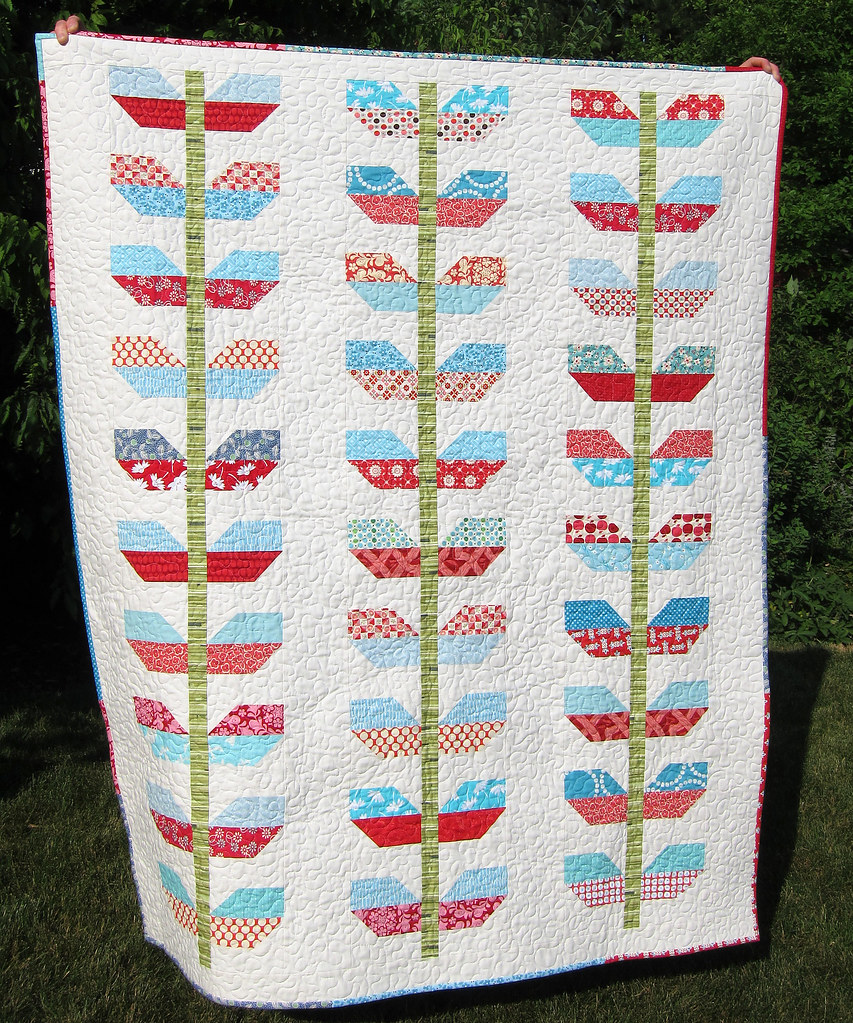
Finished Quilt : Kindergarten Flowers

I finished in time to wash and crinkle the quilt for Becket's teacher!

He said "flowers", so I looked through my flickr favorites and pins to find something fun to make.  I changed my mind a bunch of times and then came across the Stems quilt by Fig Tree Quilts.  I got all excited and started pulling fabrics for a quilt inspired by it.

Kindergarten Flowers

I was a bit delusional - as you may recall I started this just a week and a half before the last day of school.  But it got done.

Here's what I was thinking:  ooooh, I can pull about 10 reds and 10 blues, cut w.o.f. strips - sew them in pairs - chop - add some stitch and flip white - chop - stems - done. 

Quick and Fun!

Kindergarten Flowers

Pulling all those reds and blues WAS fun.  But as I was finishing up my strips and making pairs I realized that if I wanted to keep all my points, I really needed to add the white triangles before joining them up.  So chop, chop, chop I made stacks of 60 small red strips and 60 blue....then paired them up - luckily realizing that I wanted to keep each flower the same from one side of the stem to the other.

It was lots of fun arranging them on the floor though, planning the rows of flowers, once the halves were all done.

The biggest challenge that I had failed to consider was those six long columns of petals.  I am a HUGE fan of squaring up.  I usually adjust any and all patterns so that I can make a block a tad larger, then press and trim into a perfect square.

Kindergarten Flowers

To keep my points and also to keep each half perfectly lined up on each side of the stem from top to bottom, I had to sew very carefully, instead of relying on squaring up.  Plus, I have some weird issue with drifting along long rows.  So I had to be super careful.

Way Stressful when you have a deadline!

Wish I enjoyed that whole process more.  This quilt is so cute I would like to make it in other color combinations. 

Kindergarten Flowers

On the up side, I had cut more 2.5" red and blue strips than I needed for the petals.  So I pulled what I had left together and created a scrappy binding.  I love how that worked out.

Kindergarten Flowers

I went with a stipple for the quilting.  It was some good, zen time after all that careful piecing.

Kindergarten Flowers

Becket had chosen four of his favorite flower prints for the back, so it's just pieced in large blocks.

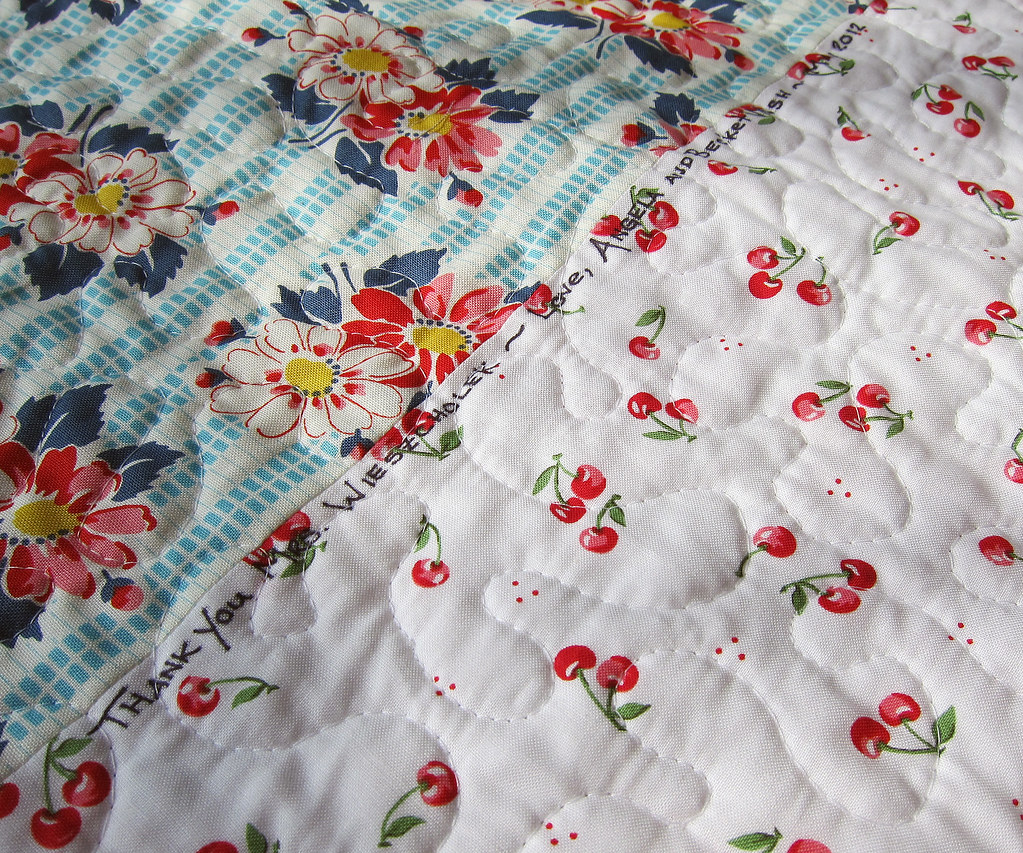
But I wanted to show the label/thank you I like to add to the back of my gift quilts. 

Normally I write everything out with a ceramic pencil, this time I actually used the Frixion pen.  It was perfect!  It writes so nicely, and any mistakes could be ironed off.  I traced over the writing with a sharpie and then set the sharpie/erased the Fixation with a pass of the iron.  

Kindergarten Flowers

Becket had to snuggle up in it at least once before handing it over.

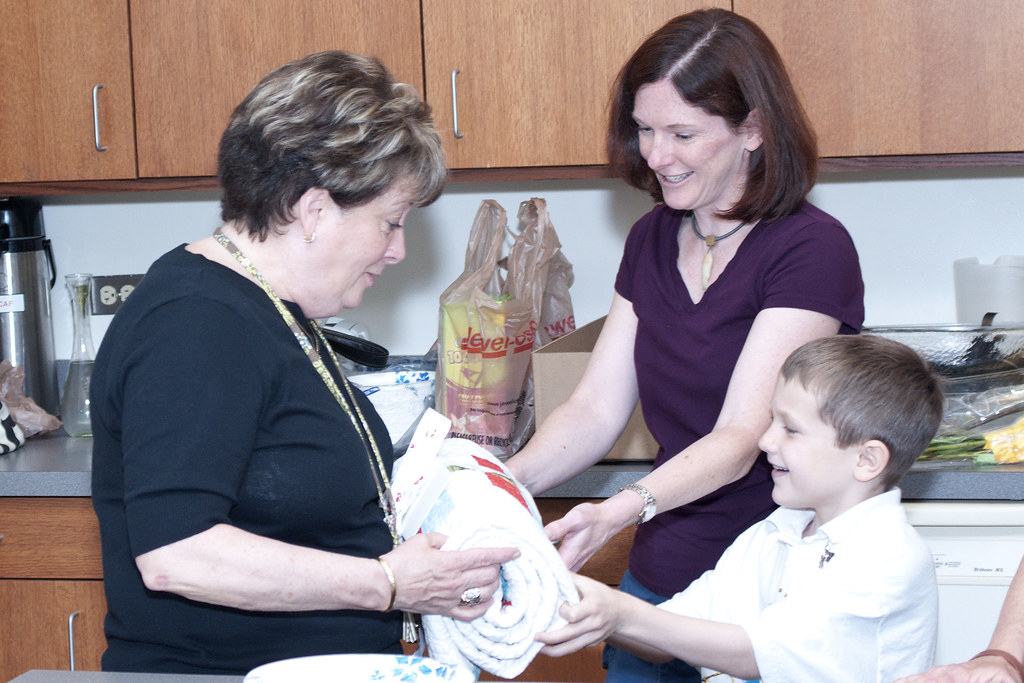
Giving the quilt

He was excited to give the quilt to his teacher.  Although, he had been coloring that morning and had marker all over his fingers, along with bits of BLUE frosting from cupcakes.

I was a tad nervous about Becket touching the white quilt.

1st Grader Now

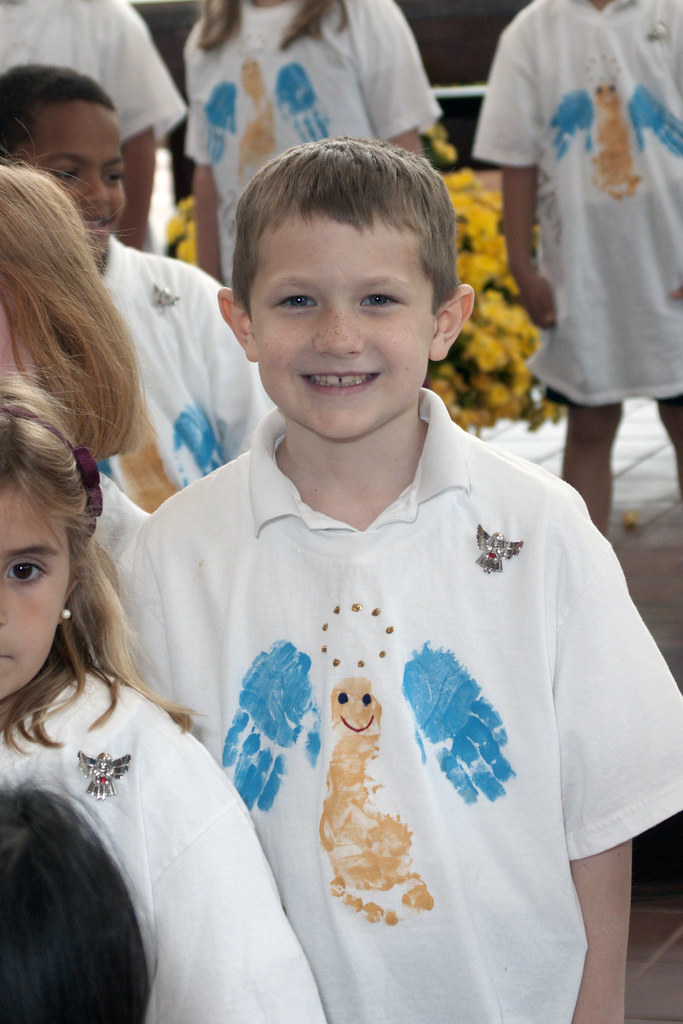
Those blue cupcakes were for the Kindergarten Angel ceremony yesterday.  So sweet.

with kenton

He's a first grader now!

Thursday, April 12, 2012

Mod Mosaic Rainbow

Mod Mosaic

Brooke had the most awesome idea for her month in our bee.

As many of us have, she participated in some of Kati's awesome color wheel charm swaps. Here's the flickr group for the swaps - if you haven't seen it yet, there's lots of great rainbow inspiration.

The trick is figuring out what you want to do with all that 5" rainbow goodness!

Color flow

Brooke sent a bunch of her charms for making Mod Mosaic blocks, based on the tutorial by Elizabeth Hartman. 

The colors in each of the blocks should flow through a range of three - from upper left to lower right. Then she is going to set the blocks into a quilt that will flow through the whole rainbow. Check out her post, she has a mock-up of the plan.

Brooke wants 12.5" blocks, so we're sending 12.75" blocks so that she doesn't lose anything in the fraying that can happen when our creations make their way through the mail system.

First pass

Here was my first pass - I think I counted up a total of 12 charms that she sent.  I chopped and laid out a plan within a 13" square, just to make sure the block would be big enough.  I left a 1/2" gap, mimicking the white strips.

I should have done that step without any gap, because you're also loosing a 1/2" between each bit when you make those seams with the white.  So I had to improvise a little and change my plans to make sure the square would be large enough.

Mod Mosaic

Compare my finished block - photoshop cropped to what would be about a 12.75" square - with the layout above. 

You can see how I had to add sections to get the dimensions right.  I think it was looking like the finished block would be about 11.75-12" square if I had not added onto the plan.

And it used more white strips than I would have ever though possible!  When I opened Brooke's package, I thought she had sent so much extra, but I ended up with EXACTLY the right amount.

I tend to forget how much fabric is eaten up by all those seams.   As Brooke did, it's also good to do your own block sample before sending out fabric to bee-mates.  If it had been me, I would have underestimated the number of charms and lengths of white strips by a bunch.

Mod Mosaic


Friday, November 11, 2011

Pebbles

I love pebble quilting's texture.

And I have a project that is small enough that I won't need 17 bobbins of thread to complete.

pebbles

But, I may need to revisit the spray baste thing.  After much testing I never did find any differences between the Dritz and the 505.

But I'm not so sure I like it as well as I had hoped.  The basting part is MUCH more pleasant.  And nary a wrinkle or pucker is to be found. 

But the quilting - with a spray basted quilt - is not that great.  And I LOVE the quilting part.  The problem is that the basting makes the quilt a little stiff.  And am finding that the quilting process is much more difficult without any drape to your quilt.  I have to wrestle it and stop to pull/move as much as if I was stopping to undo a pin.

Maybe I'll try spraying on the back and pinning the front? 

.

Wednesday, November 09, 2011

Two Done : now the super scary part!

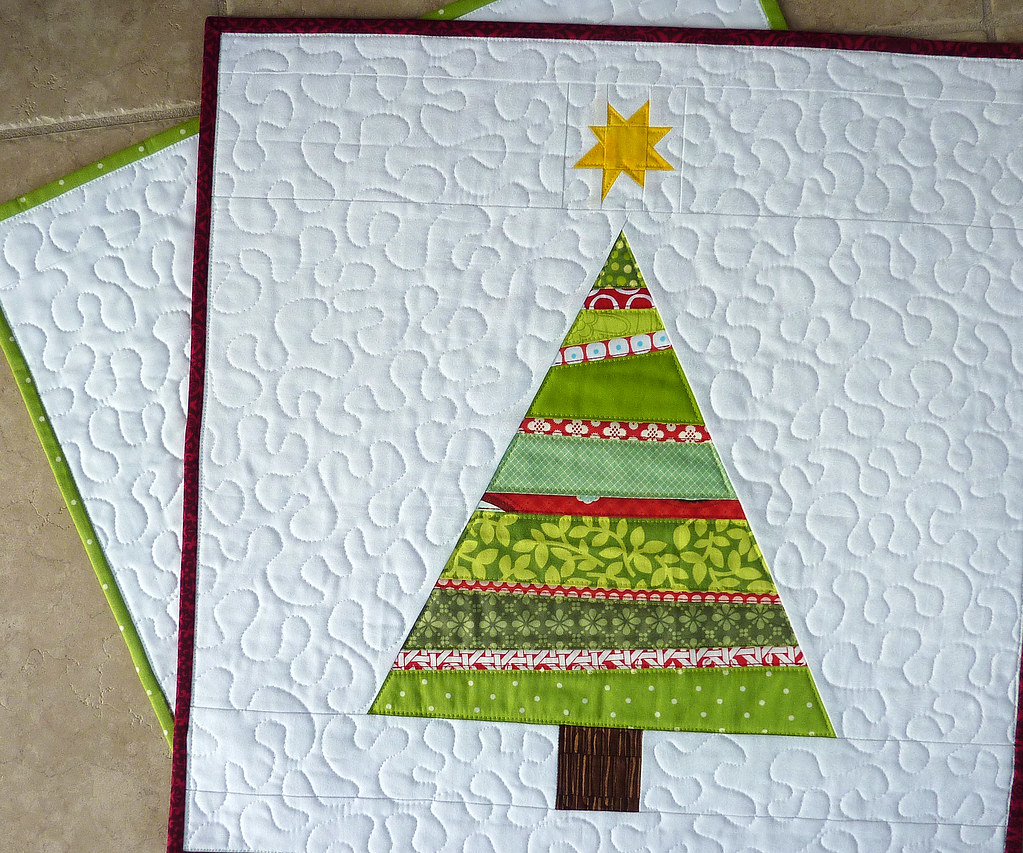
Fun tree Pillows

Two are done!

Fun tree Pillows

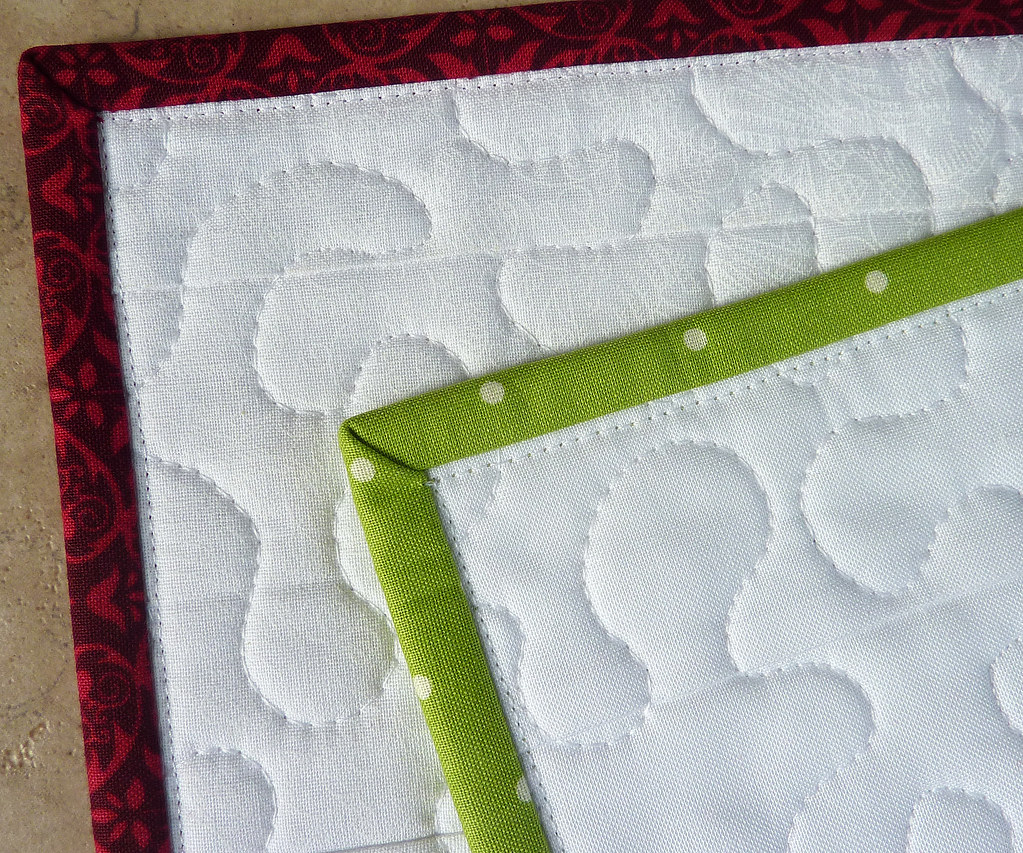
I usually prefer to hand stitch the back of the binding down, but I machine stitch on pillows. It just seems like they need to be stronger - with fluffing and lounging pulling on the edges so much.

I stitch from the back side, with white or whatever matches in the bobbin. This is what the front ends up looking like. A line - but nice and neat.

Fun tree Pillows

I'm going to give them all a light soak before stuffing and gifting. See all that red?! Hopefully you don't hear screaming when they get dunked. I'm using for-darks Woolite, cold water, and a color catcher in a big bowl.

Wish me luck!

edit:  Hurray!!  Thank you Kona, you're awesome!  Not a drip of red came off that huge red back - the water was clear and the color catcher totally white.  That Kona red held up perfectly!


.

Tuesday, November 08, 2011

Quilt Math Gone Wrong

I was so happy.

The Christmas Tree pillows are nearly done. Just the binding for each. And as I cut the fabric strips, I was so pleased that they would only need one cut WOF for each pillow.

How nice it was to not be joining long strips of binding. No extra seams along the way. I was even going to post about how awesome pillows are to make, as they only need one little strip of binding.

binding pillow

I seriously sat down and stitched to the first corner, turned, and was confused as to why my tail was so short.

Doh! A 20" pillow will not be covered by 42" of binding. I CAN NOT believe I got that far before realizing my ridiculous math error.  And math is my Thing!!

Don't you hate it when you're so sure of the plan, and then it's completely wrong!

.

Friday, October 28, 2011

Sashing Love?!

So I attacked the sashing on Tuesday and even though it was only 4 little strips I was so glad to finally get it done.

sashed!

And amazingly, by the time I did the last two I didn't hate them. I actually kind of liked my crazy idea of making and cutting the sashing in bulk. What was really nice about it was that the sashing strips were nice, clean, fresh-cut edges all along their length. I think that made a big difference in their attaching enjoyment. And I even had to smile at doing the easing.

sashed!

Several of the cornerstone blocks ended up looking like this. Nice and square. I may actually do a bit more sashing now!

.