Showing posts with label using precuts. Show all posts

Saturday, June 02, 2012

Quilt Pre-Start

I'm starting a project that my sister in-law has commissioned me to create.

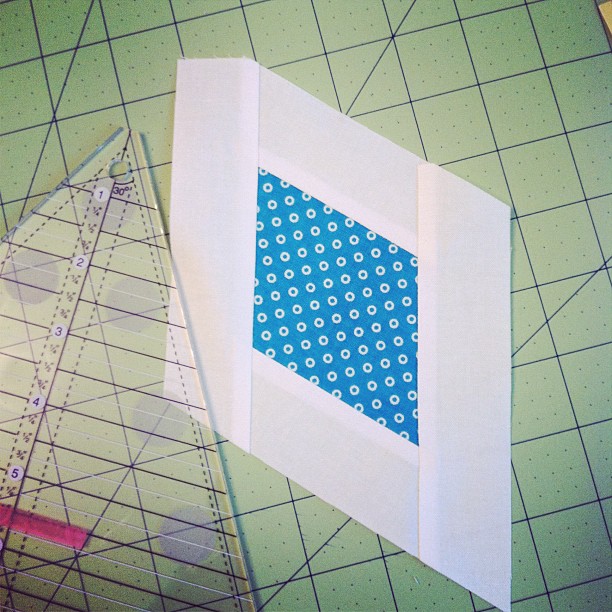
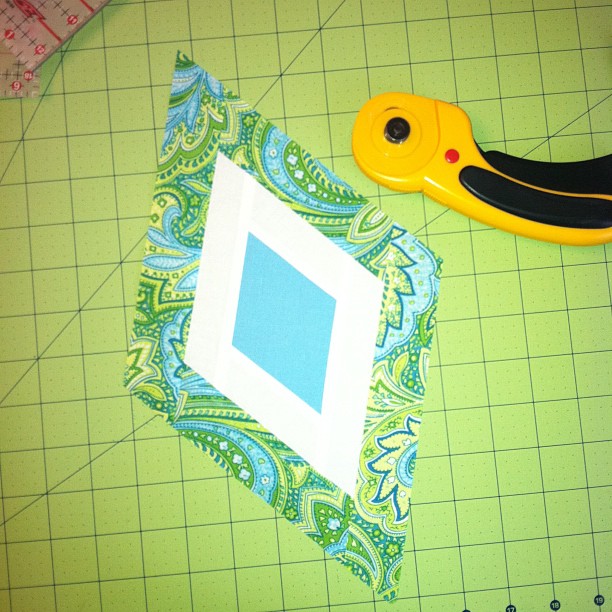
The pattern makes diamonds without y-seams or templates.

Oops. Lost my point.

Thought I should make a block with my own scraps before chopping up all her fabric. (Down side to this project, she sent me all the fabric. So no stash reduction.)

I spaced on the strip placement, and lost one of my points. Oooops.

Much better!

Try number two. Much better.

.

Thursday, April 12, 2012

Mod Mosaic Rainbow

Mod Mosaic

Brooke had the most awesome idea for her month in our bee.

As many of us have, she participated in some of Kati's awesome color wheel charm swaps. Here's the flickr group for the swaps - if you haven't seen it yet, there's lots of great rainbow inspiration.

The trick is figuring out what you want to do with all that 5" rainbow goodness!

Color flow

Brooke sent a bunch of her charms for making Mod Mosaic blocks, based on the tutorial by Elizabeth Hartman. 

The colors in each of the blocks should flow through a range of three - from upper left to lower right. Then she is going to set the blocks into a quilt that will flow through the whole rainbow. Check out her post, she has a mock-up of the plan.

Brooke wants 12.5" blocks, so we're sending 12.75" blocks so that she doesn't lose anything in the fraying that can happen when our creations make their way through the mail system.

First pass

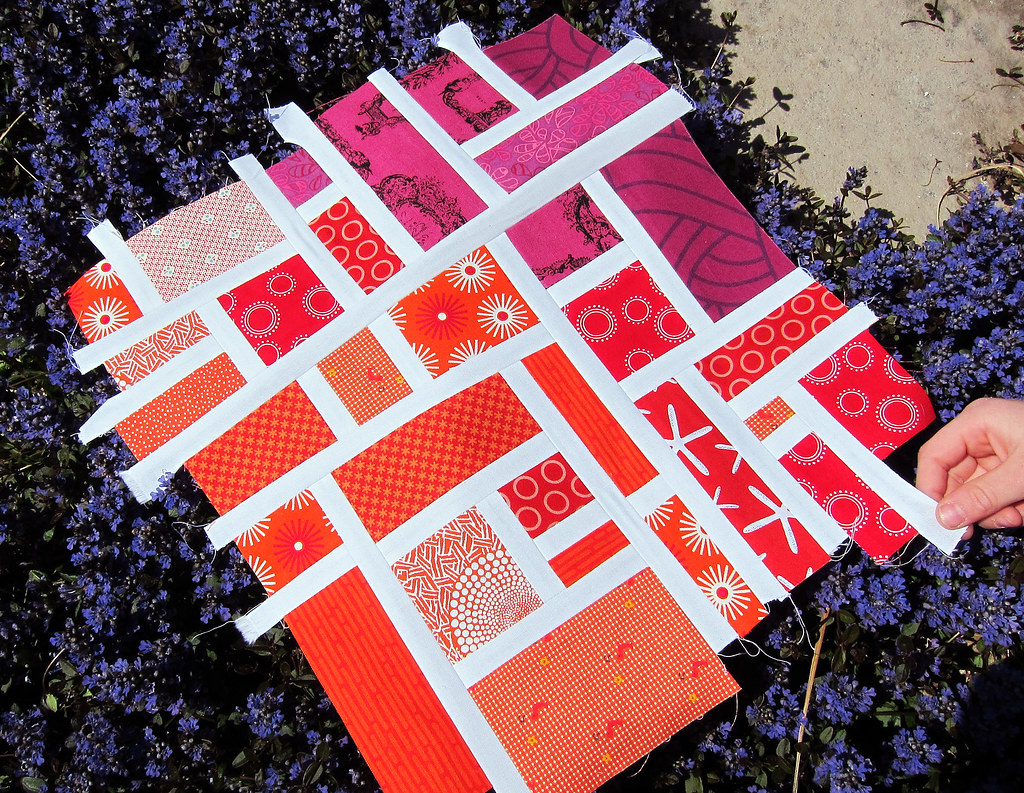
Here was my first pass - I think I counted up a total of 12 charms that she sent.  I chopped and laid out a plan within a 13" square, just to make sure the block would be big enough.  I left a 1/2" gap, mimicking the white strips.

I should have done that step without any gap, because you're also loosing a 1/2" between each bit when you make those seams with the white.  So I had to improvise a little and change my plans to make sure the square would be large enough.

Mod Mosaic

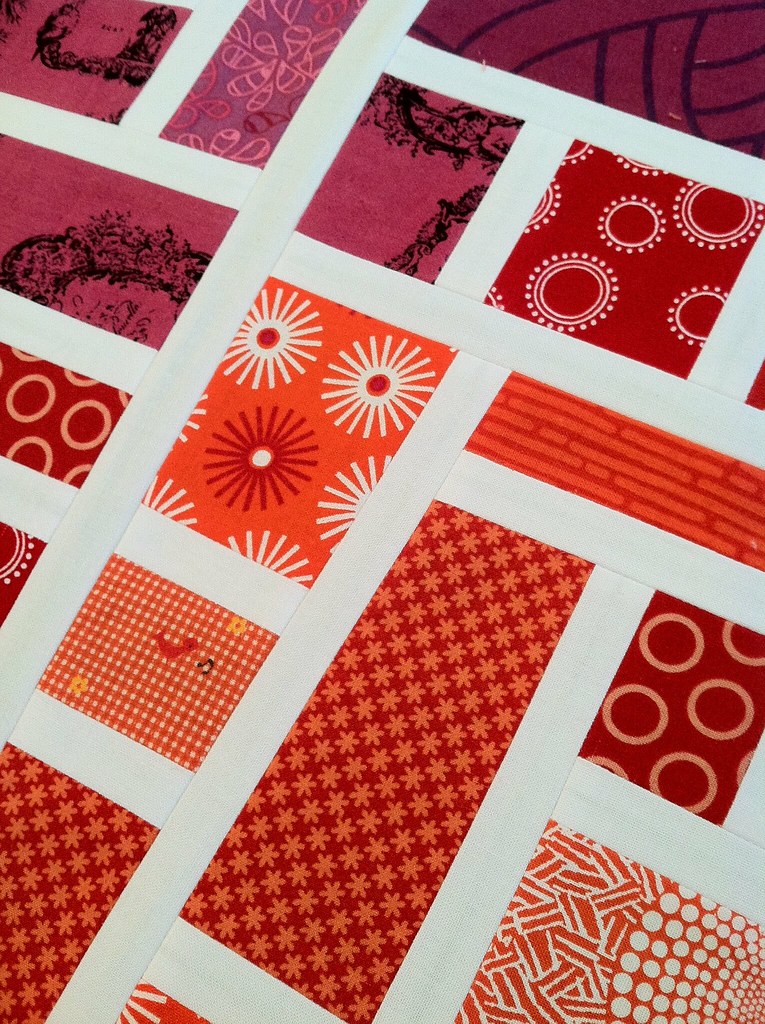
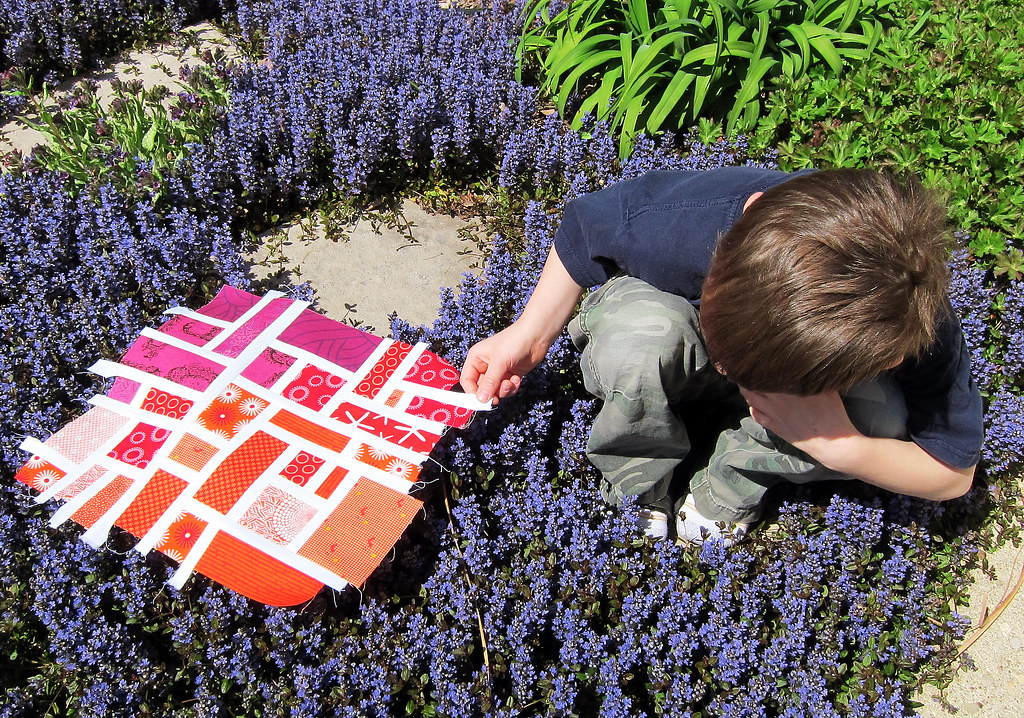
Compare my finished block - photoshop cropped to what would be about a 12.75" square - with the layout above. 

You can see how I had to add sections to get the dimensions right.  I think it was looking like the finished block would be about 11.75-12" square if I had not added onto the plan.

And it used more white strips than I would have ever though possible!  When I opened Brooke's package, I thought she had sent so much extra, but I ended up with EXACTLY the right amount.

I tend to forget how much fabric is eaten up by all those seams.   As Brooke did, it's also good to do your own block sample before sending out fabric to bee-mates.  If it had been me, I would have underestimated the number of charms and lengths of white strips by a bunch.
Mod Mosaic


Thursday, July 15, 2010

No time to move the Toys!


I finished up the Bliss table topper for my Gram, along with some gifts for my sister in-law, late last night. Now we have to get going quick to start the drive. I'll be back in a few days for details and all the other fun stuff I made.

Blueberry picking with my Gram in Michigan - Summer Bliss!

Friday, November 13, 2009

Finished Tablecloth Quilt


I am done! This quilt will be the table cloth for my event this Sunday - at 77" square, it will just cover the top and the stars will hang at the edge. Hopefully any spills will land in the white area, for easy bleaching later! I'll be using it as a lap quilt after Sunday.

As I was lamenting how long it took to make one pass of stipple across the edge - after all those fun, fast minis - I came up with a plan. I quilted the double hourglass center on the diagonal, like a stained glass window. Then concentric squares in the boarders. The remaining stippling was super easy, and I lucked out with no bunchy wrinkles on either the front or back!

Speaking of the back, I used the Dvala Ikea sheet and love how it quilted up. Don't know what the shrinkage will be, I haven't washed it yet. So close to the day, I think I'd totally lose it if the washer ate my quilt!


Wednesday, November 11, 2009

mini nine, mini ten....and more!

Last evening I committed to making two more of these Figgy Pudding mini quilts. But that's my own fault.

I'm in the final bits of preparation for the big event on Sunday, and that meant getting the seating plan done and deciding who gets to take home which quilts.

There was much moaning and wailing as my husband and oldest laughed at the spectacle and wondered why I was doing this in the first place! Because it's fun, that's why. Please ignore the meltdown I'm having, thinking about all these little quilts leaving.


So, I talked to my mom and sister in law and suggested that I could make their favorites again, and I would assign two more of my favorites to their seats. That way I can keep three of these little things that I just CAN. NOT. part with, and they get a totally custom mini. I think they're OK with that - or they heard the hysteria in my voice and agreed so as not to upset the psycho.


Mini nine is 'Whirling Skaters', from my whirlygig love. I made a 2.5" wide template so that I could easily cut each piece from a jelly roll strip.


I thought this fabric looked like it had been twirled on already by lots of happy skaters!


Mini ten is a small, shrunken portion of the free pattern that Moda had with the Figgy Pudding line. Totally lazy, I didn't want to do the quilty math to get the tree sections the size I needed. So I just drafted it to scale and paper pieced it. That worked out perfectly!


My new thing on this quit was to use an invisible thread. I didn't want any more busy swirls in the dark background, and I though a dark thread would be too distracting in those pretty, light blocks. It went much better than expected - I thought I'd have lots of breakage and tangled messes. Not a one!

The sun is finally out today, so I should get some good pictures of the table cloth quilt. I'll also be spending some quality time with my little quilts that will be leaving. I have to make sure I don't embarrass myself on Sunday by tackling the women as they go.

Friday, October 30, 2009

mini five: Snow Fun

The big star and the fabrics made me think of a snow fall.


Add in super cute Munki Munki snow men, and you have 'Snow Fun'!


I wasn't sure about his one, but once I added those red pieces and framed it with the red binding, everything seemed to come together wonderfully!


This one finished at 14 x 17.5" and of course I used several Figgy Pudding honey bun strips, along with a few larger cuts, and some random white that was in my stash.

My husband is wondering if I'm ever going to do anything but sew in the near future. That would be AFTER the November 15th event, or when I'm done (which is hopefully before midnight on November 14th!)

Monday, October 26, 2009

mini four: Lines and Circles

I'm cruising along with all my mini quilts and have another completed to show you today. My husband said they should all be the same so nobody is fighting over one or the other. But what fun would the be?!


I loved making the strip-pieced, applique candy corn this summer and wanted to try something like it again. When I came across an awesome doll quilt by Amber from One Shabby Chick , I knew it would be perfect for the honey bun strips I have.

Her straight line quilting really made the design! I hardly ever do lines, so this was a great chance to practice that skill as well.


I used the same light weight, fusible interfacing as before. Once the circles were turned, I just ironed them in place and top stitched right inside the edge.


For the circles that are not whole, I just made them whole - quilted as they hung off the edge - then chopped off the extra after adding the binding.


I couldn't resist adding a gnome to this one as well. Thank you Amber for the awesome inspiration - this was a blast to make and will look wonderful at our advent tea!

Wednesday, October 21, 2009

mini three: Ice Star

My Ice Star is complete!


The star is from my book by Judy Martin "Knockout Blocks and Sampler Quilts" - this is the Virginia Star. The book is wonderful and gives a bunch of sizes for a whole ton of cool blocks. But this one should not have been made smaller than 10" - so trying to change it up for 6" is why I had to do the quilty math...that was obviously a little wrong!

This mini is again about 13" x 17" I'm using lots of the 1.5" Figgy Pudding honey bun strips making boarders and improvised pieced strips. Trying to use them up is driving many of my design choices on all these minis!

My quilty math issues that ended me with a non-square star worked out perfect for the finished quilt shape! I was dieing to use that super cute Munki Munki skier and thought he could go through the snowy woods. So I have that snowflake star, two strips of the tree print, and lots of white (muslin on this one).

I don't know how I'm going to give all these little quilts up!

Friday, October 09, 2009

Fall Quilt Festival


These are two of the 10 mini quilts I will be making between now and November 15th as decorations for my advent tea table. I'm excited to share them with you for the Fall Quilt Festival!


I have been wanting to try a spider web for some time, so that was the first thing I did. I used this wonderful tutorial - and decided to arrange the triangles like a star. More Christmasy that way. It's about 15.5" square.

I left the paper foundation on until the whole quilt was pieced - I think I successfully avoided some crazy bias waves and it was all nice and square in the end.


The 1 1/2" honey bun strips were perfect for this! Then I added in a little bit of Munki Munki sledders for fun. I LOVE 'Drop Off Hill'.

The idea is that each of these mini quilts will hang on the back of the banquet chairs, like my own little quilt festival! Then each woman will get to take home her little quilt as a gift from me. All of the quilts will be made using Figgy Pudding, but I'm hoping to make each one different. Hopefully I don't run out of steam or get too sick of all that Figgy Pudding before I'm done!


Next were some basic log cabins, again using the honey bun strips. This time two little Heather Ross gnomes slipped out of the forest and into my block! This one finished at 13" x 17".


After I finished the first one, I realized I probably would never label all 10 minis if I waited until the end like I normally do. So I will piece a little label right onto them all like this.

I'll use this as a fun way to try out new techniques, perfect blocks I already know, and recreate some of the amazing inspiration quilts you can find around flickr and blogs.

Wednesday, October 07, 2009

Mini peek

Thanks for all the nice comments on my tablecloth quilt!


I've started the minis (now I need to make 10 of them!) and have a couple of peeks for you.


I should get one or both bound by the end of the day and they will be ready for the Quilt Festival! I am loving how fast these go together.

Wednesday, September 30, 2009

Thank You Moda Ladies!

Camille and Rachel have been doing all kinds of lovely Moda magic for me - and perfect timing for my tea table decoration creations!

Some Twilight love won me an awesome pattern from Rachel! I chose her o christmas tree table runner - go check them out.

And look at this amazing pin cushion I made from Camille's Moda Bake Shop tutorial. I seriously just sat and smiled at it when it was done - it's so dang cute!


Look, her staging even went perfectly with the honey bun cake stand thing I had going.

I used parts of my Figgy Pudding pile and reversed the red and cream, since I have more red yardage. The jelly roll strip worked perfectly for her pattern - see how nicely the piece fits!


The boys were all excited, and thought I bought them a pet lizard. Nope, just filling a few pin cushions with walnut shells.


Becket helped me find some lovely, red buttons for the berries. Here's one more lovely shot. I'm done with all my crazy stars, so I'm off to start the nine mini quilts!


Wednesday, September 23, 2009

Figgy Double Hourglass

I unrolled one of the Figgy Pudding honey buns last night to start the center of my quilt tablecloth.


I used only a small portion of the strips, and cluck.cluck.Sew's awesome tutorial to make some double hourglass blocks. Using the 1.5" honey bun strips and her strip pieced method, I ended up with a 4.25" unfinished block after squaring them up. Each block took only 13" of a honey bun strip, and they went fast!

This finished square is about 17", I just have to decide which fabric to frame it with for the table's center.

And now go look here! She is already on day 41 and I didn't see this yet?! I may do a few of her peppermint candies to go with the Figgy Pudding.