Saturday, June 05, 2010

Poipu


Poipu is on the south coast of Kauai - so it's warm, dry, kind of like a desert with a beach along side it.


The rocky barrier makes a cove with safe, fun water for the kids. Much of Kauai has very dangerous riptides.


They were able to test out snorkeling here, and also the underwater camera. Mark actually caught this picture. Not too bad straight out of the camera. Most photos on my blog I photoshop before posting. It's been kind of fun just dumping them all straight off the card!


We hiked the coast. Again. Tired of hike pictures? I think we're all a little tired from the hikes! (Luckily I've made it to Maui already and am happily lounging right now)


We do love this hike though, to our favorite secret tide pool. They collect all kinds of hermit crabs and fish.


And climb all over the rock sculptures carved out by the ocean. It is a good thing we've been hiking though - I have eaten so much awesome local food. And it is in no way low calorie!

Wednesday, June 02, 2010

Waterfall Day


Another steep hike, but this time only about 15 minutes to Wailua Falls - the Fantasy Island falls.

{Roots are our friends}

This time there really were ropes that others had tied to trees.


Scout Kenton points the way


The bottom!


And one other falls - Ho'opi'i


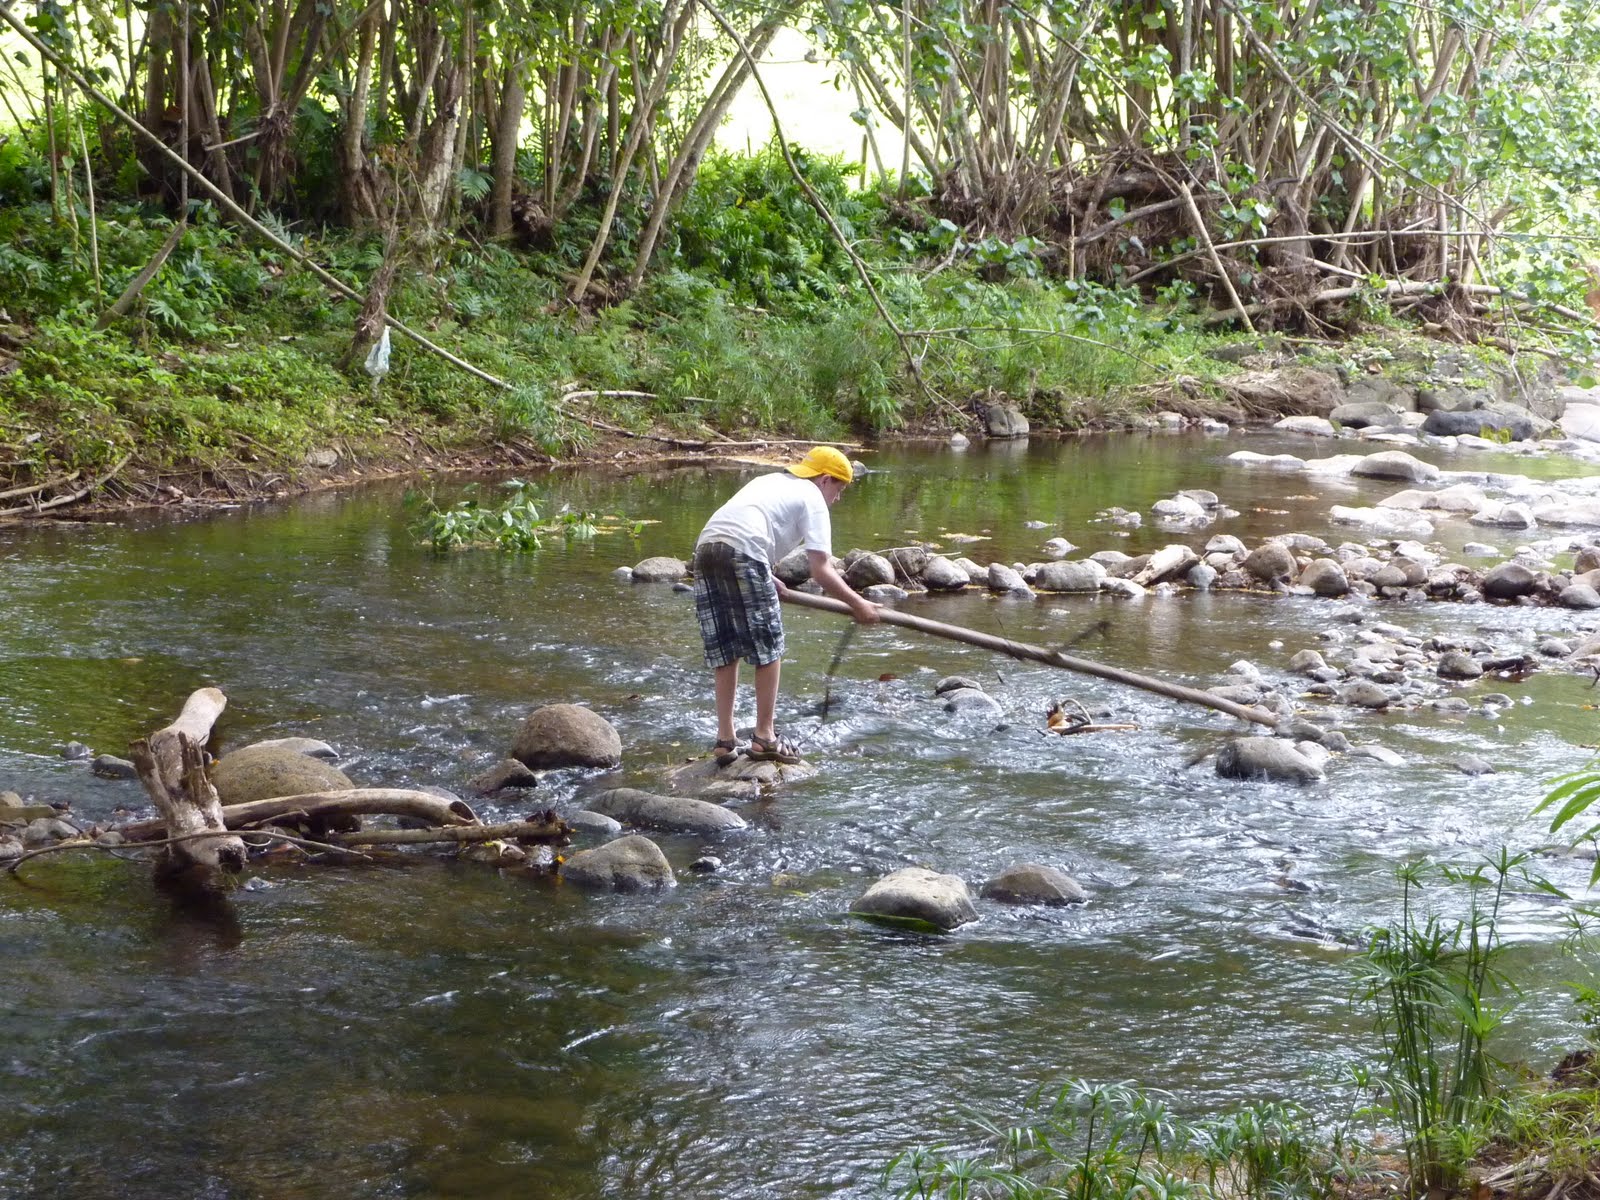
Caleb had to build a path across the stream.


And Becket worked on one of his own.

Tuesday, June 01, 2010

Zipline Safari Adventure

{Feel free to ignore all my vacation photos. I'm posting them for my family to follow along. Although I am going to a quilt shop today :) }


Paddle


Hike


Rope Swing (Pirates of the Caribbean 4 is filming in this spot!)


Ranch ride


Through Jurassic Park


Ready to Zipline


Can you see the landing pad way down there?!


A final zipline jump into a waterfall pool!


It was a fun day with Outfitters Kauai and the cool guide Sean.

Monday, May 31, 2010

The Hike


The trail to Hankapi'ai Beach.


Two miles each way - steep, narrow, cliff-edge trails the whole way.


Caleb was in charge of keeping Becket alive. They held hands the whole way and all three were real troopers. Kenton was our scout - warning of super slippery or dangerous spots.


Two hour hike for those mere two miles. But the views up the Napali coast were worth it!


We opted not to do the whole 11 miles.

Yesterday's quote of the day Kenton: I have sand in my pants.
Today's quote Becket: I knew we should have brought a rope.

Sunday, May 30, 2010

Aloha!

Becket slept and played - I hexed!


Sunrise at Lydgate Park, Kauai


Floating in Paradise!

Friday, May 28, 2010

A new Friend and a rest....

Happy Summer Vacation!

Amazingly, the kids had their last day of school today. We're out so early this year. It's always crazy for the first couple of weeks and I'll be gone for a bit.

I have a bit of cuteness to hold my place while I'm gone.


One of the moms at preschool was planning a birthday party for her little girl - turning 7 I believe. She asked if I had any girly fabric scraps she could have for the party craft. I remembered this sweet daisy print and a pretty sear sucker that I had bought for a crafty project that never got made. She was so happy and loved them - then brought me one of the finished dolls as a thank you. What a wonderful surprise she was!


I think she's just beautiful and looks quite happy in her new home with the gnomes and hedgehogs in my sewing space. The mom hand painted them - the face is so sweet! The green and blue are just perfect. And the little pink barrette. I just had to share her. Hope to see you when I return.

Monday, May 24, 2010

Hexagon needle book : tutorial

{or Use some of those things, already!}
also, blogger is being strange - this posted randomly, then went away as it was scheduled for Wednesday, and now is back, let's hope it doesn't disappear again


I had some extra d-rings from the netbook project, and also needed a second needle book for summer hexagon work. I was getting ready to make a plain old rectangle then realized I should make it a cute hexagon!


It's wool felt lined and also has two pages for pins and needles. Here's how you can make one, too. Please forgive some of these grainy process shots - I made it on a whim at night.


First, select two cute prints and baste your hexagons.
I made these with 1.5" hexagons - that's the measurement along one straight edge.

Then trace your shape and cut out two wool felt pieces the same size as your hexagon.


Iron your hexagon nice and flat, remove your paper shape, and pin wrong side to the wool felt. Slowly machine stitch about an 1/8" from the edges. You want to make sure you catch all the raw edges under on your hexie, no worries on the wool. Make two like this.


Now trace your hexagon again on some more felt. This time space them about 1.25" apart. Leave 5/8" wide strip in the center and trim away the rest. This will be your hanging loop. I like having the option of attaching this to my travel sewing stuff so it doesn't get lost in the bottom of a bag.


Fold the felt in half, then roll up one hexagon and stuff it through the d-ring. Make sure you do this before you stitch it all together!


Layer a hexagon print side down, folded felt center, then hexagon print side up. Machine stitch across the whole top edge a couple of times, close to the edge, but making sure you catch all four layers.


Now you have the cutest needle book around!

Hex Quilt - the beginning

You can see my button to the right - as soon as I read r0ssie's Process Pledge last week, I knew I had to join! Being a mechanical engineer, I'm all about the process.


A couple of things have come together to lead me to a hexagon i-spy quilt over the last week. First this lovely charm pack of 3.5" vintage reproduction prints that I got from Amy's etsy shop. They're so cute, and so are hexagons. They go together perfectly!


I was just going to make them on the airplane, and figure out something to do with them later. But then Penny's pillow caught my eye and I printed it out for my inspiration board. Fabulous, huh! I thought, why not group a bunch of my new hexagons together and make them into blocks - like her pillow? I love their white frame.


So I started cutting more 3.5" squares. I used template plastic and traced a hexagon in the middle so I can see what part will show. I usually just cut the whole square, but I added the 1/4" seam allowance on in case I wanted to cut a hexagon shape to conserve some precious portion of fabric.


Now, have you seen Aneela's storybook quilt or her watercolor quilt? Of course you have, because they're fabulous. I love the effect of the scrappy, single color blocks! So out came a whole bunch of my stash - cutting 3.5" squares out of each of them. The blocks will have bits of Munki and vintage ispy mixed with my regular prints.


I cut and cut and cut. Then I laid out what I had and took pictures of each color set. Photoshop will make a nice contact sheet for you - look a quilt. I liked it while I was cutting - one I got the contact sheet I LOVED it! Also noticed that my stash is very blue/green heavy.


So I did some quilty math and figured out that I need about 16 blocks (hexagons within a block and then sashed up a bit) for my preferred lap quilt size of at least 60" square. That's 22 full and partial hexagons per block. You can see on my larger printout of each color group I noted how many more 3.5" squares I need to make a full block. Also handy to quickly see if I had already included a print! I have a couple duplicates but am mostly going for one square per print.


Out came the fabric again to try to get enough squares for the whole thing. I'm pretty short on yellow and orange. Hopefully I can find some more to add in later, but I've pretty much exhausted my stash. I seriously need to start packing now and stop cutting fabric.


It will be interesting to see how many of the 352 hexagons I can get done on the airplane!