Showing posts with label tutorial. Show all posts

Friday, May 15, 2020

FQ friendly Mask and Pouch Tutorial

A fat quarter is perfect for two pleated masks and a pouch - tutorial for that in my last post.

I pulled four FQs, and ended up with super cute mixed sets for teacher gifts.


(Half way through I decided to make one of the pleated masks into my normal style - to give the teachers one of each type.  I needed a different fabric for the lining when I made those.)

I thought Mr. Andrews would prefer a more masculine mask.... a straight quarter yard is also perfect!


One cut 8" wide and the full width of the fabric can yield two mask cuts and a piece for the pouch.  I mixed a couple making his 4th of July set.

But back to the FQs.

To make a mask I use 8"x15" pieces (or 8x14 if that fits better).  One pouch needs 4.5"x12"

Decide which way you want the print to sit on the finished mask.  The short side runs across your face.


Then you can cut your FQ  like this...

Or this....


There are a million tutorials for the pleated masks, but I thought I would share what I've found is easiest for me when inserting the elastic.


Press the piece in half - right sides together.


Mark the top edge about 3/4" from corner.  Sometimes I tack my elastic at this point, on this outside end - other times I don't.


I use 1/8" wide elastic - 6.75" long.  This seems to work for both men and women for a quick trip into a store.

Take the whole thing to your machine.  Lay the elastic at the fold, lined up with the raw edge.  


Close the fold and start stitching here, using a 1/2" seam allowance.  

The most annoying part of the elastic is that it tries to scoot away when you stitch over it.  Starting at the fold - with the elastic against the fold, eliminates the scooting on this end.


Once you get to the other end and around the corner, I stop.  Leave a gap for turning, then start back at the fold for the other side.  

Pleat and finish.....I haven't figured out any other process optimizing bits on the last steps yet.  


But the FQs do make for super cute sets!


Monday, May 11, 2020

Mask Pouch Tutorial - Teacher Gifts for a Covid Year

Useful end-of-the year teacher gift?  Horrible souvenir?

At the least, there's a super cute little pouch that could be used for holding dog-walk bags or other random things.


I came up with four mixed sets of corona virus protection fun, with four FQs.  I'll show you more info on that later.

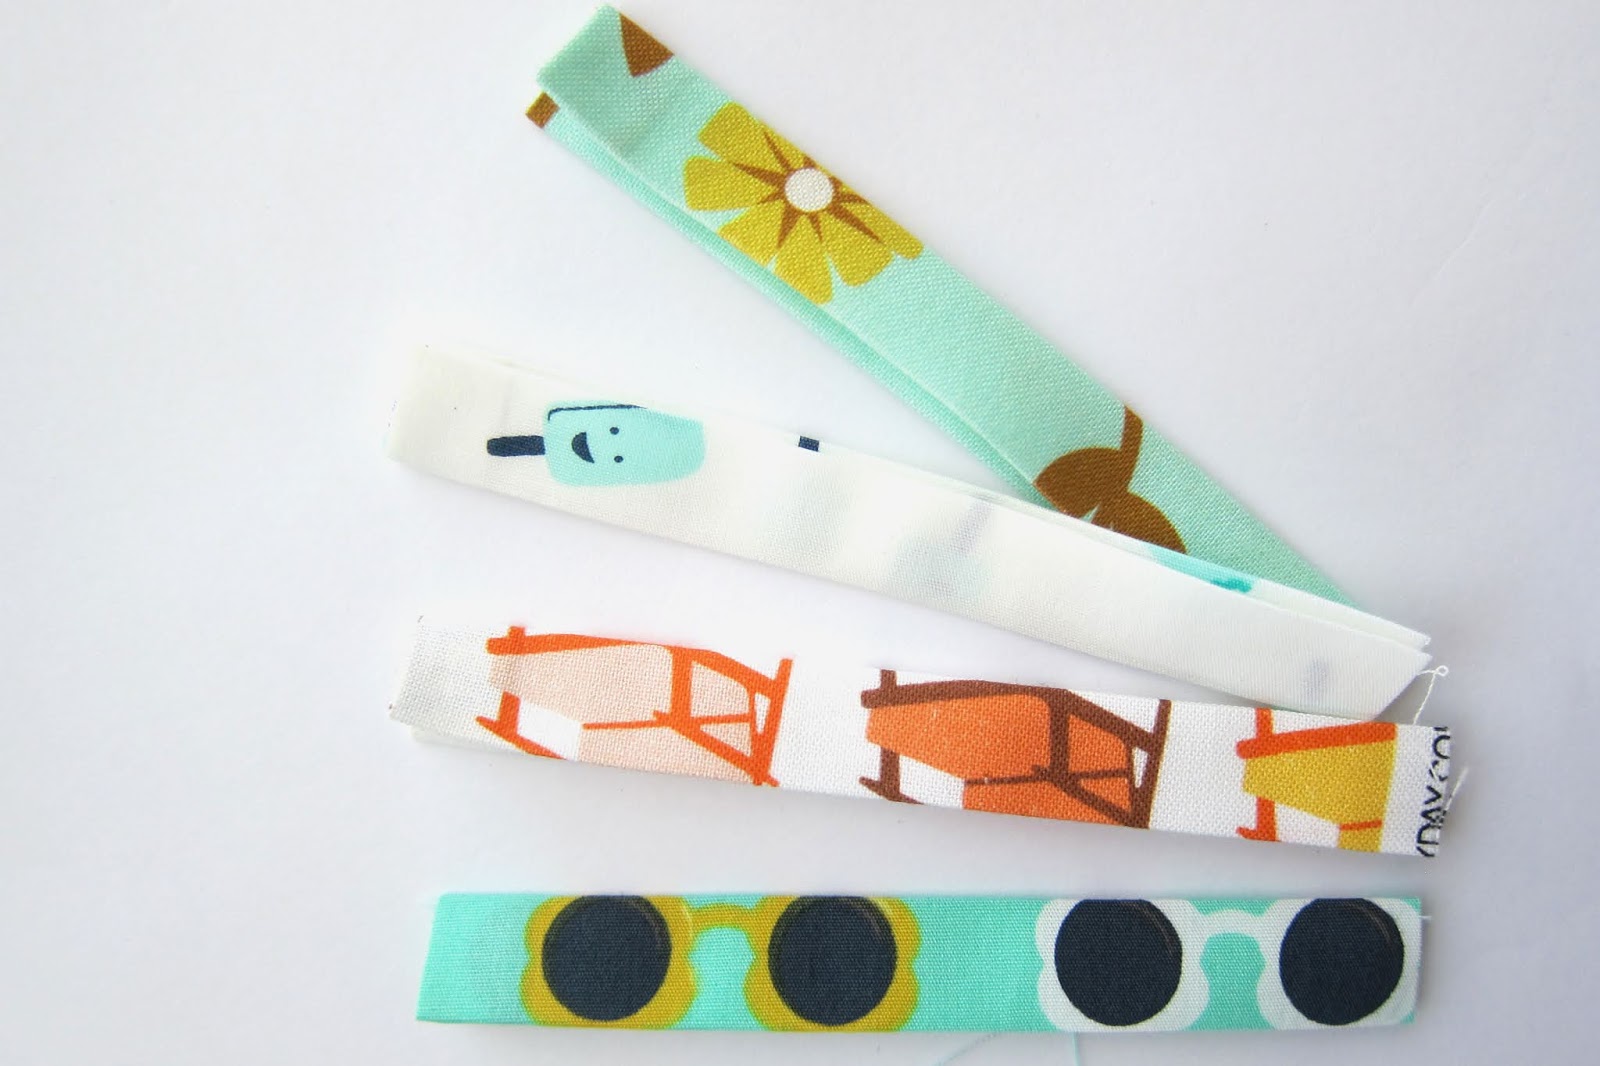
a-dor-able fabric - Summer Side by Dana Willard

We'll start with the little pouch that can hold one mask.  Snap it onto a belt loop, toss it into your glove box or purse, and a nice clean mask is ready to go!

Cut a piece of fabric 4.5" x 12" - then take 2" off the end for making the tab.


The tab is totally optional.  But handy and fun!

Make the tab by folding in half to find the middle, turn one end down about 1/4", fold each end to meet in the center, then fold in half again.


Topstitch around the three sides, starting and ending at the raw edged end.


This is my favorite foot for topstitching.  On my machine it's actually called a blind hem foot. 

That flange in the center keeps the needle perfectly placed on the fabric, so the top stitching is super even and pretty on the sides.  Without much stress.  Like bowling with the gutter guards up!


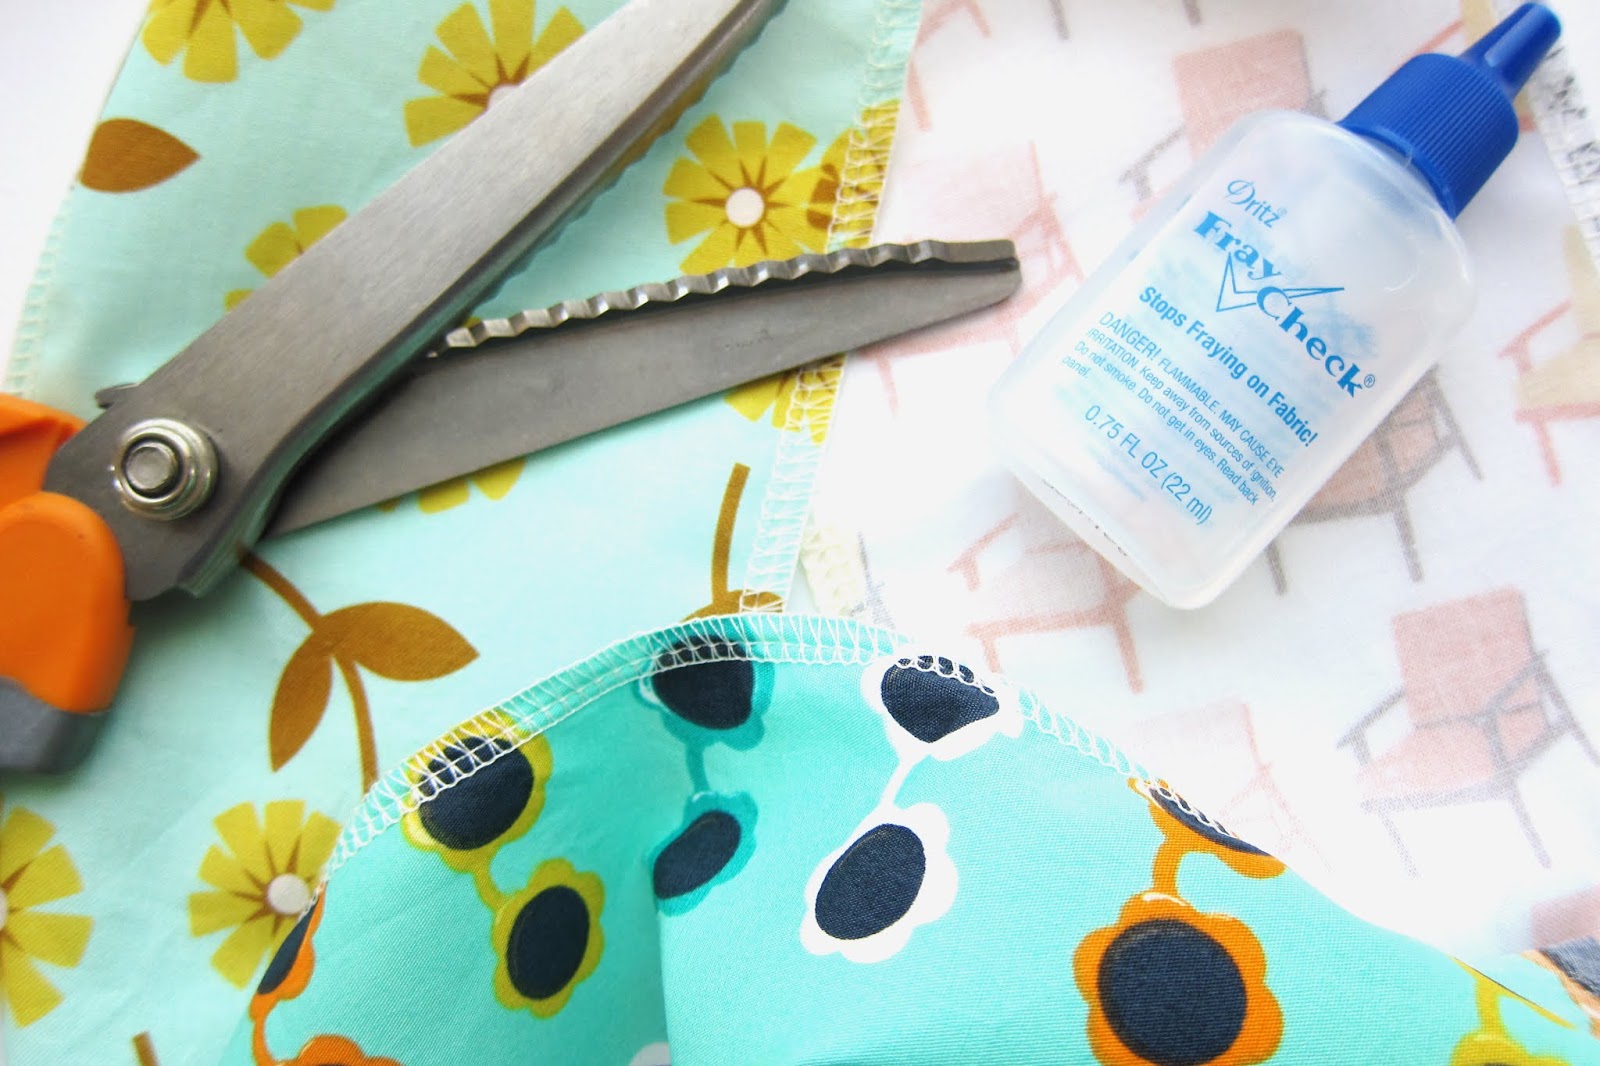
To prevent frayed edges inside the pouch, I use a serger for the long fabric sides.  You could also trim with pinking shears or run a bead of FrayCheck down the raw edge.


Next, fold both short ends in twice then topstitch, for a nice clean flap.


Fold your fabric into thirds, overlapping in the center just a tad.

My pouches are about 3.75" wide. Lightly press to mark the creases.  


Lay the raw edge of the tab along one side, in the center section, near a crease.  Then fold the pretty sides together.


Make sure you turn the tab up a little, or you will catch it in the other side seam.  

Then you would have to pull out the seam ripper.  And that's no fun.


Sew down both open edges using a 3/8" seam.


Then I go back and sew once more about 1/4" in, where the tab and the overlaps are.

Just for a little extra strength at the stress points.


That was fast!  Flip right side out.

Poke the corners with a chopstick. Or something pointy, but not too pokey.


Now just to finish up the tab.  I placed my snaps 3/4" in from the end - any closer to the end, and it was hard to pull open the snap.  

Then the other goes 2" down from there.   You could also use velcro, or even stitch both ends into the seam for a plain loop.


I use KAM snaps.  I have a boatload of snaps and an awesome press from when I was making Mara's cloth diapers.   

If you need any kind of fasteners, I highly recommend ordering from this family business. Amazing customer service, super helpful owner, high quality well tested products.   https://kamsnaps.com 


DONE!  Now to put a mask inside.  

A pleated mask fits perfectly.  Fold it into thirds.


Slide one end under the flap.


Pull the other side from behind and over the mask...


 ....while you stuff it in. 


Ready to go.


As a note, I made a few and ran them through the washing machine. As if I had been out and needed to wash my mask and maybe also the pouch when I got home.  

The pouch washed up beautifully.  

I tested topstitching the pouch a bit, but it wasn't needed to help hold its shape and it made the pouch lines look a little less clean.

Next up, cutting info if you want to make some mask and pouch sets with your cool fat quarters!


Monday, April 29, 2013

Huge Quilt Block Squaring Up - one way how

Boy has it been a busy month!

There has been a lot of this going on.....all three boys moved bedrooms.....much cleaning and painting, getting things ready for the baby.

(Becket was super excited to help paint his new room.  Being unable to hand over control of stuff, I didn't want him to REALLY paint the wall.  So I gave him a small trim roller for his paint.  He worked happily away for a long time, then we re-coated the area for a solid look later.)


I've actually done a decent amount of quilt and baby sewing as well. Just haven't had the time to photo and post them yet.

But, I got an email asking about how I squared up my large, purple quilt blocks - they were larger than my biggest square ruler. I already had several pictures on my computer, and have ditched the photoshop editing part of my process in the interest of actually getting this posted!


The challenge here is a block that needs to be 24.5" square, my largest square ruler being 16.5".

Also, for the finished quilt to look just right, the white sashing needed to be perfectly centered in both directions.

To get all this done, I used a largish square ruler, my cutting mat, and a couple other 26"+ long, narrow rulers.


Start by marking what you want to be the center, on one of the block's edges.

You can see here that I used my Frixion pen.  Ironically, the email I got asking about how I accomplished this squaring up was asked by a quilter that had originally found my blog as she searched for information about the Frixion pen!  This is one of the two ways I actually DO use it on  my fabrics.  All the marks are in the seam allowance, or trimmed away.


My block needed to be 24.5" square, so I needed to measure OUT FROM this center point, half the size of my block - which is 12.25".


Please ignore the next two photos that need to rotate.   Part of the annoying blogger thing and how it randomly deals with unedited pictures.

I have my ruler lined up so that the 12.25 mark is at the center point of the block.  ALSO the vertical and horizontal are both aligned squarely.


Better view in that picture above - What is important is that those parts of the block are as near perfect in both directions.  That way the finished design looks like a square, and not a wacky, slanting rhombus or something.


Now, the tricky part.

Especially for those of us who are cursed with slipping ruler syndrome.

Hold your big square, and carefully slide a long ruler up against it, without shifting anything.  I would re-check the 12.25" mark and the squareness of that yellow ruler after getting the long ruler in place.

Oh, must be noted, I am right handed.  And I am totlaly unable to cut with my left.

If you can cut with your left, remove the first ruler (the square yellow one, in my case), hold the long ruler in place, and trim your block.


For myself, I carefully moved away the square, replaced it with yet another 26"+ long ruler - moved that second one out of the way - and then trimmed my block.

Did you get that?  It's a bit of swapping back and forth, and I'm lucky to have a big stack of rulers.

Those steps take the longest.  The point of them being getting yourself a starting point that puts the center exactly in the middle and the first edge perfectly square with your piecing.

Let's get the last three sides done.....


Using your cutting mat, line the nice edge you just made up with one of the ruled markings.

Check that it's nice and straight, top to bottom.


Count over to the other side, the full width of your finished block.

I had to go over 24.5"

Use a long ruler and the markings on your mat to perfectly cut the block, ending up with one set of perfectly parallel sides.


...Ugh, another sideways photo.....

Anyway, we are going to do the process again, for the last two sides.  WITH ONE DIFFERENCE.

After you mark the center of the sashing, you need to measure over that same half distance as before.  12.25" in my case.

INSTEAD of lining up your square ruler with the block piecing, you now line it up with one of the two sides we already cut.  I used two large squares to double check I was in exact center, because I'm Type A like that.  Do not freak out if your outside edge alignment and the block piecing alignment are just a bit off.  For me, an 1/8" drift was not visually obvious in the end.  I did have one mess of a block, I have no idea what I was doing as I pieced.  The sashing angled nearly 3/8" off center from side to side.  I re-made that block.

After you trim this third side, line it up on your cutting mat again and measure over the full block width for your last cut.


Ta-Da!  Perfectly square and centered, huge quilt block.

I'm thinking this all will make more sense if you are reading and cutting at the same time.  It's a bunch of shifting and rulers.  But I hope it helps!

Ask away with questions on any horribly confusing stuff, and I'll try to make things clear.


Monday, April 04, 2011

Cathedral Windows Tutorial : Wing It OCD

[Moda's Bakeshop changed since it was published - I will post the tutorial here on my blog once I can re-create it!]

Finally, my Cathedral Windows tutorial is live - I've been patiently waiting my turn!  

I made a fun pair of pillows.


I was tempted to name my project: Just Wing It {NOT!} 

I got to use the fabulous new MoMo line Just Wing It, but as is most of my quilting, the cathedral windows border on OCD - the furthest possible thing from winging it. 


Optimized result with an efficient process, that's from the engineer in me.  I've included all the little tricks I use to keep things square, flat, and pointy.  Exactly how I like my windows!


Here's a little bonus project.   Use one of your first folding attempts or the most wonky, extra window and two charm squares to make a cute pincushion. 


Jump over to the bake shop and say hi!